❏ ❏
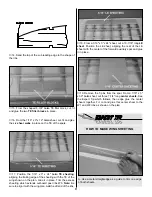
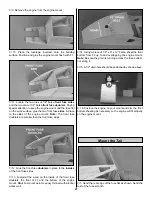
8. Glue one main spar doubler onto each main spar,
aligning one end of the doubler with the end of the main
spar. Note: From here forward, this combination will be
known as a spar. Set one spar aside for the top of this outer
wing panel.
❏ ❏
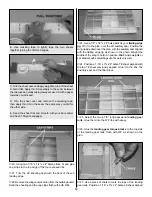
9. Align one main spar over the plan with the doubler
at the inboard end of this outer panel. Glue it to the cap
strips and the sheeting.
❏ ❏
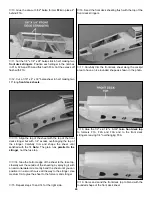
10. Align the three auxiliary spars (cut in step 7) over
the plan with the 3/16" side against the plan. DO NOT glue
them at this time.
❏ ❏
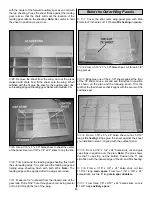
11. Select the 1/8" die-cut balsa T1 rib and the 1/16"
die-cut balsa T2 rib. Drill 1/8" holes through the punchmarks
in T1. Position T1 and T2 on the plan.
❏ ❏
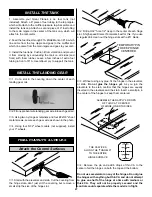
12. Test fit the auxiliary spars and main spar into the
ribs. When satisfied with the fit, use the die-cut 1/8" ply DG
gauge to set the angle of T1 and glue T1 in place. Use a
square to be sure T2 is vertical and glue it in place.
❏ ❏
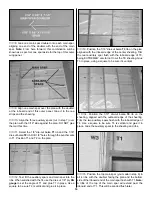
13. Position the 1/16" die-cut balsa T3 rib on the plan,
aligned with the inboard edge of the center sheeting. Trim
the rear auxiliary spar flush with the inboard edge of T3,
being EXTREMELY careful not to cut the TE sheeting. Glue
T3 in place, using a square to be sure it’s vertical.
❏ ❏
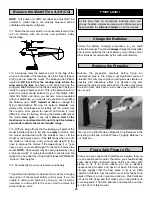
14. Position the 1/16" die-cut balsa T4 rib on the
sheeting, aligned with the outboard edge of the sheeting.
Trim the two auxiliary spars flush with the inboard edge of
T4. Use a square to be sure T4 is vertical and glue it in
place. Glue the auxiliary spars to the sheeting and ribs.
❏ ❏
15. Position the top main spar (you made in step 6) in
all 4 ribs, with the doubler facing the plan and the bottom
side of the inboard end of the main spar flush with T1. Note:
A little of the top of the main spar will extend past the
inboard end of T1. This will be sanded flush later.
14
Summary of Contents for SlowPoke
Page 6: ...6 DIE CUT PATTERNS...
Page 32: ...TWO VIEW...


