❏
5. Repeat steps 1 through 4 to build the second
elevator half.
❏
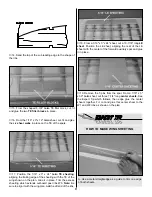
6. Pin one elevator half in place on the plan, making sure
the elevator is right side up. Position the second elevator
half over the plan, making sure it is a mirror image of the
pinned half. Use a straight edge, held against the LE of the
pinned down half, to ensure the elevator halves are aligned.
Pin the second half in place.
❏
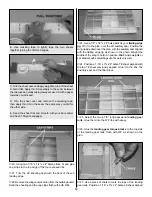
7. Trim the leading edges to accept the 3/16" x 3-1/2"
dowel. Glue the dowel to both halves with medium CA.
Remove the elevator from the building board.
❏
8. Fill the area around the dowel with Hobbico HobbyLite
balsa-colored filler. Set the elevator assembly aside and let
the filler dry.
❏
1. Cover the fin and rudder section of the plan with Great
Planes Plan Protector.
❏
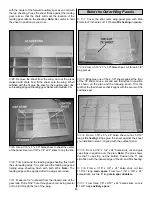
2. From a 3/16" x 1/2" x 24" balsa stick, fit and glue the
fin trailing edge, fin base and the fin leading edge. Note:
The fin trailing edge stops at the top of the stab. It does not
go to the bottom of the fuse.
❏
3. From a 3/16" x 3/16" x 24" balsa stick, fit and glue the
center fin brace in postion.
❏
4. From a 1/8" x 3/16" x 24" balsa stick, fit and glue the
two diagonal fin braces in place.
❏
5. Remove the fin from the work surface and sand both
sides smooth.
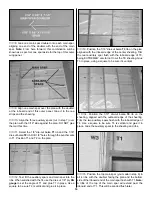
Refer to this photo for the following 6 steps.
❏
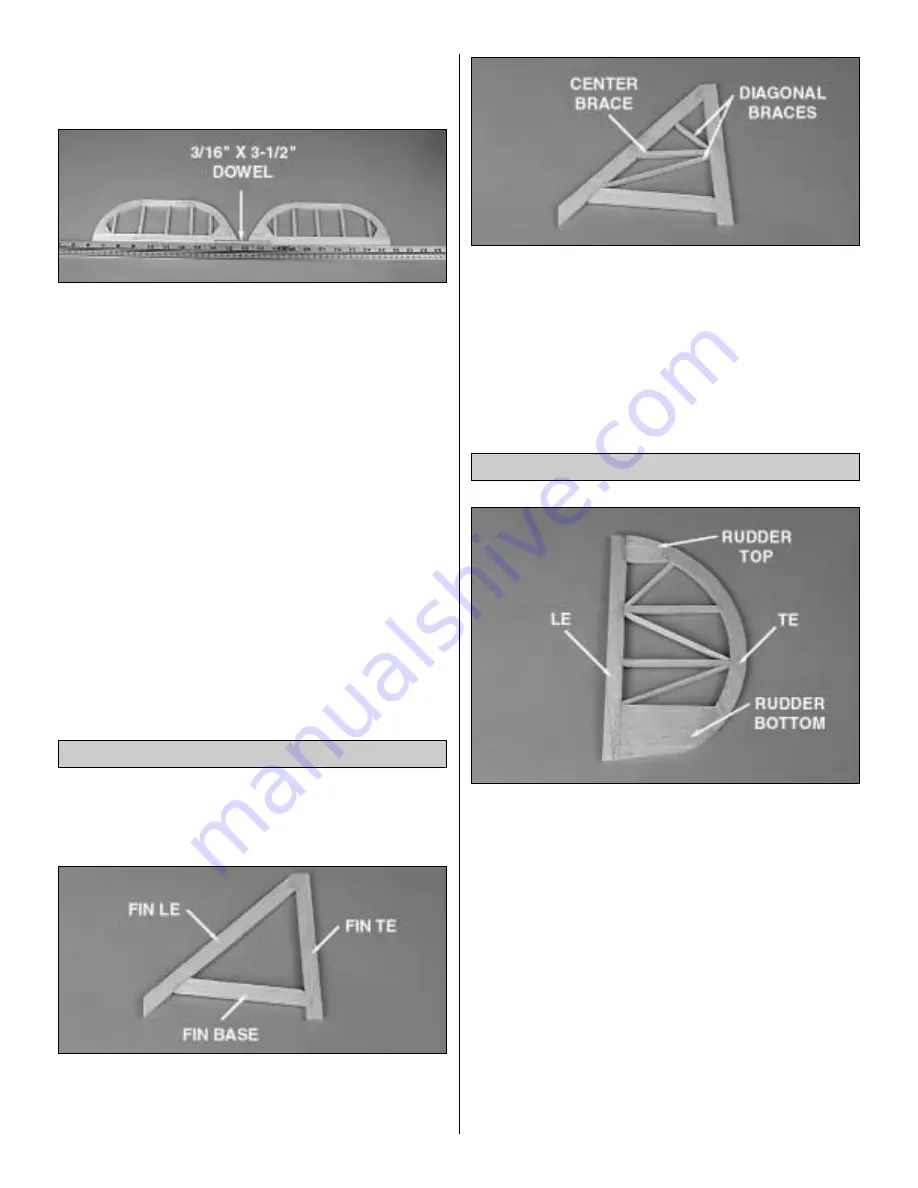
1. From a 3/16" x 1/2" x 24" balsa stick, cut and pin the
rudder leading edge in place on the plan.
❏
2. Glue the die-cut 3/16" balsa rudder bottom and
rudder top to the rudder leading edge.
❏
3. Glue the die-cut 3/16" balsa rudder trailing edge to
the rudder top and bottom.
❏
4. From a 3/16" x 3/16" x 12" balsa stick, fit and glue the
two horizontal rudder braces in place.
❏
5. From a 1/8" x 3/16" x 24" balsa stick, fit and glue the
three diagonal rudder braces in place.
❏
6. Remove the rudder from the work surface and sand
both sides smooth.
Build the Rudder
Build the Fin
8
Summary of Contents for SlowPoke
Page 6: ...6 DIE CUT PATTERNS...
Page 32: ...TWO VIEW...


