❏
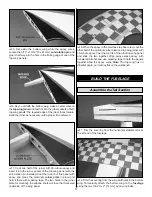
4. Cut three arms from two four-arm servo horns and enlarge
the outer hole of each servo horn with a 1/16" [1.6 mm] drill bit.
❏
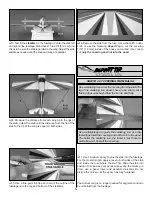
5. Connect the servo horns to the elevator and rudder
servos 90 degrees to the servo cases and both pointing to
the right side of the fuselage.
❏
6. Slide a silicone clevis retainer and install a nylon clevis
14 turns onto three 2-56 x 36" [915 mm] pushrods.
❏
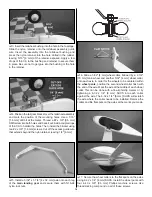
7. Insert the three pushrods into the slots in the tail of the
fuselage as shown.
❏
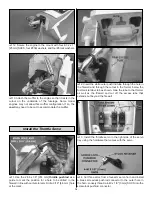
8. Using the pushrods as a guide, place a large control
horn onto the underside of each elevator and mark the
positions of the mounting holes. Drill through the holes with
a 3/32" [2.4 mm] drill bit. Add a couple drops of thin CA to
each hole to harden the wood around it, and install the
control horns using the backing plates that come attached to
each horn with two 2-56 x 1/2" [13 mm] screws.
❏
9. Repeat this procedure for the rudder control horn.
Connect all three clevises to the third hole on the control horns.
Slide the silicone clevis retainers to the end of the clevises.
❏
10. While holding the rudder in the neutral position, place
a mark on the pushrod where it crosses the outer hole in the
rudder servo horn.
14

