❏
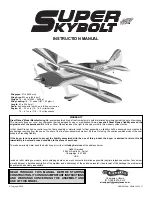
1. If you have not done so already, remove the major
parts of the kit from the box and inspect for damage. If any
parts are damaged or missing, contact Product Support at
the address or telephone number listed in the
“Kit
Inspection” section on page 6.
❏
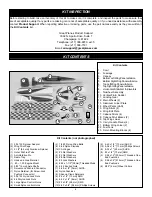
2. Carefully remove the tape and separate all the control
surfaces. Use a covering iron with a covering sock to tighten
the covering if necessary. Apply pressure over sheeted areas
to thoroughly bond the covering to the wood.
Do the left top and bottom wing first so your work
matches the photos the first time through. You can do
one wing at a time, or work on them together.
❏ ❏
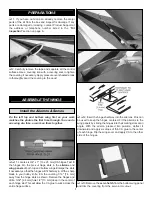
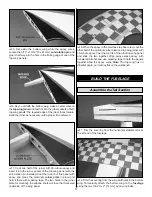
1. Locate six 3/4" x 1" [19 x 25 mm] CA hinges. Test fit
the hinges into the pre-cut hinge slots in the ailerons and
wing panels of both top and bottom wings. Enlarge the slots
if necessary so that the hinges will fit half-way in. With a sharp
blade in your hobby knife, trim the covering 1/16" [1.6 mm]
away from the hinge slots as shown. Remove the hinges and
drill a 3/32" [2.4 mm] hole 1/2" [13 mm] deep in the center of
each hinge slot. This will allow the CA glue to wick across the
entire hinge surface.
❏ ❏
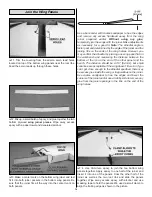
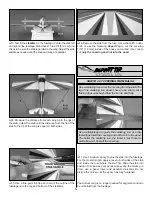
2. Insert the hinges half-way into the ailerons. Pins can
be used to keep the hinges centered. Fit the ailerons to the
wing panels by sliding the hinges into their mating slots at an
angle. With the aileron pressed into position, deflect it
downward and apply six drops of thin CA glue to the center
of each hinge. Flip the wings over and apply CA to the other
side of the hinges.
❏ ❏
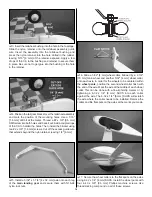
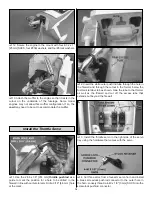
3. Remove the servo hatch from the bottom wing panel
and trim the covering from the servo arm cutout.
Install the Ailerons & Servos
ASSEMBLE THE WINGS
PREPARATIONS
7

