❏
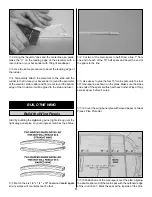
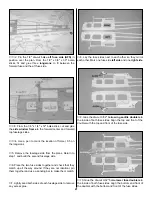
13. Test fit the firewall on the front of the fuse. The spacers
on the back of the firewall are positioned on the left side. The
firewall fits against the front deck and the lower fuse doubler.
❏
14. When satisfied with the fit of the firewall, use CA to
glue the front deck to the fuse sides and former F-2. Do not
glue the front deck to the firewall yet.
❏
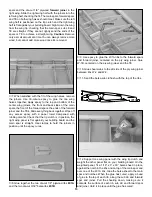
15. Use 30-minute epoxy to glue the firewall to the fuse
sides and front deck. Before the epoxy cures, wipe off any
excess epoxy using a paper towel dampened with rubbing
alcohol. Use clamps to hold the fuse sides tight against the
firewall until the epoxy cures.
❏
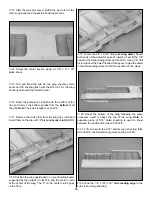
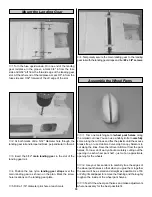
16. From the 1/4" x 1/4" x 24" basswood stick, cut and
glue firewall reinforcements in the joint between the firewall
and fuselage sides and the firewall and front deck.
❏
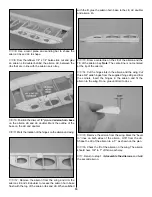
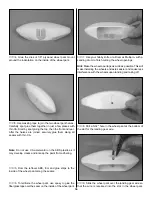
17. Temporarily install the die-cut 1/8" plywood fuel tank
tray. Note that the front of the tank tray is angled to match
the right thrust of the firewall. The fuel tank tray may be
permanently glued to the firewall and former F-2 at this time,
or two 1/2" long sticks may be cut from the remaining
1/4" x 1/4" basswood stick and glued to the aft edge of
former F-2, flush with the bottom of the fuel tank tray. Do not
glue the tank tray to the 1/2" sticks. The tank tray can then
be installed with two #2 x 3/8" sheet metal screws threaded
into the 1/2" sticks.
❏
18. Use epoxy to glue the 1/2" x 5/8" x 3/4" basswood
torque blocks to the bottom of the 1/2" x 3/4" x 4-13/16"
basswood landing gear rail.
25

