❏
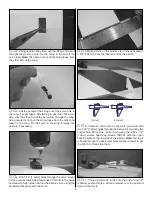
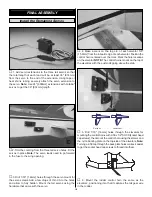
1. Add servo extensions to the three tail servos so that
the total length of each lead will be at least 36" (914mm)
from the servo to the end of the extension. Using tape or
heat shrink tubing, securely attach the servo extension to
the servo. Note: Use 24" [600mm] extensions with Futaba
®
servos to get the 36" [914mm] length.
❏
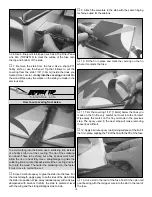
2. Trim the covering from the three tail servo holes. Fit the
servos in place. Note: The servo leads need to go forward
in the fuse to the wing opening.
❏
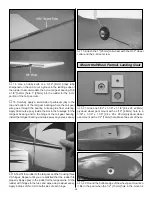
3. Drill 1/16" [1.6mm] holes through the servo mount for
the servo screws. Add a few drops of thin CA to the holes
and allow to fully harden. Mount the tail servos using the
hardware that came with the servo.
❏
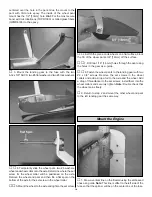
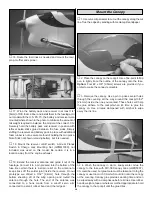
4. Make a mark on the top L.E. of each elevator 5/8"
[15.9mm] from the inboard edge of each elevator. Position the
control horn centered over the mark. Mark the hole locations
on the elevator. NOTE: The control horns mount on the top of
the elevators with the pushrods going above the stab.
❏
5. Drill 1/16" [1.6mm] holes through the elevators for
mounting the control horns with 2-56 x 1/2" SHCS [socket head
cap screws], then mount the control horn using the screws and
the nylon backing plate on the top-side of the elevators. Note:
Turning a 2-56 tap through the back plate holes makes it easier
to get the socket head cap screws to thread into them.
❏
6. Mount the rudder control horn the same as the
elevators’, positioning it so that it captures the tail gear wire
in the rudder.
Correct
Incorrect
Install the Remaining Servos
FINAL ASSEMBLY
18


