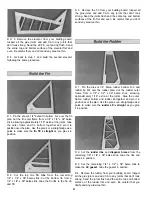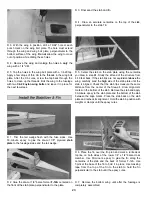
D 5. Use thin CA to glue the LE sheet to the main spar.
D 6. Fit and glue the second LE sheet to the other wing
panel, following the same procedure.
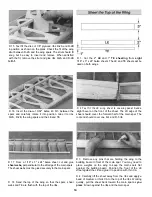
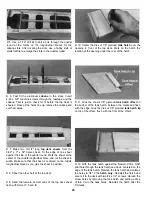
D 9. From 1/16" x 3/16" x 30" balsa stick, cut and glue cap
strips to the top of the R-1 ribs. The edge of the cap strip
on the R-1 tip rib should be flush with the side of the rib.
Use two cap strips, edge-glued at the center of rib R-2A on
the double rib, for the strut. Trim the cap strip over the slot
for the strut.
Hint: A single-edge razor blade works well for this type
of cutting.
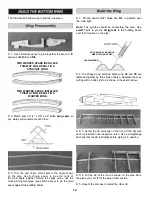
D 7. Glue the 1/16" TE sheet, cut in step 1, to the TE and
the top of the ribs
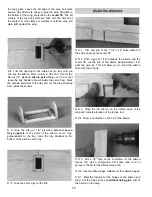
D 10. Remove the wing from your building board. Cut and
sand the LE, TE, main spars and top sheeting flush with the
side of tip rib R-1.
D 8. Use a 1/16" x 3" x 30" balsa sheet to make the center
sheeting between the LE sheet and the TE sheet. Save
the remaining sheeting for the bottom center sheeting. The
center sheeting filler is made from a 1/16" x 3" x 24"
balsa sheet.
Note: See the plans for clarity. Before you glue the center
sheeting in position, remove any T-pins from under
the sheeting.
The bottom of the wing is sheeted following the same
procedure as the top of the wing.
D 1. Use a hobby knife and sanding bar to remove the jig
tabs on the bottom of the ribs. Sand the TE, main spars,
shear webs and the top of the ribs to blend them together.
D 2. Cut out the aileron servo opening in the top center
sheeting using the aileron servo cutout in rib R-6 as a
guide. Make the opening slightly smaller than the servo
cutout in the rib. The opening will be enlarged when the
servo tray is installed.
15


