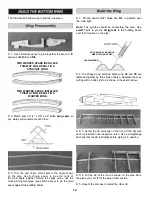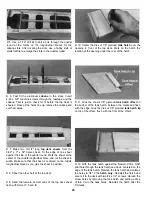
D 5. Use a 1/16" drill bit to drill a hole through the quarter
round at the marks on the longitudinal braces for the
cabane slots. After locating the slots, use a hobby knife or
small, flat file to enlarge the slots in the quarter round.
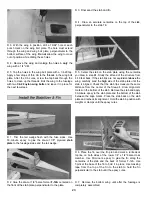
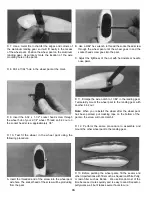
D 10. Center the die-cut 1/8" plywood tank hatch over the
opening in front of the top deck. Mark on the hatch the
location of the opening under the rear of the hatch.
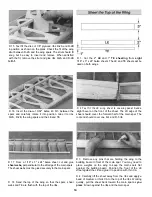
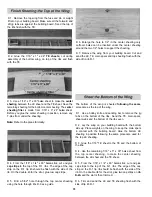
D 6. Test fit the aluminum cabane in the slots. Insert
4-40 x 3/8" machine screws through the fuselage and the
cabane. This is just to check for fit before the top deck is
sheeted Once all the holes line up, remove the cabane and
set them aside.
D 11. Glue the die-cut 1/8" plywood tank hatch offset on
the bottom of the tank hatch, between the marks and flush
with the edge. Glue the die-cut 1/8" plywood tank hatch lip
on top of the offset, flush with the front of the off-set.
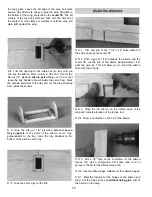
D 7. Make two 13-1/2" long top deck sheets from the
3/32" x 3" x 36" balsa sheet. Fit the edge of one sheet
against the side of the quarter round. Mark the sheet at the
center of the middle longitudinal brace and cut the sheet to
width. Make sure that the sheet is centered on the middle
longitudinal brace as you glue the sheet in position.
D 8. Sheet the other half of the top deck.
D 9. Sand the forward and aft ends of the top deck sheet
flush with former F-5 and IP.
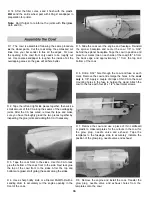
D 12. With the tank hatch against the firewall, drill a 3/32"
pilot hole through the tank hatch and deck, centered on the
edge of the tank hatch. Remove the tank hatch and enlarge
the holes to 1/8" in the hatch only. Reinstall the hatch and
secure it to the deck with two #4 x 1/2" screws. Harden the
screw holes by removing the tank hatch and putting a drop
of thin CA in the deck holes. Reinstall the hatch after the
CA cures.
26

