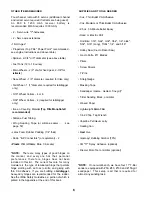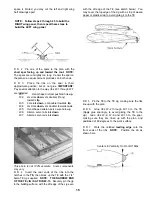
IMPORTANT NOTE: To insure a straight wing,
you must pin or weight the TE securely down on
the TE jig while the bottom sheeting is glued in
place!
D D 35 Sand a bevel on the front of the LE
sheeting, and glue it in place as previously done on
the top (When bending the sheeting down over the
ribs, use long strips of masking tape to hold the
sheeting down, rather than using heavy downward
pressure with your hands, to avoid introducing warps).
NOTE: If you are using fixed taildragger gear, you
will need to cut a slot in the sheeting to fit around the
main gear block If you are using retracts, you will be
sheeting over the retract mechanism If you have
installed retracts, use your measurements and
reference marks to locate and trim away the sheeting
at the center of the retract unit
DO NOT install the bottom center section sheeting
at this time.
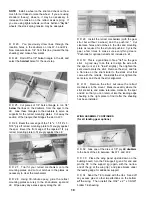
the TE sheeting, and it should extend about 1/8" past
the ribs on each side to simulate cap strips Cut a
hole in this sheeting over the servo rails just big
enough for the servo to pass through, then mount the
servo to the rails NOTE: For most standard servos,
this will result in the top of the servo case being flush
with the sheeting, with only a enough gap in the
sheeting at each end of the servo for servo installation
and access to the mounting screws.
D D 38. From the 3/32" x 3/8" x 36" balsa sticks, cut
and glue cap strips to ribs W-5, W-8, W-9, W-10, W-
11,W-12andW-13.
DO NOT install the bottom center section sheeting
at this time.
D D 39. Remove the wing panel from the building
board and re-check your glue joints Sand the
sheeting flush with ribs W-1 and W-13. Sand the TE
sheeting flush with the TE.
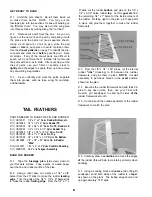
D D 40 Cut a 3" piece and a 6" piece off the 1-1/2" x
40" tapered balsa aileron stock and glue these pieces
to the tip and root ends respectively (see the wing
plan) IMPORTANT: When gluing these pieces,
make sure they line up equally with the top and bottom
surfaces of the wing Sand these pieces flush with W-
1 and W-13 and to blend smoothly with the wing.
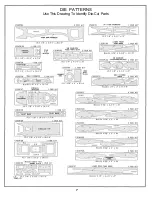
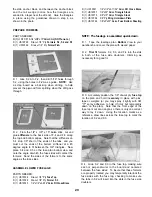
D D 36. Glue the 1/8" x 1/2" x 3-1/4" ply aileron
servo rails into the slots in W-6 and W-7, spacing
them to fit your servo Temporarily mount a servo to
the rails. Make reference marks for the edges of the
servo on the LE and TE sheeting and on ribs W-5 and
W-8 which you will use in the next step Now remove
the servo.
D D 37. Using the 3/32" x 3" x 18" balsa sheet, cut
and glue pieces to the bottom of ribs W-6 and W-7
This sheeting covers the area from the LE sheeting to
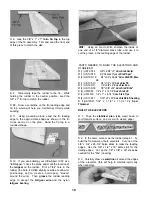
D D 41 Glue the 1-1/4" x 1-7/8" x 11-5/8" balsa
wing tip to rib W-13 Then carve and sand it to the
shape shown on the plan. A razor plane and a
sanding block with coarse sandpaper will speed this
task.
19


