❏
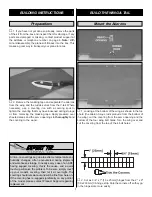
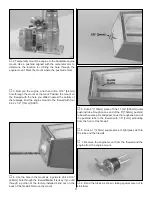
3. Test fit, but do not glue the aileron to the wing with the
hinges. If you have difficulty inserting the hinges, insert a
#11 blade into the slot and carefully move it back and forth
to slightly widen the slot.
❏
4. Separate the ailerons from the wing and take out all
the hinges.
❏
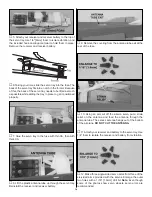
5. Cut a small strip of covering from both sides of each
hinge slot. If not done the covering may interfere with the
penetration of the CA into the slot and the free movement of
the aileron.
❏
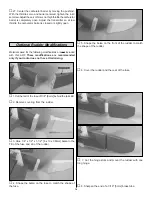
6. Stick a pin through the center of each hinge. Fit the
hinges into the ailerons. Use a toothpick to push epoxy into
the torque rod hole in the aileron. Fit the ailerons to the wing
with the hinges. The pin will keep the hinge centered.
Remove the pins from the hinges. Adjust the ailerons so
there is a small gap–just enough to see light through or to
slip a piece of paper through.
❏
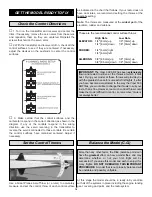
7. Apply six drops of thin CA to the top and bottom of
each hinge. Do not use CA accelerator. Gently work the
aileron up and down while the glue hardens. After the CA
has fully hardened, test the hinges by pulling on the
ailerons.
❏
1. Test fit the aileron servo and the 3/8" x 3/8" x 1-1/4"
[9.5 x 9.5 x 32mm] basswood aileron servo rails in the wing.
Mark the covering around the rails. Remove the covering
from the contact area between the rails and the wing. Epoxy
the rails to the wing.
❏
2. Mark and drill 1/16" [1.6mm] holes through the servo
rails for the servo screws. Add a few drops of thin CA to the
holes and allow to fully harden. Mount the aileron servo
using the hardware that came with the servo.
❏
3. Make a two-sided servo arm. Enlarge the holes in the
arm with a Hobbico Servo Horn Drill (or a #48 or 5/64" [2mm]
drill bit) so the aileron pushrods will fit.
❏
4. Thread both nylon torque rod horns onto the aileron
torque rods until the edge of the horn aligns with the edge
of the rods. Note: Turning a 6-32 tap through the horns will
make them turn onto the torque rods easier.
Install the Aileron Servo & Pushrods
8

