❏
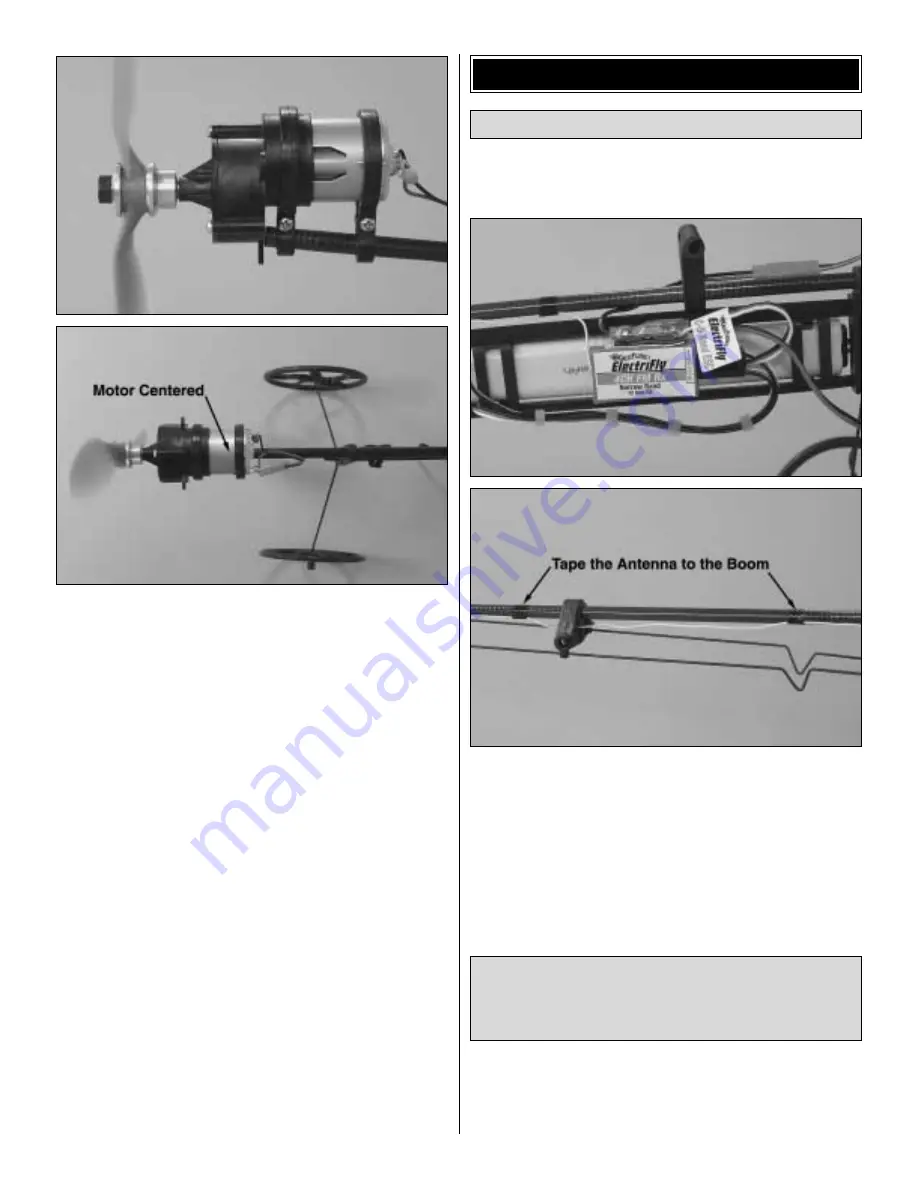
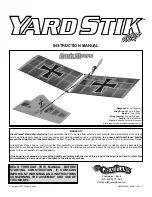
9. Mount the motor to the fuselage with the front and
rear mounting straps and two #2 x 1/2" [13mm] screws
(the larger strap goes in front). The straps should also be
arranged so the screws go in from the left side. Tighten the
screws enough to secure the motor, but do not strip out the
plastic. When viewing the motor from above, the motor
should be centered on the fuselage.
It will be a little easier to set up the radio
before mounting the wings.
❏
1. Determine how the receiver and speed controller will
be positioned. Make sure all the wires will reach their
connections. Mount the speed controller to the receiver and
mount the receiver to the battery holder using double-sided
foam mounting tape. Connect all the wires. Use the black
strips provided on the decal sheet to tape the receiver
antenna to a few locations along the fuselage boom. Hint:
Use small pieces of fuel tubing (not supplied) to neatly hold
the servo wires together.
❏
2. For safety, remove the propeller from the motor. This
will prevent potential injury in case the motor unexpectedly
turns on while setting up the radio.
Caution: Do not connect the motor wire to the speed
controller unless flying the model or setting up the radio on
the workbench. Otherwise, the motor could unintentionally
and unexpectedly turn on.
Set Up the Radio
FINAL SET UP
10


