4
Clicking sound
This sound is the oscillator moving back and forth in
the oscillator chamber. The best speed for it is about
500 oscillations per minute. The vibration created by
the oscillator moves the bristles and the cleaner. If the
oscillator is running too fast, the cleaner will have a
tendency to climb up the pool wall past the waterline,
or “walk out of the pool”.
Movement around the pool
Random motion – The cleaner will visit most spots in
the pool in a 6 hour period. It is not specifically pro-
grammed and cannot see the dirt you are seeing. It is a
random motion cleaner.
The cleaner was designed to spend most of its time in
the deep end, where most of the floor and wall area
exists. During a 6 hour period the cleaner will visit the
shallow end a few times.
Rotating motion – The cleaner will rise up on one side
and pivot a few times per minute. This is normal and
provides the following:
1. Allows leaves that are being pushed or dragged along
to be sucked up into the vacuum chamber.
2. Allows the cleaner to:
Change direction
Get out of corners
Get away from ladders
Submerge below pool water level
Get off of domed main drain covers
Picks up big “stuff ”
The cleaner will pick up some debris so large that it
may jam. Simply stop the pump and remove the debris
from the oscillator or the swivel assembly.
ABOUT THE CLEANER OPERATION:
ABOUT “FINE-TUNING” VACUUM ADJUSTMENTS AND CONNECTIONS:
Pool pump suction is hazardous and
can cause entrapment with severe personal injury
or drowning. Use vacuum regulator (see instructions
below) in pool cleaner system unless pool cleaner will
not operate with regulator installed.
Note:
Each pool’s hydraulic system and vacuum con-
nections are different. Be sure you have installed the
white plastic vacuum regulator
before you “fine-tune”
the system. This not only regulates vacuum, but also
acts as a safety device.
Suction entrapment, injury, and drown-
ing hazard. If your pool has a dedicated suction
port (“vac port”) for vacuuming or for an automatic
pool cleaner, it must be covered when not in use.
Purchase a spring loaded safety cover from your local
pool store and install it on the suction port to prevent
entrapment and injury.
For the “NOVICE POOL OWNER” where vacuuming
is a new experience, please read all of the following
points, installation instructions, and trouble shooting
guide carefully.
Please note the following:
• “Vacuum” and “suction” are two words meaning the
same thing.
• “Dedicated suction line”, “vac port”, and
“vac fitting” are different terms for a
hole in the side wall of pool; this hole
is connected to the pump suction and
is dedicated to vacuuming.
• Some pools do not have a vac port. If
your pool does have one, please read
the “Suction Entrapment” warning at left.
For the “SEASONED POOL OWNER”: The automatic
pool cleaner connection and vacuum adjustments can
be similar to using your manual pool vacuum. Please
read on.
Valves (pump, skimmer, and main drain)
and vacuum adjustments
You may need to spend some time adjusting the skim-
mer and main drain valves in order to obtain the best
vacuum setting for good cleaner operation. Once you
have found the correct valve settings for best operation,
we suggest you mark the valves to ensure repeated
success.
At first, set valves to give maximum vacuum to the
skimmer or vac fitting you have elected to use.
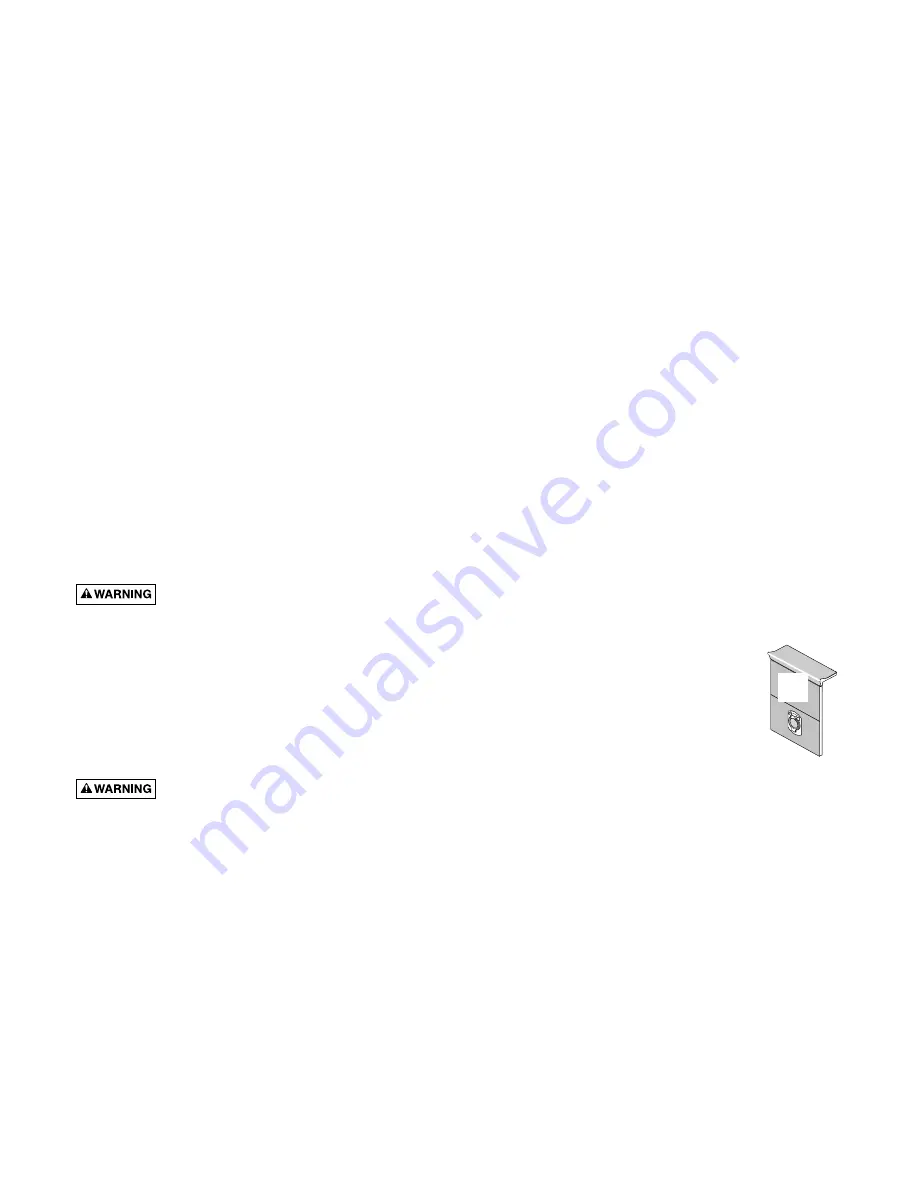
Vac
Port