6
Applying Power
ControlKeeper® TouchScreen Logic Board
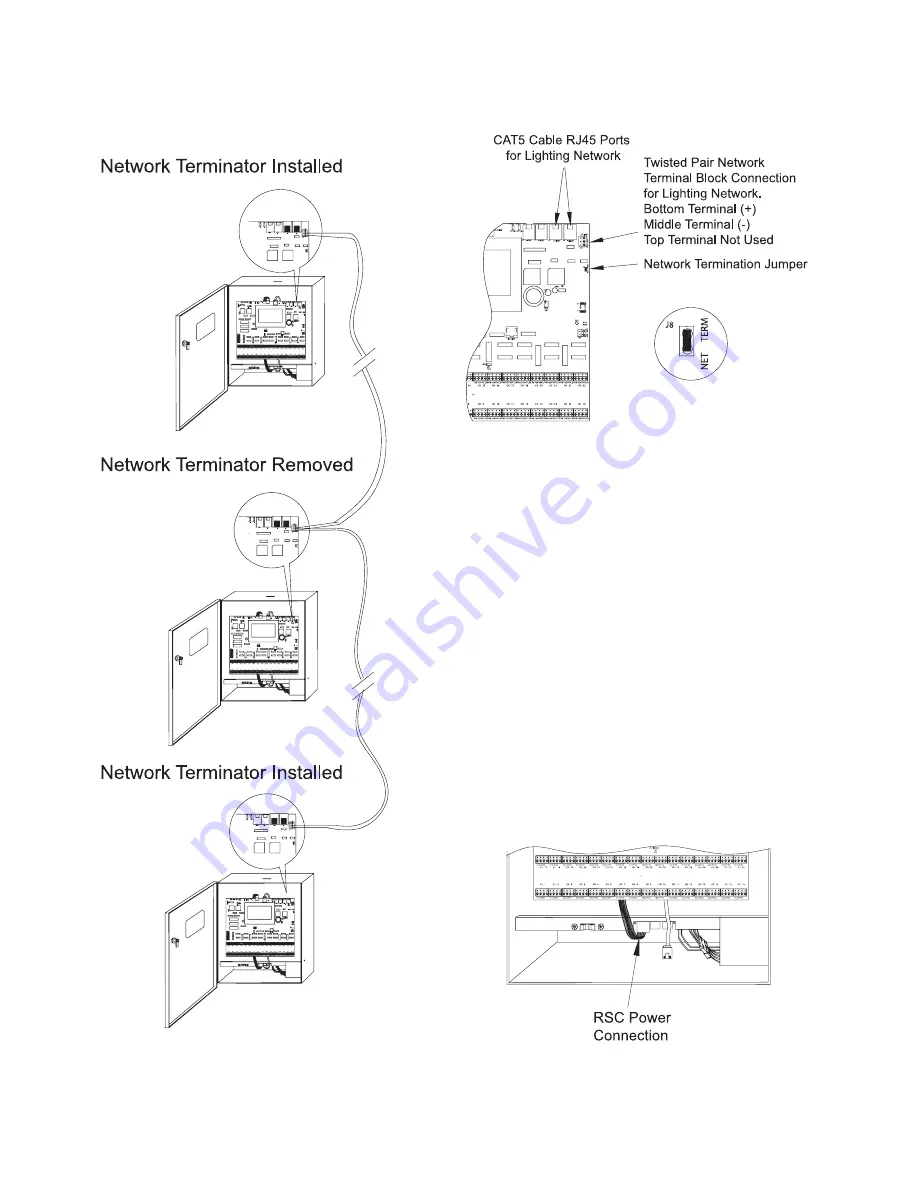
Figure 5. Twisted Pair Network Wiring Detail
Figure 6. Network Wiring Components
Applying Power
1. After wiring is complete, make certain to clean panel
of all wire clippings and fragments ensuring that no
fragments get lodged between the circuit board and
enclosure.
2. Ensure that there are no loose wires or exposed wires
that could short. Plug in the power wire (white plastic
connector with six wires attached) that comes out of
the top of the CKT logic panel into the Relay Stack
Controller Card (RSC) located at the bottom of the
enclosure. This connection should be made to the left
most terminal on the RSC. See Figure 7 below. The
controller display should power up and display the
MAIN SCREEN.
3. Plug in the power wire (white plastic connector with six
wires attached) that comes out of the top of CKT logic
panel into the Relay Stack Controller Card (RSC) located
at the bottom of the enclosure. This connection should
be made to the left most terminal on the RSC. See
Figure 7 below. The controller display should power up
and display the MAIN SCREEN.
Figure 7. RSC Power Connection


