16
REAR ASSEMBLY
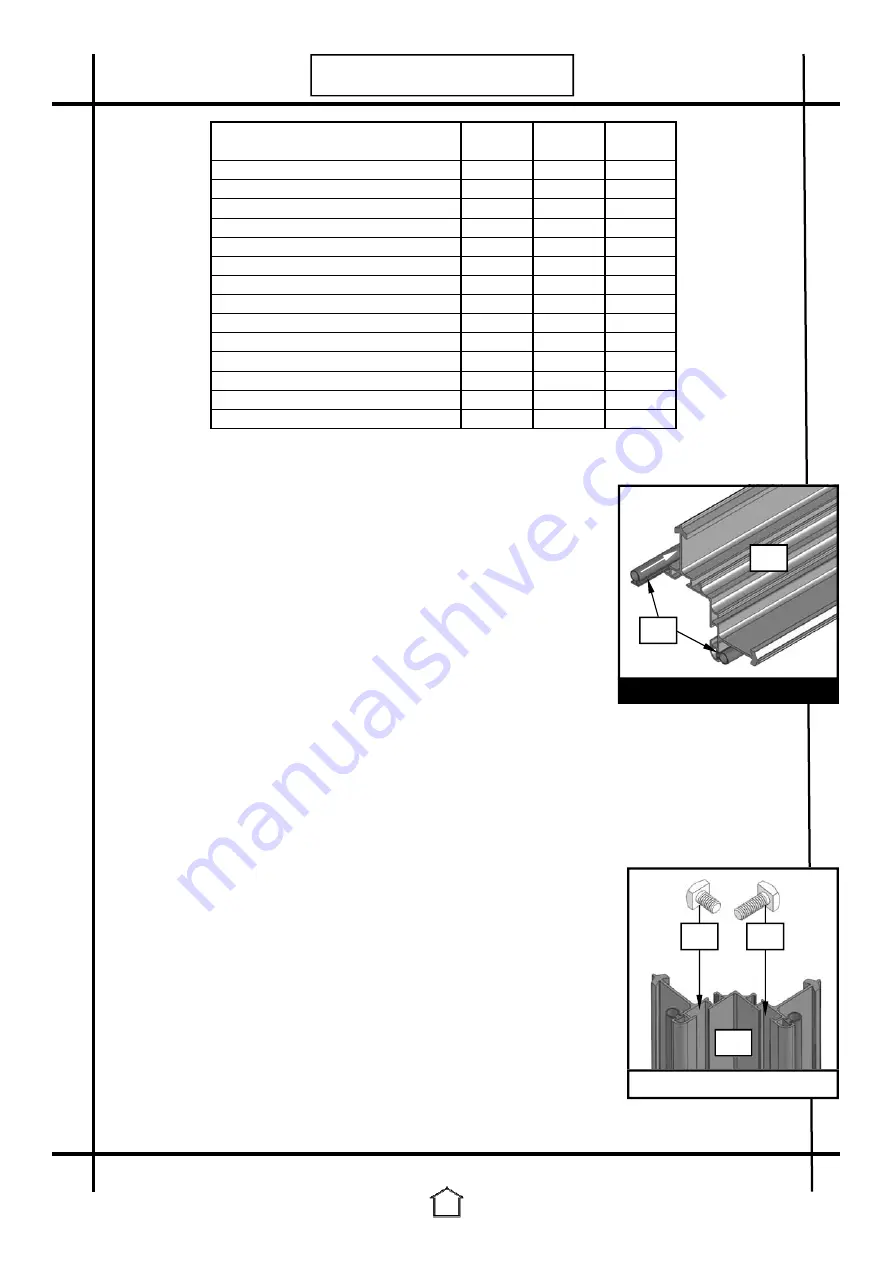
1.Slide the glazing rubber into the channels in the glazing bars and corner bars. Do not put
glazing rubber into the middle slots of the corner bars (see diagram
on the right).
2.Lay out the frame as though you were standing on the inside i.e.
with the bolt slot uppermost. The roof corner bars are mitred at one
end whereas the side corner bars are not.
The bolt slot is on the inside
and faces inwards during initial construction.
3.Slide a 10mm (576) bolt into the bolt channels of each roof corner bar
and put a nut on, finger tighten 50mm (2") from the top (Diagram F).
These will be used later in the assembly. On the side corner bars, the
bolt channel that attaches to the flange on the roof corner bars, needs a
longer 15mm bolt at the top so that the purlin and diagonal bracing can
be fixed by the same bolt (Diagram bottom right). Now slide up from the
bottom of the bar an extra 10mm bolt in the bolt channel for the second
rear purlin leaving it without a nut. You also need to slot a 15mm bolt in
each bolt channel 50mm (2”) from the bottom so a base anchor bracket can be attached at a later
stage when fixing the greenhouse to the ground. The roof corner bars 410 & 416 also need two
extra 10mm bolts sliding into the channel, this is to attach the hanging basket rail at a later stage
(Marked ‘@’ on page 17 and 19).
4.Bolt the square end of the roof corner bar onto the side corner bar with the diagonal bracing and
the rear purlin on the same bolt, lightly tighten the nuts (Diagram E).
5.Now secure the ridge plate by inserting bolts through the "plate" and into the holes punched in the
flange of the roof corner bar, at the apex (Diagram F).
6.Attach the rear cill to the side corner bars by using one of the 15mm bolts
inserted in “step 3”. Loosen the bolt and drop it into the slot in the cill
(Diagram G).
7.Insert rubber into the three rear glazing bars and then attach to the cill by
slotting a 15mm bolt into the bolt channel of the glazing bars and locating
it with the punched holes in the cill. Before securing the nuts attach the
diagonal bracings to the two outer bars using the same bolts (Diagram H).
8.Slide three 10mm bolts into the bolt channel at the top of the three rear
glazing bars, the first bolt is to attach the lower rear purlin, the second bolt
is to attach the top purlin and the third bolt attaches the outer two glazing
bars to the roof corner bars, do this by inserting the bolt through the
punched hole in the flange of the roof corner bars. The middle glazing
bar attaches to the ridge plate using the hole in the middle of the plate.
9.Check that all angles between the cill and the vertical members are at right angles and that the
glazing bars are tight into the cill at the bottom
(Key point)
. Finally tighten all nuts.
430
570
430
588
576
EXTERNAL VIEW
*When viewed from the outside.
Part Name
Part Length
Qty
No.
mm
Required
Base bracket
300
-
4
Bracing, flat
315
1,779
2
Bracing, rear purling - 8' W
318
2,496
2
Cill, front & rear 8' W
334
2,508
1
Glazing bar, corner, roof left - 8' W*
410
1,501
1
Glazing bar, corner, roof right - 8' W*
416
1,501
1
Glazing bar, corner, side
430
1,670
2
Glazing bar, front & rear - 8' W
438
2,075
2
Glazing bar, rear middle - 8' W
449
2,486
1
Ridge plate
500
-
1
Bolt, square head - 10mm M6
576
10
27
Nut - M6
579
-
34
Nut caps
580
-
34
Bolt, square head - 15mm M6
588
15
7
INTERNAL VIEW


