26
MAIN BUILDING ASSEMBLY
1. With the help of a willing assistant, stand up the rear gable and one of the sides. Standing on the
inside of the structure with the gutter facing away from you, insert the gutter bar into the gap
between the corner bars, so that the inside flanges which form the angle of roof and side line up
with the bolts in the corner bars (Diagram CC).
2. Loosen the nuts holding the 2 bolts previously inserted into the corner bars and slide them into the
slotted holes in the flanges of the gutter, then tighten (Diagram CC & DD).
3. Repeat step 2 with the bottom bolt and attach to the side cill.
3. Now stand up the door end assembly and repeat the above procedure.
4. Stand up the other side frame and repeat the operation outlined in 1 and 2 above at both corners.
5. The bottom cill of the sides attaches to the corner bars in a similar way. Undo the nuts and bolts
inserted in the gable end assembly, move the cill under the corner bar so that the elongated hole in
the vertical flange of the side cill lines up with the bolt slot in the corner bar. Move the bolts down
the slot into the slotted hole, put a nut on and tighten up, ensuring that the corner bar is pushed
right down into the angle of the cill (Diagram DD). Do the same at the other 3 bottom corners.
6. The ridge bar is fitted next. If you insert a nut and 10mm bolt into each of the holes in the ridge
before you lift it into place you will make life easier later on when you are attaching the roof bars.
Lift the ridge bar up to the apex and standing on a pair of sturdy and safely placed stepladders push
the ridge into the small gap between the roof corners so that the 2 flanges which form the angle of
the roof are tight up against the inside edge of the roof corner bars. The vertical part of the ridge is
outside and pointing skywards. Undo the nuts and bolts previously inserted into the roof corner
bars during gable end assembly and push them upwards into the open ended slots in the ridge
(Diagram EE). Then tighten the nuts.
7. The roof bars can now be attached to the structure but first you must slide the glazing rubber into
the bars and trim to suit.
Attach the bars firstly at the ridge, if you have already inserted bolts into the ridge as suggested in
step 6 slide the glazing bar onto these bolts. If not then slide a bolt into the bolt slot of the roof bars
and placing the bolt through the holes in the flanges of the ridge. Put a nut on and immediately
prior to tightening ensure that the roof bar is pushed up hard against the ridge. Do not attach the
bottom of the bars to the eave until all the roof bars are bolted to the ridge.
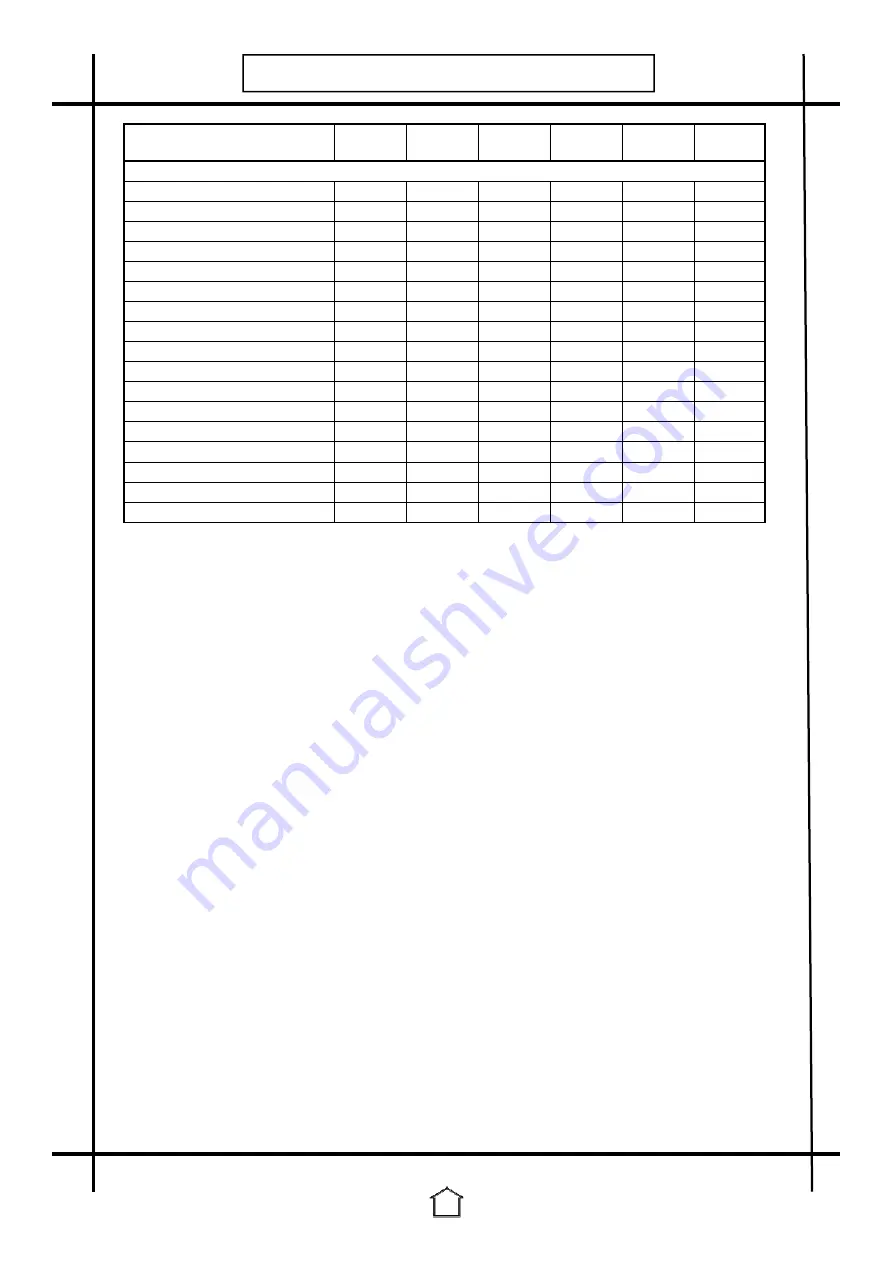
Part Name
Part
Length
8 X 6
8 X 8
8 X 10
8 X 12
No.
mm
Rear End
-
-
1
1
1
1
Front End
-
-
1
1
1
1
Side
-
-
2
2
2
2
Glazing bar, roof - 8' W
444
1,500
4
6
8
10
Ridge - 6' L
481
1,888
1
-
-
-
Ridge - 8' L
482
2,508
-
1
-
-
Ridge - 10' L
483
3,128
-
-
1
-
Ridge - 12' L
484
3,748
-
-
-
1
Bolt, square head - 10mm M6
576
10
28
44
60
76
Nut - M6
579
-
28
44
60
76
Nut caps
580
-
28
44
60
76
Cantilever, ridge
600
608
2
3
4
5
Cantilever, eaves
601
460
4
6
8
10
Hanging basket rail - 6' L
687
1,888
2
-
-
-
Hanging basket rail - 8' L
688
2,508
-
2
-
-
Hanging basket rail - 10' L
689
3,128
-
-
2
-
Hanging basket rail - 12' L
690
3,748
-
-
-
2
Note:
If you have purchased any
extension
packs or
partitions
you should now follow the
instructions for those upgrades. The instruction books for the upgrades will tell you when to
refer back to this main book.


