– 34 –
C R O S S C O U N T R Y F I V E - W A L L S E R I E S S T R A I G H T L E A N T O • G R E E N H O U S E I N S T R U C T I O N S
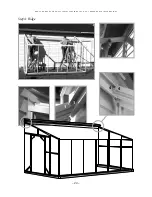
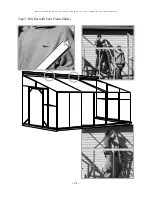
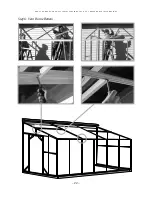
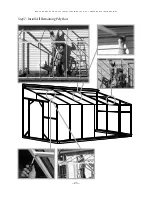
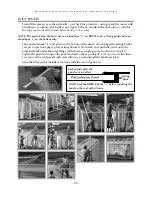
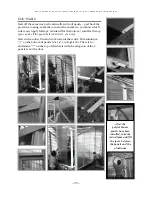
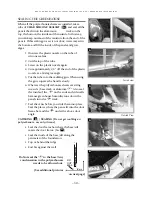
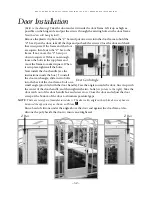
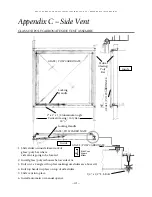
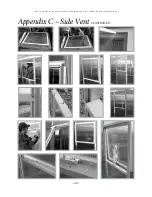
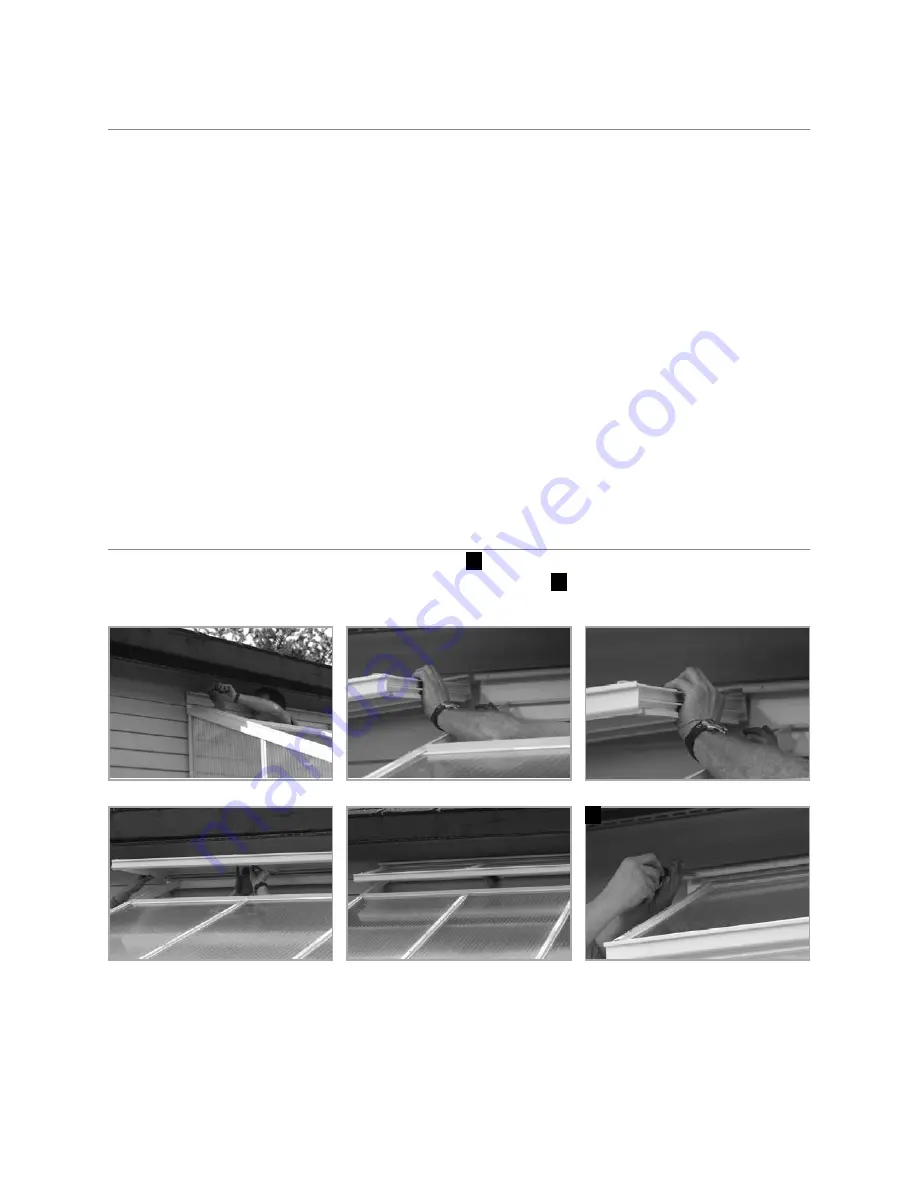
VENT ASSEMBLY
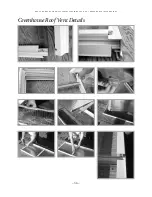
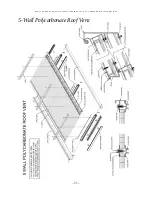
(SEE PICTURES & PAGE 36 & 37)
1.
Lay down the gutter with the punches facing up towards you.
2.
Polybars with sliders on are for the end. Lay them down with the bolt slot facing up.
3.
Hinge with punches facing up towards you.
4.
Slide the bolts into both ends of the end bar. Take the gutter and line up the bolt with the 1st
punch, slide the bolt down and tighten it. Do the same with the hinge, other side and center
bar. Make sure that the polybars are tightly fitted to the gutter and hinge after vent assembled.
5.
Turn it over and put a square where the polycarbonate goes. Push / pull to square it up.
6.
Put 1/8” foam on the polybars.
7.
Take polycarbonate panel, remove the film
(clear inside)
and slide it into the hinge track.
Before you do this; remove the paper from the foam tape and lightly spray with water so that
it doesn’t stick. Lay it on the foam and slide it into the hinge (top) section and then down
into the gutter track. Do the same with the next piece.
8.
Take the caps and lay them on the bars, center them, fasten with 1/2” screws.
9.
Take the silicone gun and seal where the sheets slide into the track.
Inside and out.
10. 3/4” screw through hinge and gutter into glass bars
.
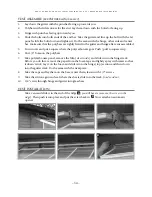
VENT INSTALLATION
Take vent and slide it in the end of the ridge
A
(
you will have to remove a the screw in the
ridge)
. Then push it into place and put the screw back in
B
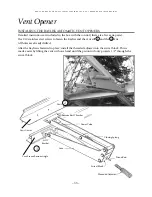
Now attach an automatic
opener.
B

