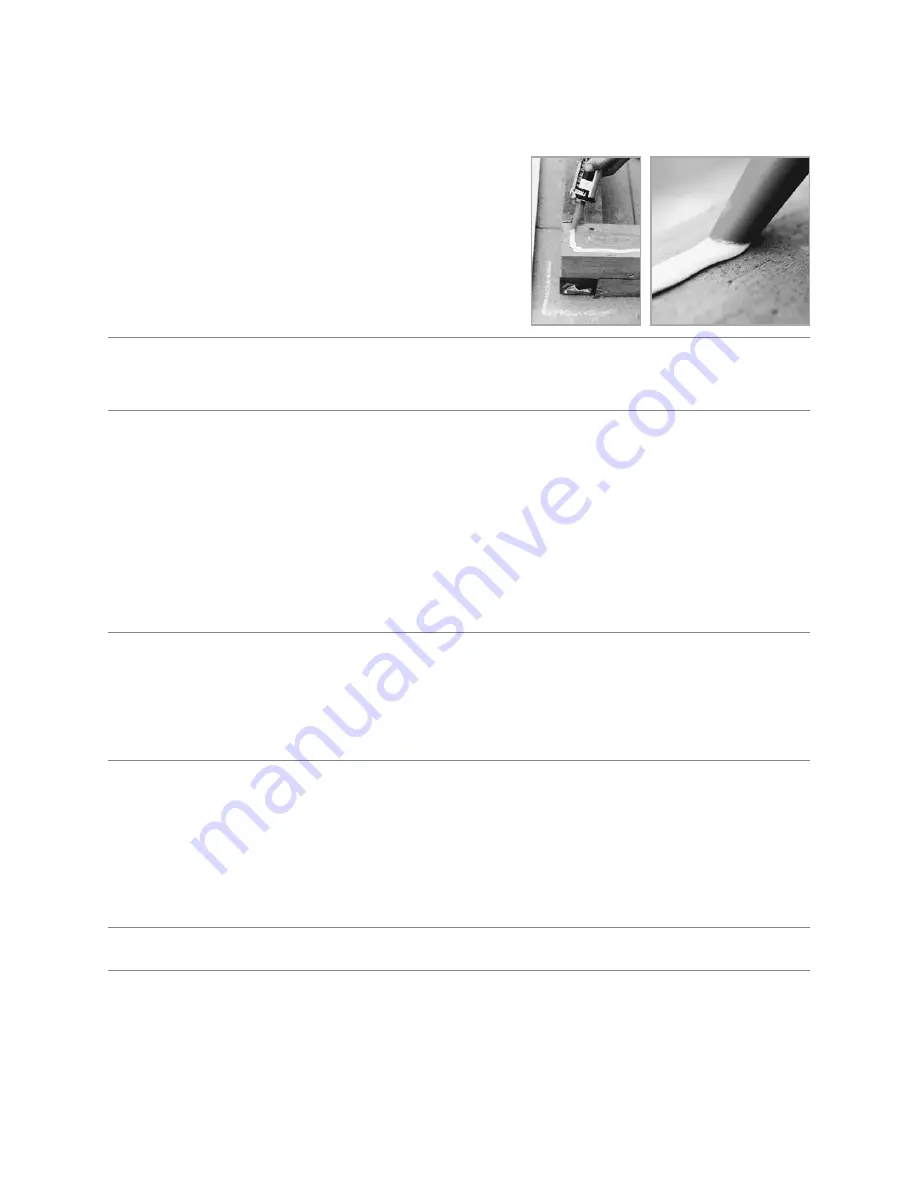
Aluminum Frame Installation
Check that the foundation is level and square . If your
foundation is larger than the greenhouse, mark a line on it
with a pencil or with a chalk line . Take a caulking gun and
put in a tube of caulking . Cut 1/4” off the top at a 25-degree
angle . Then put a bead of caulking on your foundation
approximately 1” in from the outside of the foundation or
the marked line .
DO NOT CAULK THE DOOR OPENING.
Measure your door opening in the front .
1 . SIDe BASe/SILL
Lay down the aluminum side base/sill flush with your base on the line you have marked out .
Push down on it so that the caulking squeezes out .
(See Step 1 Detail, page 14.)
2 . FronT GABLe enD
Stand up the door end, flush with your base or marked line . Slide up one bolt in the bottom
of curved glass end bar (front) . Take the end bar and push it into the side base where it is
notched . The back of the bar lines up with the first slot in the side base/sill . Slide the bolt
down and fasten it . When you are lined up and in the right place, screw down the front base/
sill using the screw holes that are already there . Then put one screw in the side base to hold it
in place . When you have fastened down the front, it should stand by itself . (If it is windy, you
will need another person to hold up the front, or you can use a stepladder so that the front
can lean against it .) next plumb the glass bar against the wall and put in 1” screw for now .
(
NOTE:
after the greenhouse frame is up, double check for square and plumb. Seal behind the glass
bar and the ridge, then put in all the screws.)
(See Step 2 Detail, page 15.)
3 . BACK GABLe enD
Follow the same procedure for the back gable end as you did for the front . When you have
bolted it to the side base and it lines up flush with your base/sill or marked line, then you can
proceed . Fasten the base/sill down to your foundation with the 1” screws that are provided .
When fastening the side/base sill to the foundation, be sure that the base is straight .
(See Step 3 Detail, page 15.)
4 . rIDGe
Before you slide in the ridge, put one bolt in the top of each end bar . Take the ridge
(one
person at each end)
and slide it between the end bars on the top . You will notice the punched-
out slots in the bottom flange of the ridge . The slots on the end line up with the bottom side
of the end bar . now slide in the ridge and slide the bolt into the ridge slot . Make sure that the
glass end bar is tight against the ridge – use a 7/16 flat wrench
(at this time you can temporarily
fasten the ridge to keep it from moving around - measure ridge height, don’t rely on gable bars)
.
4A . See APPenDIX A For TruSS ASSeMBLY InSTALLATIon For
GreenhouSeS LonGer ThAn 16 FeeT .
5 .
CurVeD GLASS BAr WITh SLIDerS (1, 2, 3 etc .)
each Glass Bar (with a vent frame slider) is marked with a number (1, 2, 3 . . .) to correspond
with the number on the ridge . Slide the bolt into the top of the Glass Bar and line it up with
the slot in the ridge . Move up the bolt and fasten it . Do the same for the bottom of the Glass
Bar . Slide in the bolt, lift up the end, and push it into the side base/sill as far as you can . Then
bolt it on . Do this for all the Glass Bars with sliders and numbers . The end of the bar should
be tight to the base .
(See Step 5 Detail, page 17.)
– 13 –
p r i d e o f t h e p a c i f i c S e r i e S c U r V e d G L a S S L e a N t o M o d e L • G r e e N h o U S e i N S t r U c t i o N S


