T R A D I T I O N A L S E R I E S S T R A I G H T L E A N T O M O D E L • G R E E N H O u S E I N S T R u c T I O N S
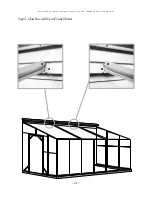
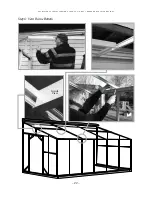
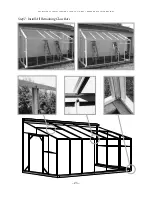
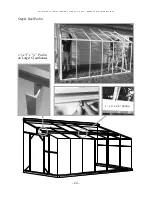
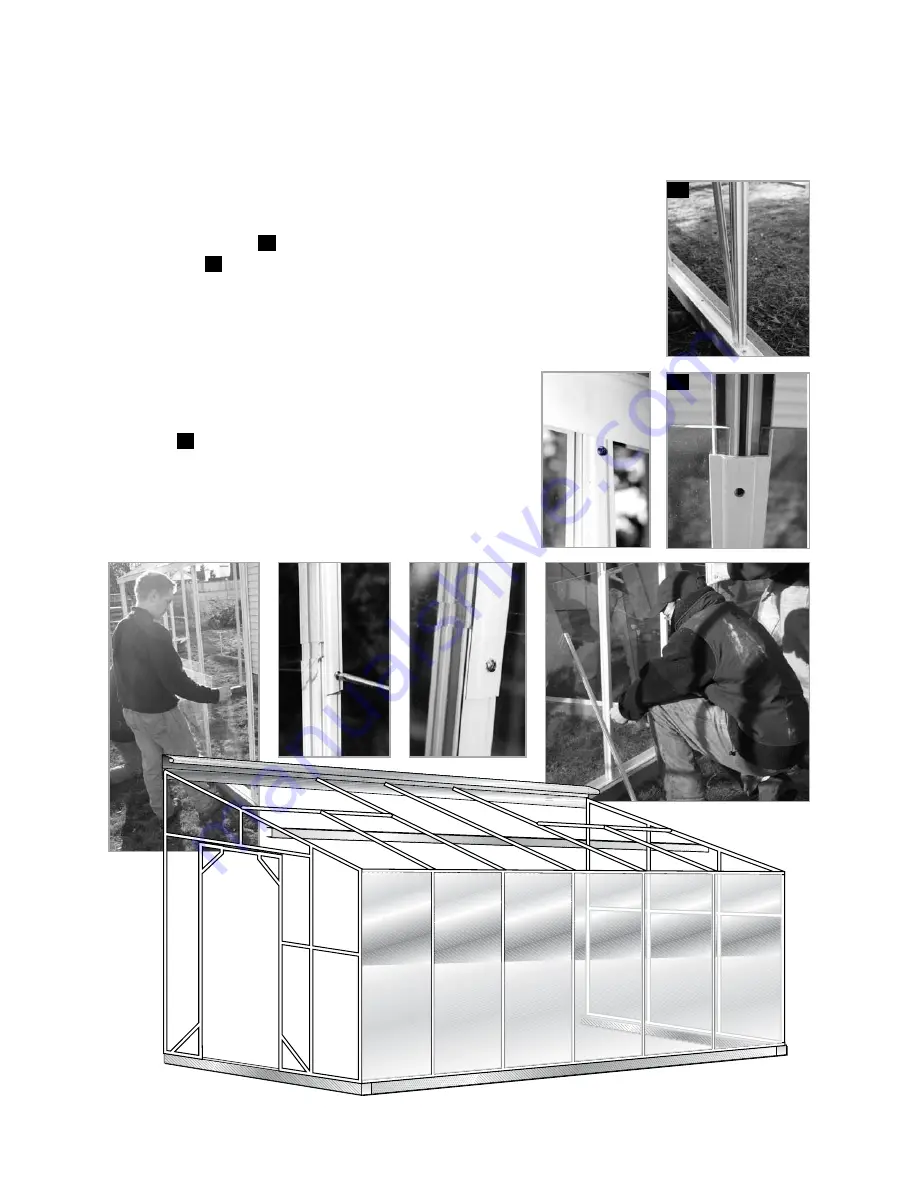
Glass & Cap Installation
(contd.)
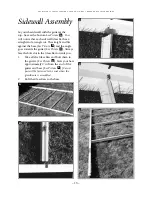
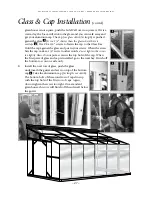
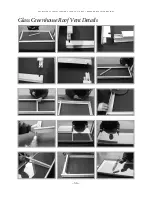
greenhouse is not square, push the Side Wall over to square it. If it is a
warm day, the foam will stick to the glass and you can walk away and
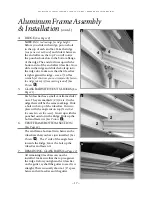
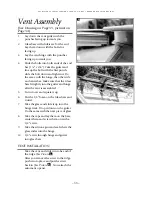
get your aluminum cap. The cap
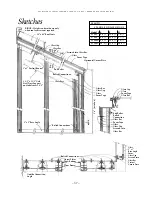
(see glass sketch for length)
is pushed
gainst the glass
3
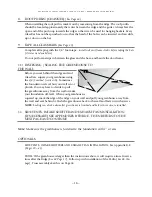
(It is a 1/2” shorter than the glass where there is
overlaps
4
)
. Use #8 x 3/4” screws to fasten the cap to the Glass Bar.
Hold the cap against the glass and put in your screws. When the screw
hits the cap, make a 1/4” turn. In other words,
do not tighten the screws
too tightly.
Also, do not put a screw in the top hole of the cap. When
the first piece of glass and cap is installed, go to the next bay. Finish off
the bottom row on one side only.
B.
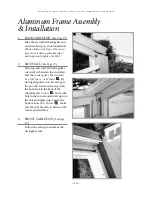
Install the next row of glass, push the glass
underneath the gutter and set it on top of the bottom
cap
4
. Take the aluminum cap
(for length, see sketch)
.
The bottom hole of the second row of caps line up
with the top hole of the first row of caps. Again,
do not tighten the screw too tight. On a standard
greenhouse, this row will finish off the sidewall below
the gutter.
3
4
– 27 –

