C3 Auto Whip Clad Cable Cutter
Greenlee Tools, Inc.
4455 Boeing Dr. • Rockford, IL 61109-2988 USA • 815-397-7070
16
Operation
(con’t)
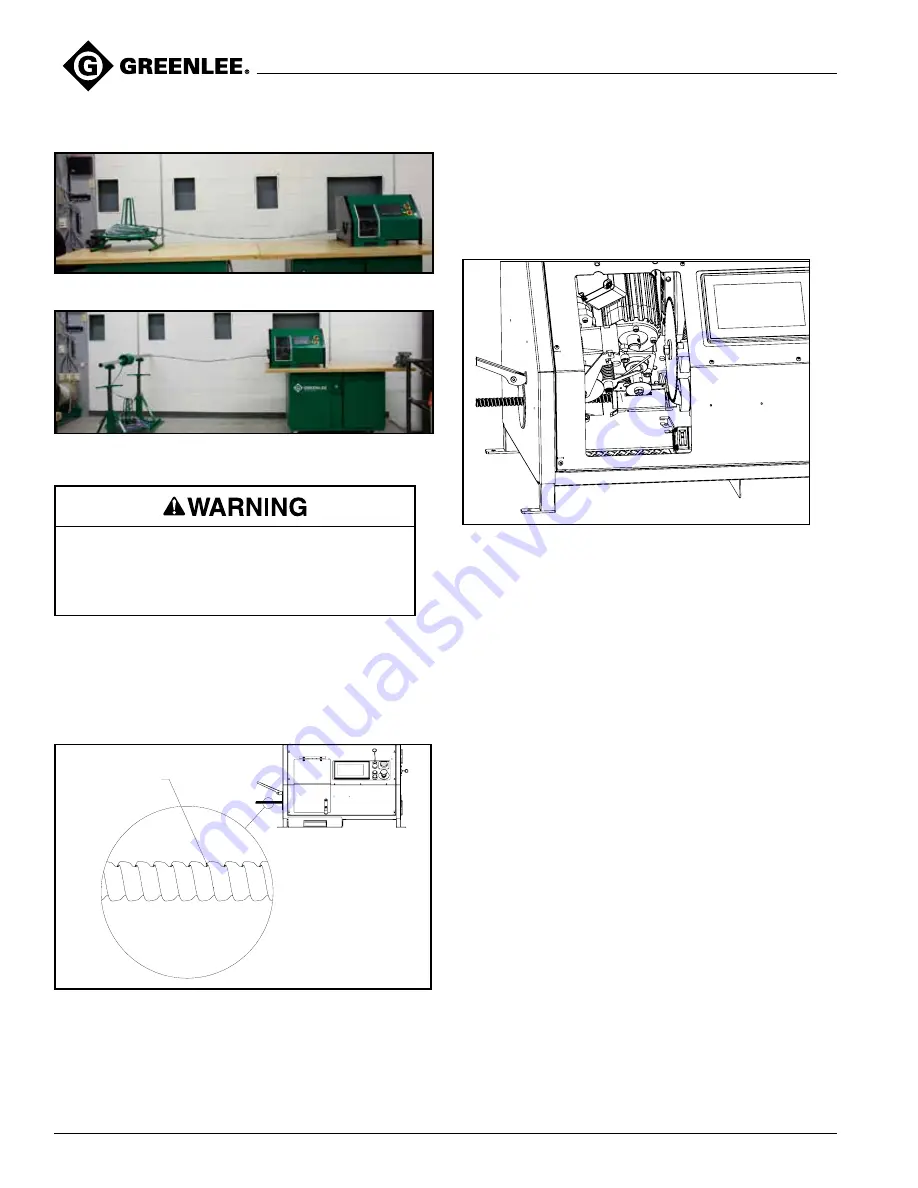
Figure 16
Figure 17
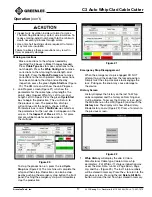
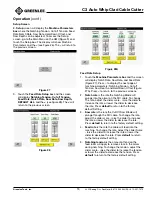
Securely fasten the spindle to the two stands and
secure the two stands from moving. Cable leaving
the inside of the coil may be twisted and cause the
roller, spindle, and stands to tip over as the cutting
machine pulls the cable.
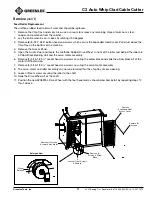
6. Raise the tensioning lever (10) to remove tension
between the feed rollers.
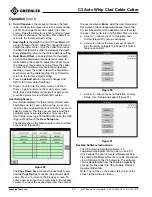
7. Examine and orient the MC cable, so the seam on
the armor is toward the tailing edge when the cable
is feed into the machine (see figure 18).
SEAM ON ARMOR
IS ON TAILING SIDE
Figure 18
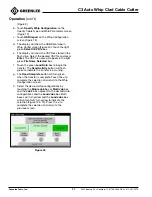
8. Feed the cable into the input horn (11) on the left
side of the machine, between the two feed rollers,
between the notch clamping plate and V-shaped
support and stop when the end of the cable is flush
with the cut off blade (see figure 19).
a. The cable goes over the rubber feed roller
b. The cable goes across the V shaped
notching support
c. The cable end is flush with the 7-1/4” Cut Off
Saw Blade.
Figure 19
9. When loading large diameter cables, it will be
necessary to press the
Load Cable
button. This will
move the blades up to their highest position so that
the cable can be fed through without obstructions.
When the Load Cable button is pressed the button
will turn yellow to indicate that the motors are
returning to their home position and then the button
will turn green to indicate that the motors have
reached their home position.
10. If necessary, open the clear access door (8) to
help feed the MC cable. See instructions for
Access Door.
11. Lower the lever to apply tension to the feed rollers.
Lowering the lever will provide the sufficient force
on the steel guide roller to clamp the cable against
the rubber feed roller.
12. Close the access door (8) if open and check that the
switch key is fully engaged.
Note: Inspect the whip length, lead length, tail length,
notch depth, and notch length for accuracy.
1
2
3
4
1
2
3
4
D
C
B
D
C
B
A
5
- NOTICE -
This drawing is the property of Greenlee and
embodies a confidential proprietary design in which
Greenlee retains all patents, patents pending and
other rights, including exclusive right of use,
manufacture and sale. It is submitted under a
CONFIDENTIAL relationship for a specific purpose
and the recipient agrees, by accepting this drawing
and information, not to supply or disclose any
information regarding it to any unauthorized person.
Nor may any part of it be copied, exhibited or
furnished to others, nor may photographs be taken of
any article fabricated or assembled from this drawing
without the consent of Greenlee. This drawing must
be returned on request.
C 2016 GREENLEE TEXTRON
GREENLEE TEXTRON INC. IS A SUBSIDIARY OF TEXTRON INC.
(PRODUCT, CATALOG NUMBER)
DRAWING UNITS
INCH
THIRD ANGLE
PROJECTION
DO NOT SCALE DRAWING
OLD NO.
00
DATE
1:3
REV.
C
SIZE
SIMILAR TO
DRAWN BY
SCALE
CAGE CODE
PRINT & MFG NO.
INITIAL USE:
PART NAME / TITLE
- MATERIAL -
SHEET 4 OF 4
52081125_extra views
GEOMETRIC DIMENSIONING & TOLERANCING PER ASME Y14.5M
TOLERANCES UNLESS OTHERWISE SPECIFIED
REV
DESCRIPTION
BY
DATE
ECO NO. ENGINEER
INCH TOLERANCES
.XX = ± .03
.XXX = ± .010
ANGLES = ± 0° 30'
DEBURR HOLES AND SHARP EDGES
A
5
HEAT TREAT


