G e t t i n g S t a r t e d
P o w e r N o d e s U s e r G u i d e
| 7
You can change the room color for a PowerNode as needed. For example, you might decide that you no
longer want to be able to turn the connected device on and off remotely. You could then switch the
PowerNode’s room color to the white locked position to prevent control of the attached device remotely.
Perform the following:
•
Turn the wheel to set the PowerNode to the colored number you want to use to identify the room
or device.
Step 3: Sync the PowerNode with Gateway
To allow the PowerNode and Gateway to communicate, you must sync your PowerNode with your
Gateway. This process is called “inclusion”.
Perform the following steps:
1.
Temporarily, move the PowerNode close to the Gateway to ensure a strong radio signal.
If you will be syncing more than one PowerNode, start with the PowerNode that will be located
closest to the Gateway when the devices are plugged in. That way its wireless connection to the
Gateway will be available to more distant PowerNodes that may need to piggyback on the closer
PowerNode’s connection. You do not yet have to plug your devices into the PowerNode, so you
can leave the devices in their chosen location.
2.
Plug the PowerNode into an electrical outlet that is located close to the Gateway. When the
PowerNode is powered, its activity indicator turns white.
3.
On the
Gateway
, press and release the sync button once.
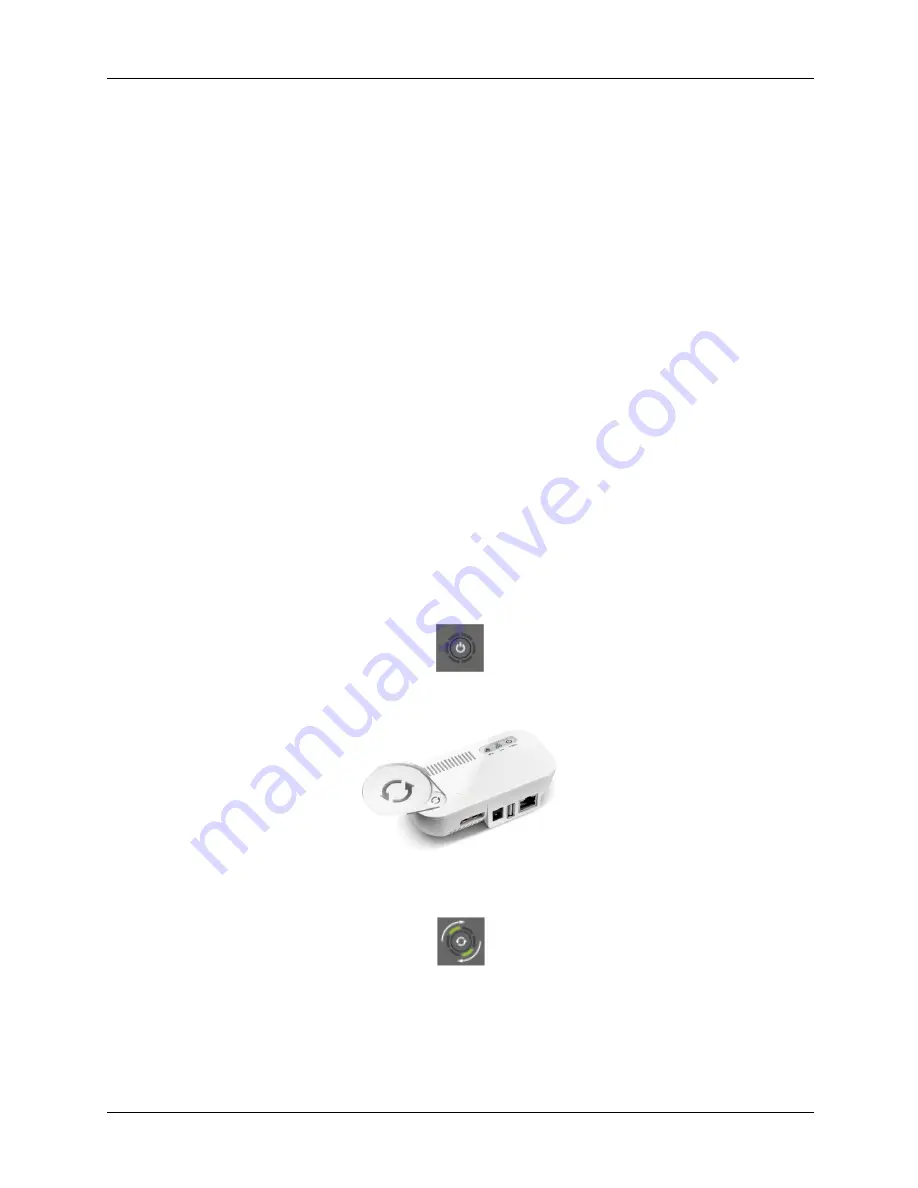
The activity indicator displays a clockwise rotating pattern. The Gateway is ready to be synced
with the PowerNode.
4.
On the PowerNode, press and hold the sync button for approximately one second until the activity
indicator displays a clockwise rotating pattern. This indicates the PowerNode is attempting
inclusion.


