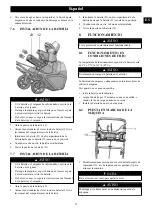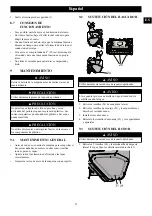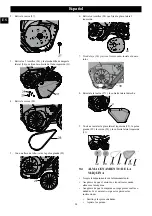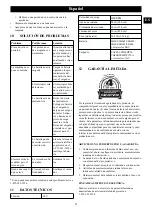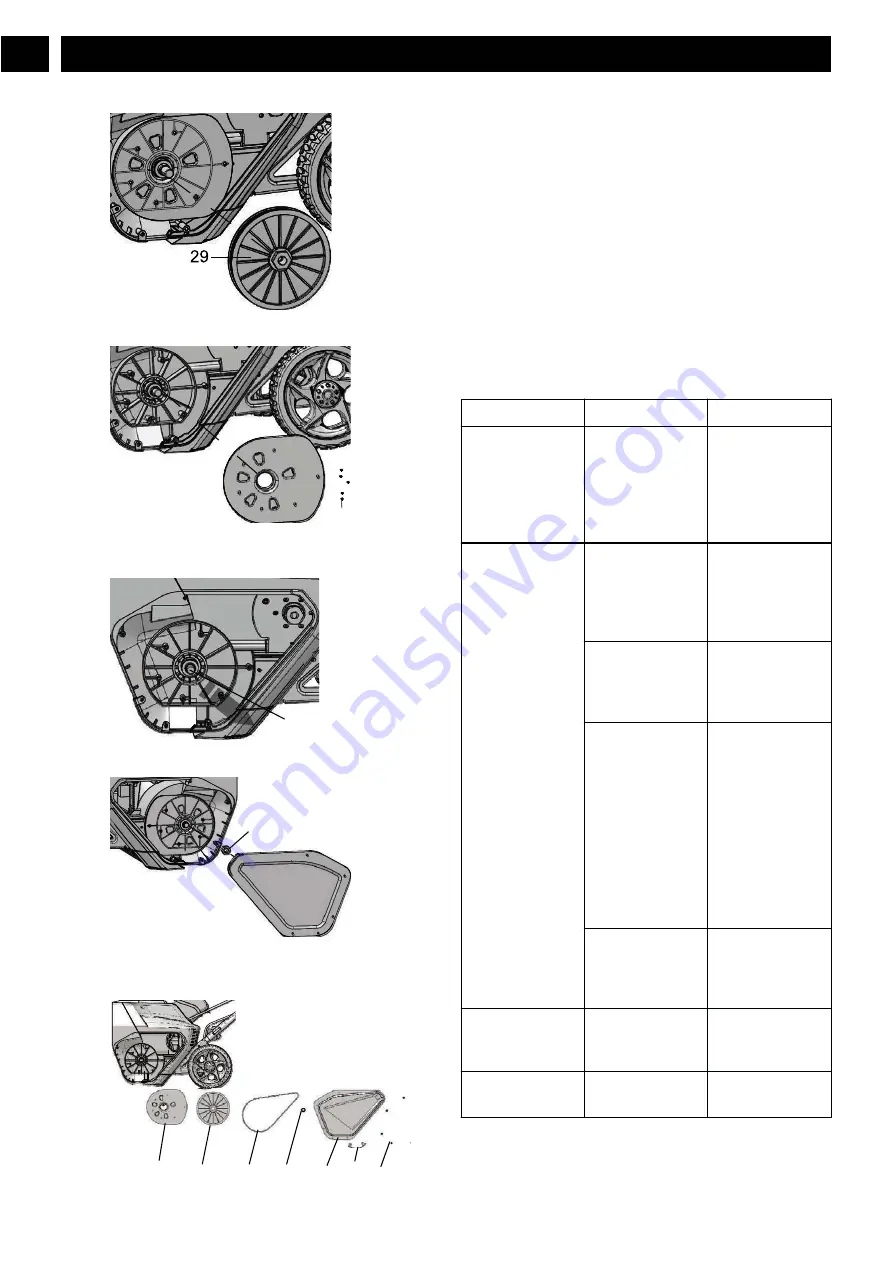
6. Remove the screws (24) that secure the left side plate.
24
7. Pull the axle (30) and remove the old impeller, install the
new impeller.
30
8. Reinstall the nut (27) and right side cover.
27
24
31
27
28
29
32
26
9.4
STORE THE MACHINE
•
Clean the machine before storage.
•
Make sure the motor is not hot when you store the
machine.
•
Make sure that the machine does not have loose or
damaged parts. If it is necessary, do these steps/
instructions:
•
Replace the damaged parts.
•
Tighten the bolts.
•
Speak to a person at an approved service center.
•
Store the machine in a dry area.
•
Make sure that children cannot come near the machine.
10
TROUBLESHOOTING
Problem
Possible cause
Solution
The handle is not
in position.
The bolts are not
engaged correctly.
Adjust the height
of the handle and
make sure that the
knobs and bolts
are aligned cor-
rectly.
The machine does
not start.
The battery is not
charged.
Charge the battery
by following the
procedures in the
battery and charg-
er manual.
The switch is de-
fective.
Have the switch
replaced by an au-
thorized service
center.
Battery is too cold. Remove battery
from snow throw-
er. Place battery on
charger and allow
to charge for 10
minutes or until
the changing light
turns green. Re-
move from charger
and install in snow
thrower for use.
Battery may re-
quire service or re-
placement.
Call toll free help-
line, at
1-855-345-3934 or
replace battery.
The engine is on,
but the impeller
does not turn.
The belt is dam-
aged.
Replace the belt.
A thin layer of
snow stays behind.
The scraper is
damaged.
Replace the scra-
per.
12
English
EN
5. Using a socket wrench, remove the large pulley (29).
9. Reinstall the left side plate (32), large pulley (29), belt
(28) and left side cover (31).
Summary of Contents for SN60L01
Page 1: ...SNC403 1 23 5 725 0 18 612 7 52 5 6 0 18 23 5 25 48 32 48 7 1 9 SN60L01 SN60L6R1 SNC403 ...
Page 2: ......
Page 3: ... 012 3 0 ...
Page 8: ... 0 5 2 50 14 15 4 5 0 5 1 2 6 1 11 16 17 19 18 0 5 1 2 1 0 20 21 22 17 0 5 85 7 51 12 23 0 ...
Page 15: ... q 9 5 v 9 9 w 0 q w q 2 A 6 9 A 2 A 0 012 A q v w 3 x z ...
Page 27: ......
Page 28: ......


