7.1
START THE MACHINE
NOTE
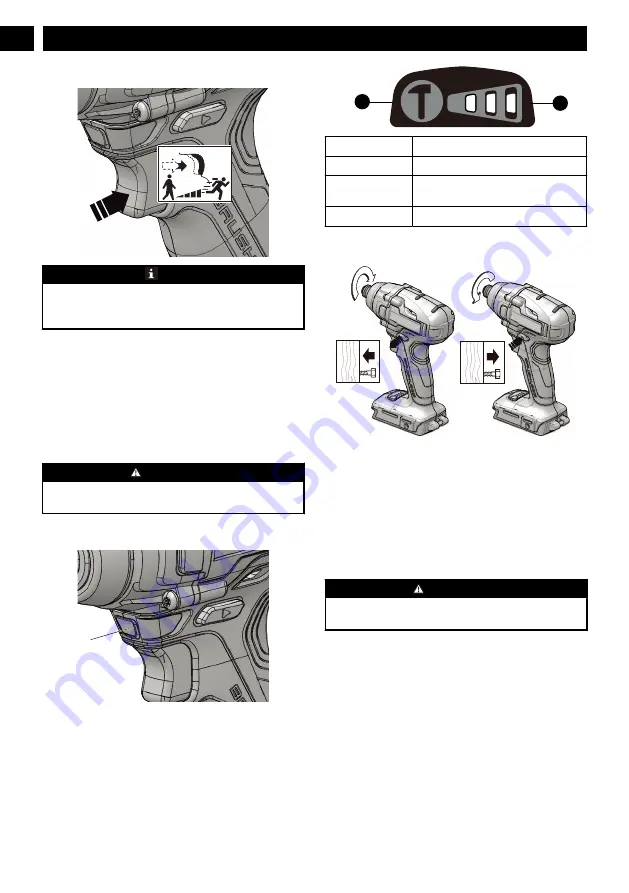
The machine can not work until the reverse switch is
pushed fully to the left or right. Do not operate the machine
at low speeds for extended periods of time.
1. Pull the trigger to turn the machine ON
Variable speed
The machine has a variable speed switch that delivers higher
speed with increased trigger pressure and lower speed with
decreased trigger pressure.
7.2
STOP THE MACHINE
1. Release the trigger to turn the machine OFF.
WARNING
Release the trigger and allow the machine to come to a
complete stop.
7.3
LED LIGHT
2
The LED light illuminates when the trigger is depressed.
It provides extra light for increased visibility.
7.4
SPEED SELECTION
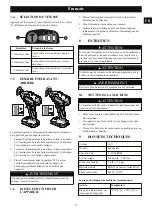
Push the button (1) to adjust the speed. The lights (2) will
illuminate according to the speed level.
Lights
Speed level
3 Green Lights
The machine is in "high speed" setting.
2 Green Lights
The machine is in "medium speed" set-
ting.
1 Green Light
The machine is in "low speed" setting.
7.5
FORWARD / REVERSE SWITCH
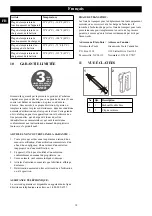
The machine has the switch (forward/reverse) above the
trigger to change the rotation.
1. When the switch is on the left side of the switch trigger,
the bit direciton is forward (tightening).
2. When the switch is on the right side of the switch trigger,
the bit direction is reversed (loosening).
3. Put the switch in the OFF (center lock) position to help
decrease the possibility of accidental starting when not
operating.
WARNING
Let the coupler to come to a complete stop before changing
the direction of rotation.
7.6
OPERATE THE MACHINE
1. Put the (forward / reverse) in desired position for
operation.
2. Hold the machine firmly with your hand.
3. Insert desired bit into the coupler, and slowly depress the
trigger. Start slowly for more control.
8
English
EN
1 2 3
2 3
2
1


