background image

Battery Power for Imaging Kit - Instructions For Use

2. INSTRUCTIONS

Instructions for real-time imaging using the Battery Power Kit

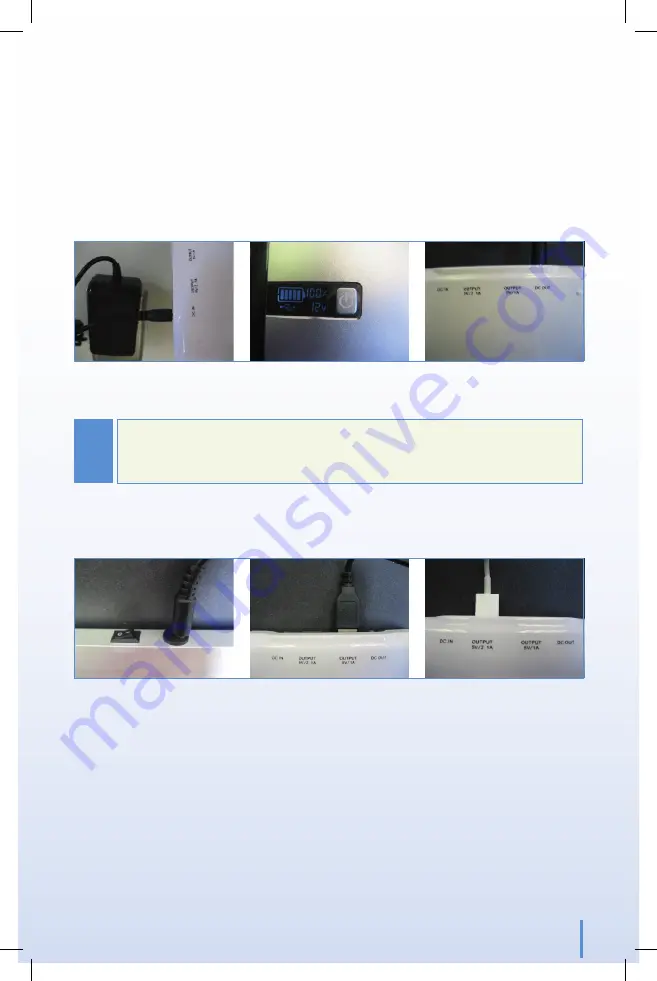
1.  To charge the battery, connect the charging cord to the wall and the other end into the “DC 

IN” port on the battery (

Figure 1

).

2.  After charging, press and hold the on button until the “v” in the lower right of the screen is 

flashing (

Figure 1

).

3.  Press the on button until the lower part of the screen reads “12v” (

Figure 1

).

A

B

C

Figure 1

: Charging the battery, (a) setting the output voltage, (b) and connecting the connection cord (c).

4.  Connect the connection cord to the “DC OUT” port on the battery (

Figure 1

).

!

Only one end of the connection cord will fit into the port. If the end you are trying 
does not fit, try the other end.

5.  Connect the other end of the connection cord to the light pad (

Figure 2

).

6.  Connect the fan to the “OUTPUT 5V/1A” port on the battery (

Figure 2

).

A

B

C

Figure 2:

 Connecting the light pad, (a) the fan, (b) and the iPod* (c) to the battery.

4

Summary of Contents for 657810

Page 1: ...Greiner Bio One GmbH Maybachstr 2 72636 Frickenhausen Germany Instructions For Use Battery Power for Imaging Kit REF 657810 Revision 01 April 2019 U072111 ...

Page 2: ...The Battery Power Kit is for research use only It is not approved for human or animal use In the case the product is to be disposed of the relevant legal regulations are to be observed The disposal of electrical devices is regulated within the European Community by national regulations based on ED directive 2002 96 EC on waste electrical and electronic equipment WEEE As disposal regulations within...

Page 3: ...SUPPLIES Materials and Supplies Needed for Real Time Imaging Battery Power Kit which includes Batteries 2 Connection Cords 2 Charging Cords 2 Other Materials Provided by User Imaging Kit iPod Computer Any additional supplies for the specific cell type and application 3 ...

Page 4: ...n button until the lower part of the screen reads 12v Figure 1 A B C Figure 1 Charging the battery a setting the output voltage b and connecting the connection cord c 4 Connect the connection cord to the DC OUT port on the battery Figure 1 Only one end of the connection cord will fit into the port If the end you are trying does not fit try the other end 5 Connect the other end of the connection co...

Page 5: ...7 Connect the iPod to the OUTPUT 5V 2 1A port on the battery Figure 2 The power cord AC USB adapters and the cord for the light pad are not used in this setup The battery will last for about 24 hours Have the other battery charged and replace each day 5 ...

Page 6: ...Battery Power for Imaging Kit Instructions For Use NOTES 6 ...

Page 7: ...Battery Power for Imaging Kit Instructions For Use NOTES 7 ...

Page 8: ...ry Greiner Bio One Hungary Kft E Mail office hu gbo com Italy Greiner Bio One Italia S r l E Mail office it gbo com Japan Greiner Bio One Co Ltd E Mail info JP gbo com Netherlands Greiner Bio One B V E Mail info nl gbo com Portugal Vacuette Portugal S A E Mail info vacuette pt Spain Greiner Bio One España E Mail info es gbo com UK Greiner Bio One Ltd E Mail info uk gbo com USA Greiner Bio One Nort...

Reviews: