SKU 65076
For technical questions, please call 1-800-444-3353.
Page 10
Rail Assembly must always be se-
cured in the horizontal position for
travel. Cover the air inlet hole on the
Oil Plug (37) before transport. See
FIGURE 3.
Pull up and down on the Hitch Cou-
15.
pler to make sure the hitch ball is
fitting snugly in the Hitch Coupler.
There should be no play between the
hitch ball and Hitch Coupler. If there
is play, tighten the Adjustment Nut
until no play is present. If the Adjust-
ment Nut is too tight, the Handle will
not lock.
note:
The hitch will accept a 2 inch hitch
ball.
operating instructions
read the entire iMportant
saFety inForMation
section at the beginning of this
manual including all text under
subheadings therein before set
up or use of this product.
engine operation
inspect engine and equipment
looking for damaged, loose,
and missing parts before
set up and starting. if any
problems are found, do not use
equipment until fixed properly.
start procedure
Before starting the engine:
Follow the set up instruc-
a.
tions to prepare the equip-
ment. Follow all instructions
in the separate engine manu-
al provided with the engine.
inspect the equipment and
b.
engine.
Fill the engine with the prop-
c.
er amount and type of fuel
and oil.
read the equipment opera-
d.
tion section that follows.
Start and operate the engine accord-
1.
ing to the provided engine manual.
equipment operation
Start and operate the engine accord-
1.
ing to the provided engine manual.
Block the wheels before changing
2.
the position (vertical/horizontal) of the
unit.
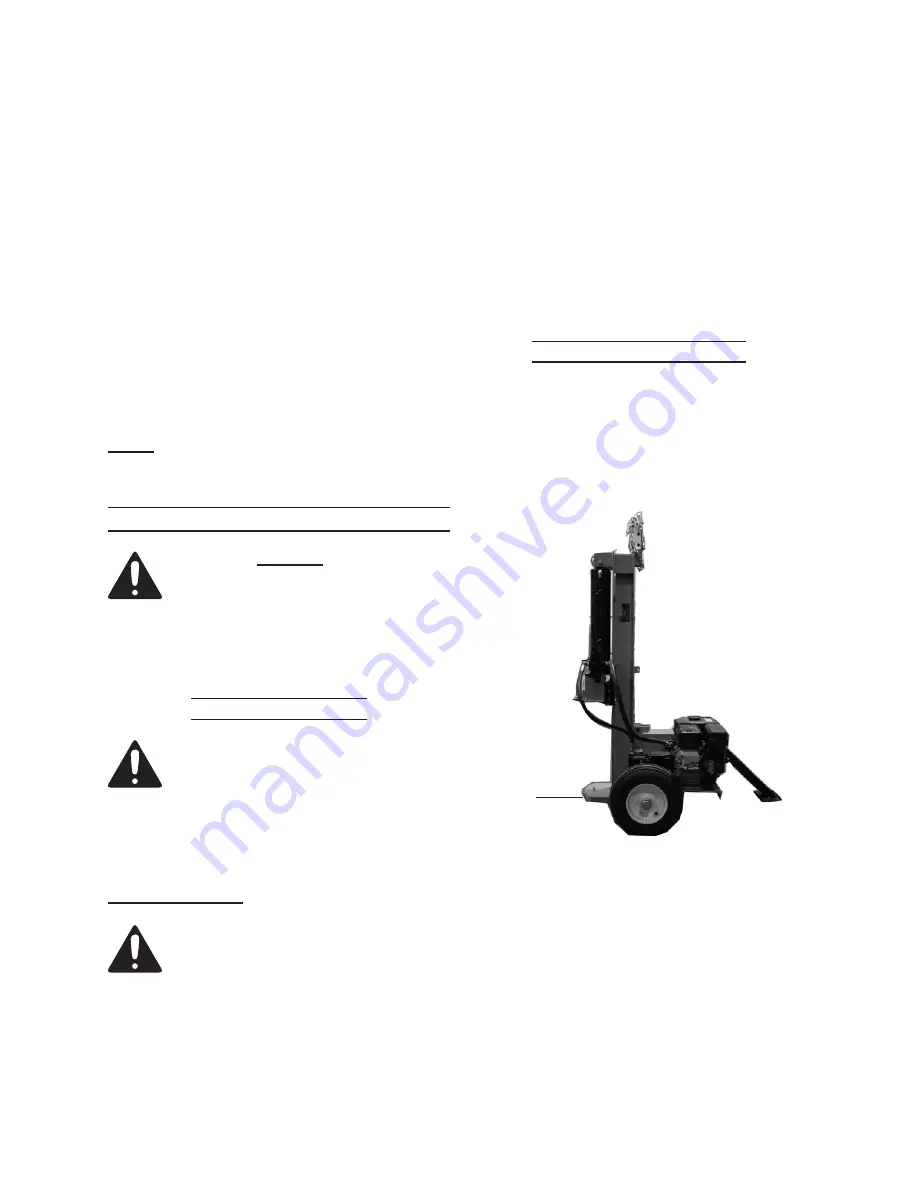
Figure 4
Vertical Position
Place
Log
Here
Base
In FIGURE 1, the Rail Assembly (2) is
3.
shown in Horizontal mode for opera-
tion and travel. In FIGURE 4 the unit
is shown in the vertical position. To
change positions, remove the Hair
Pin Clip (29) and the Push Pin (26). A
close-up of this Push Pin is shown in
FIGURE 3. Tilt the unit to the vertical
position as shown in FIGURE 4, and
replace both the Push Pin and the


