Page 17
SKU 65162
For technical questions, please call 1-800-444-3353.
After you have repositioned the
15.
Trencher, raise the Boom to lower the
outriggers back onto the ground. The
procedure can be repeated to move
farther.
transporting the trencher
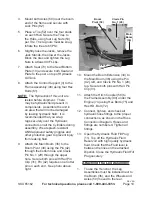
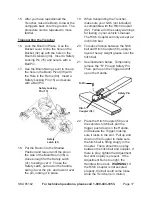
Lock the Boom in Place. Use the
16.
Bucket Lever to line the hole on the
Bucket (32) up with the hole on the
Boom Extension (34). Insert a Safety
Locking Pin (15) and secure with a
Ball Pin.
Use the Boom Swing Lever to line up
17.
the hole in the Boom Pivot (38) with
the Hole in the Frame (90). Insert a
Safety Locking Pin (15) and secure
with a Ball Pin.
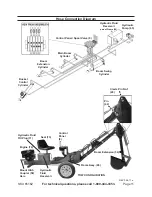
Safety
Latch (41)
Safety Locking
Pin (15)
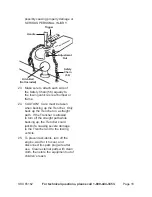
Put the Boom into the Shallow
18.
Position and raise it until the pin on
the side of the Main Boom (36) is
close enough for the Safety Latch
(41) to swing over it. To use the
Safety Latch, pull out on the handle,
swing it over the pin, and lower it over
the pin, locking it in place.
When transporting the Trencher,
19.
make sure your hitch (not included)
is compatible with the Hitch Coupler
(92). Follow all of the safety warnings
for towing in your vehicle’s manual.
The Hitch Coupler will only accept a 2
inch hitch ball.
To reduce friction between the hitch
20.
ball and Hitch Coupler (58), apply a
layer of heavy weight grease over the
hitch ball.
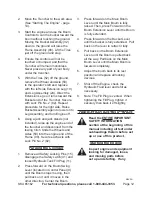
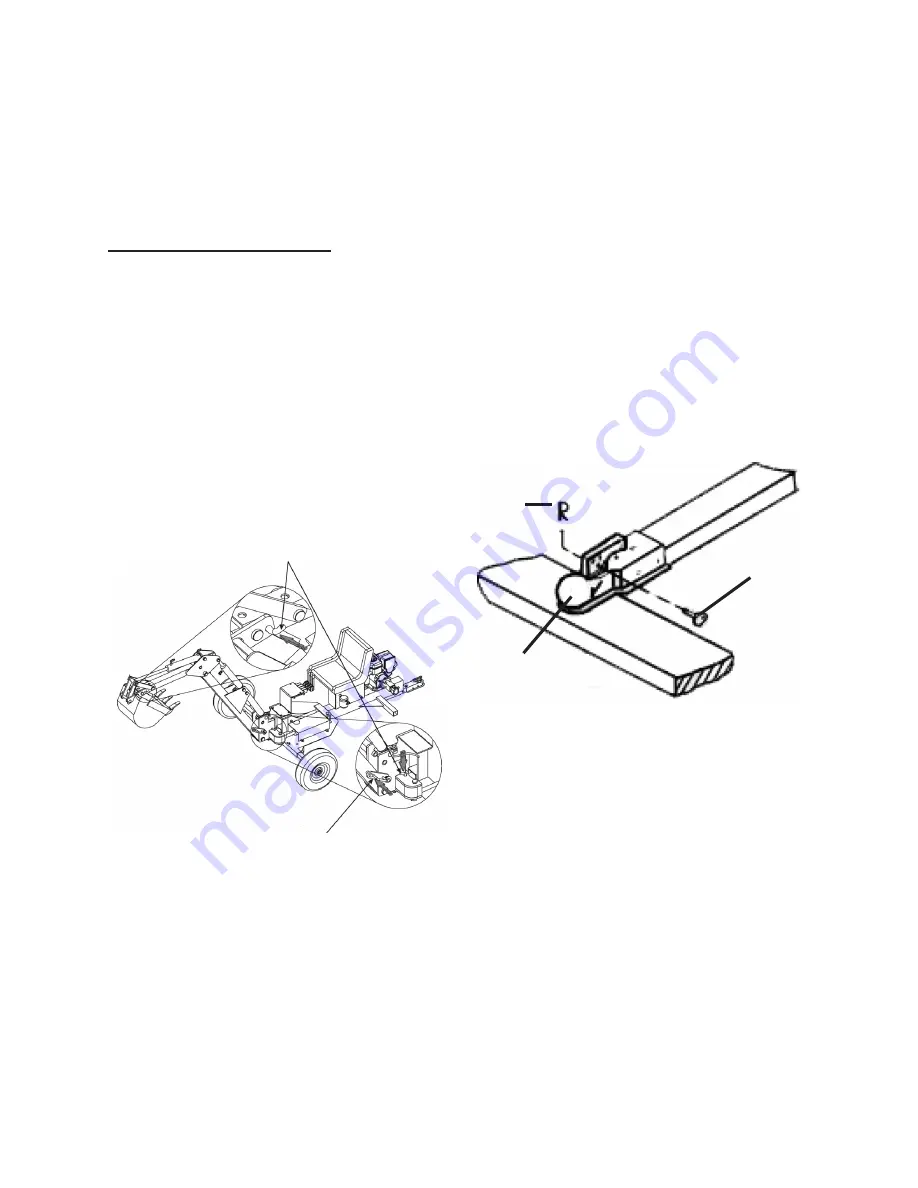
See illustration below. Temporarily
21.
remove the “R” Pin and Safety Pin.
Then, pull up on the Trigger and lift
up on the Handle.
Safety Pin
r-Pin
Hitch
coupler (58)
Place the Hitch Coupler (58) over
22.
the vehicle’s hitch ball, pull the
trigger, push down on the Handle,
and release the Trigger, making
sure it locks in the slot. Pull up and
down on the Coupler to make sure
the hitch ball is fitting snugly in the
Coupler. There should be no play
between the hitch ball and Coupler. If
there is play, tighten the Adjustment
Nut until no play is present. If the
Adjustment Nut is too tight, the
Handle will not lock.
Warning!
If
the Hitch Coupler is not secured
properly, the ball could come loose
while the Trencher is in motion,

