background image

Page  2

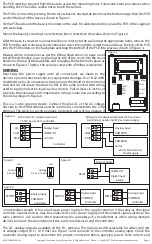
The PCB must be removed from the base to access the mounting holes. Follow anti-static procedures when 

handling the PCB and be careful not to touch the sensors. 

The PCB is removed by pressing the enclosure base to unsnap the latch near the bottom edge, then the PCB 

can be lifted out of the base as shown in Figure 3.

Sit the PCB aside until the base is mounted on the wall. For added protection, place the PCB in the supplied 

anti-static bag.

Mount the base by screwing to an electrical box or directly to the wall as shown in Figure 4.

After the base is screwed to an electrical box or directly to the wall using the appropriate holes, remove the 

PCB from the anti-static bag, feed connection wires through the center hole and place the top of the PCB 

into the PCB holders on the backplate and snap the bottom of the PCB into place as shown in Figure 4.

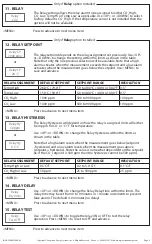
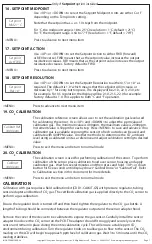
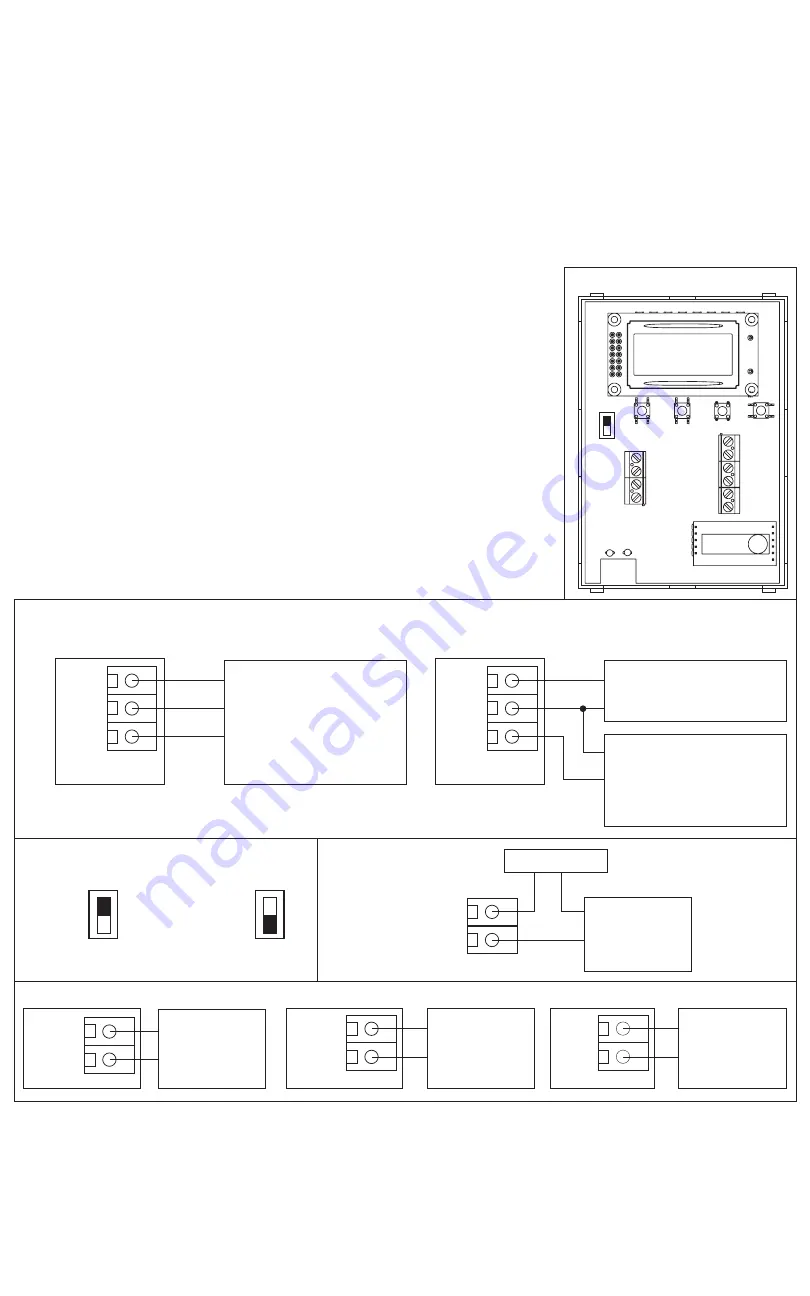
Making wiring connections as per the Wiring Illustrations on page 2 and 

install the decorative cover by placing the top of the cover into the cover 

holder on the top of the backplate and snapping the bottom into place as 

shown in Figure 4. Tighten  the security screw with a Phillips screwdriver.

WIRING

Deactivate the power supply until all connections are made to the 

device to prevent electrical shock or equipment damage. Use 16-22 AWG 

shielded wire for all connections (only ground the shield at the controller 

end) and do not locate the device wires in the same conduit with wiring 

used to supply inductive loads such as motors. Pull at least six inches of 

wire into the enclosure and complete the wiring connection according to 

the wiring diagram. Figure 6.

This is a 3-wire sourcing device. Connect the plus DC or the AC voltage 

hot side to the PWR terminal and the common is connected to the COM 

terminal. The device is reverse voltage protected and will not operate if 

connected backwards. It has a half-wave power supply so the supply common is the same as the signal 

common. Several devices may be connected to one power supply and the output signals all share the 

same common. Use caution when grounding the secondary of a transformer or when wiring multiple 

devices to ensure the ground point is the same on all devices and the controller.

The CO

2

 analog output is available on the CO

2

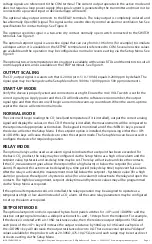
 terminal. This signal is switch selectable for either 4-20 mA 

or voltage output (0-5 / 0-10 Vdc) see Figure 7 and connects to the controller analog input. Check the 

controller Analog Input to determine the proper connection before applying power. Both current and 

Figure 5

Figure 7

Figure 8

Figure 9

Figure 6

Power Supply

Wiring for CO

2

 output signal and 

24 Vdc power from controller

Wiring for all output and external 24 Vac power 

transformer or external 24 Vac power supply

CO

2

COM

PWR

RELAY

SETPNT

SWITCH

TEMP

CO

2

COM

PWR

Analog Input

COMMON

+24 Vdc

COMMON

Digital Input

Analog Input

COMMON

Digital Input

COMMON

Analog Input

COMMON

Analog Input

COMMON

COMMON

24 Vac

Controller

Alarm

Controller

Controller

Controller

24 Vac Transformer / 

Power Supply

mA

VOLT

Current

4-20 mA

Voltage

0-5 or 0-10 Vdc

VOLT

mA

mA

VOLT

SETPNT
CO2
COM
PWR

TEMP

SWITCH

RELAY

MENU

UP

DOWN

OVERRIDE

CO2 SENSOR

Copyright © Greystone Energy Systems, Inc.   All Rights Reserved    Phone:  +1 506 853 3057  Web: www.greystoneenergy.com

IN-GE-CD2RMCXXX-04

Summary of Contents for CD2RMC Series

Page 1: ...r conditioned spaces contact factory or other applications Do not exceed device ratings This product is not intended for life safety applications NOTE This CO2 sensor incorporates a Self Calibration feature to correct CO2 sensor drift This feature is recommended for applications where the CO2 will be exposed to fresh air 400 ppm at least one hour per day If the monitored space is occupied 24 hours...

Page 2: ...he enclosure and complete the wiring connection according to the wiring diagram Figure 6 This is a 3 wire sourcing device Connect the plus DC or the AC voltage hot side to the PWR terminal and the common is connected to the COM terminal The device is reverse voltage protected and will not operate if connected backwards It has a half wave power supply so the supply common is the same as the signal ...

Page 3: ...s required If the optional temperature sensor is installed the relay operation may be assigned to operate as a temperature high or low alarm instead of a CO2 alarm All the same relay parameters may be configured to set up the alarm as required SETPOINT MODE The optional setpoint control is operated by two front panel switches for UP and DOWN and the resistive output signal simulates a slidepot act...

Page 4: ... required Factory default is Direct MENU Press to advance to next menu item 5 OUTPUT SIGNAL DIRECTION When either the UP or DOWN keys are pressed the LCD temporarily changes to display the temperature setpoint value in C or F as set by Temp Units in the Setup Menu The display will show the previous temperature setpoint setting such as 22 ºC or 77 ºF If no other action is taken for 5 seconds then t...

Page 5: ...installed Factory default is C Display is used to control what information is displayed on the LCD The selections depend on the installed options Use UP or DOWN to select either CO2 ppm Temp CO2 Temp Rotate or None Factory default is CO2 ppm For a basic CO2 only device the selection is limited to CO2 ppm or None CO2 ppm Only the actual ppm value of the CO2 reading will be displayed Temp Only tempe...

Page 6: ...es in 1 minute increments to prevent false alarms The default is 0 minutes no delay Use UP or DOWN to toggle the relay ON or OFF to test the relay operation Press MENU to reset to OFF and advance or or 12 RELAY SETPOINT 13 RELAY HYSTERESIS 14 RELAY DELAY 15 RELAY TEST RELAY ASSIGNMENT DEFAULT SETPOINT SETPOINT RANGE RESOLUTION Temp High 26 0 C 79 0 F 5 0 to 40 0 C 40 0 to 100 0 F 0 5 Temp Low 15 0...

Page 7: ...several minutes and then press and hold UP or down button for five seconds until display shows Calibrat Done or Calibrat Fail Refer to Calibration section in this document for more details MENU Press to exit the menu and return to normal mode MENU Press to exit the menu and return to normal mode 19 CO2 CALIBRATION 20 CO2 CALIBRATION CALIBRATION Calibration with gas requires a field calibration kit...

Page 8: ...racter OPTIONAL TEMPERATURE SENSOR Type Various Thermistors and RTDs Accuracy Thermistors 0 2 C 0 36 F 25 C 77 F Platinum RTD s 0 3 C 0 54 F 0 C 32 F Nickel RTD s 0 4 C 0 72 F 0 C 32 F Range 0 to 50 C 32 to 122 F Output 2 wire resistive Relay Optional 2 wire output Form A N O 2 Amps 140 Vac 30 Vdc Override Switch Optional 2 wire output 50 mA 12 Vdc max OPTIONAL SETPOINT CONTROL Type Front panel up...

Reviews: