Page 1
INTRODUCTION
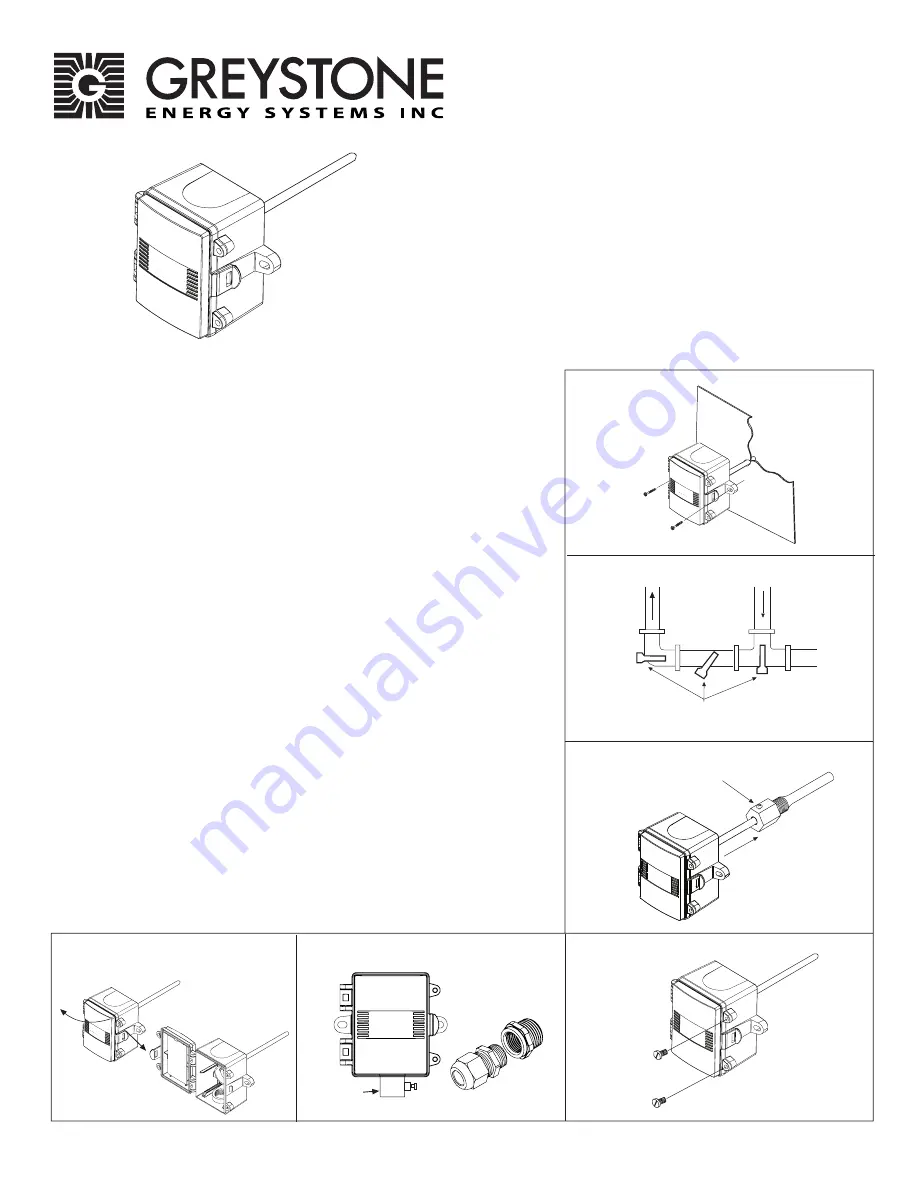
The single point, high accuracy all purpose duct/immersion temperature sensor
utilizes a precision sensor that is encapsulated in 6 mm (0.236”) OD, 304 series
stainless steel probe and is available in various lengths. All probes provide excellent
heat transfer, fast response and resistance to moisture penetration. A compact ABS
enclosure with a hinged and gasketed cover is provided for ease of installation.
BEFORE INSTALLATION
Read these instructions carefully before installing and commissioning
the temperature sensor. Failure to follow these instructions may result in
product damage. Do not use in an explosive or hazardous environment, with
combustible or flammable gases, as a safety or emergency stop device or in any
other application where failure of the product could result in personal injury.
Do not exceed the device ratings
.
MOUNTING (DUCT)
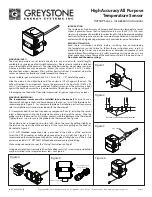
The duct temperature sensor installs directly into any air duct with several lengths
available for a wide range of duct widths/diameters. Please select a suitable installation
area in the middle of the duct wall. To achieve the best reading, do not place in an area
where air stratification may be present. Mount the sensor at least 1.5 m (5 ‘) in either
direction from elbows, dampers, filters or other duct restrictions. Avoid areas where the
sensor is exposed to vibrations or rapid temperature changes.
Once a suitable spot is selected, drill a 9.5 - 12 mm (3/8” - 1/2“) hole for the probe.
Slide the probe in the drilled hole until the enclosure is flush against the duct. The
airflow direction is not important. Secure the enclosure to the duct with (2) #10 x 25
mm (1”) self tapping screws (not provided). Tighten screws until the enclosure is tight
against the duct and ensure there is no movement of the enclosure as shown in Figure 1.
A foam gasket on the back of the enclosure provides a tight seal against any air leaks.
MOUNTING (IMMERSION)
The temperature sensor must be installed into a thermowell.
Failure to use a
thermowell will create leaks and could damage the sensor. Install the thermowell as
recommended in Figure 2. For complete thermowell installation instructions, please
refer to installation instructions provided with the thermowell.
It is recommended to use heat conductive compound. Prior to installing the sensor
inject a liberal amount into the thermowell and/or on the tip of the sensor. Slide the
probe into the thermowell until it makes contact with the bottom of the thermowell.
Tighten the set screw to secure the probe in the thermowell. See Figure 3.
The enclosure has a hinged cover with a latch. Open the cover by pulling slightly on
the latch on the right side of the enclosure. At the same time pulling on the cover, as
illustrated in Figure 4.
A 1/2" NPT threaded connection hole is provided in the bottom of the enclosure.
Screw the EMT connector or cable gland connector in until tight. See Figure 5. It is
recommended that weatherproof conduit or cable gland fittings be used. The E style
enclosure includes 1/2" NPT to M16 thread adapter and cable gland fitting.
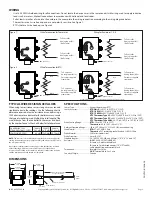
Make wiring connections as per the “Wiring” illustrations on Page 2.
Swing door closed until securely latched. For added security, 2 screws are provided that
may be installed in the integrated screw tabs. See Figure 6.
Recommended thermowell placement
EMT Connector
Thread adapter and
cable gland fitting
Set Screw
Figure 3
Figure 4
Figure 5
Figure 6
Figure 2
Figure 1
IN-GE-HATSAPXXX-02
Copyright © Greystone Energy Systems, Inc. All Rights Reserved Phone: +1 506 853 3057 Web: www.greystoneenergy.com
High Accuracy All Purpose
Temperature Sensor
HATSAP Series - Installation Instructions


