NDD Series - NO2 Transmitter
Installation Manual
Feb 2, 2016
NDD-INS-002
Page 3
Calibration
The transmitter features a simple snap-mount sensor pcb that is pre-calibrated. This means that the entire sensor pcb can
simply be replaced with a new calibrated pcb if desired without having to remove the enclosure. This sensor swap requires no
tools and can be completed in seconds. Simply disconnect the device wiring, remove the old sensor pcb, snap in the new pcb
and reconnect the device power. There is no need to make any adjustments or apply gas to the transmitter using the sensor
swap method.
The device may also be calibrated or verified with NO2 gas if required. This requires a field calibration kit consisting of Zero
and Span of gases, Calibration adapter, Tubing with a calibration cap to cover to the sensor, a miniature screwdriver and a
digital multi-meter.
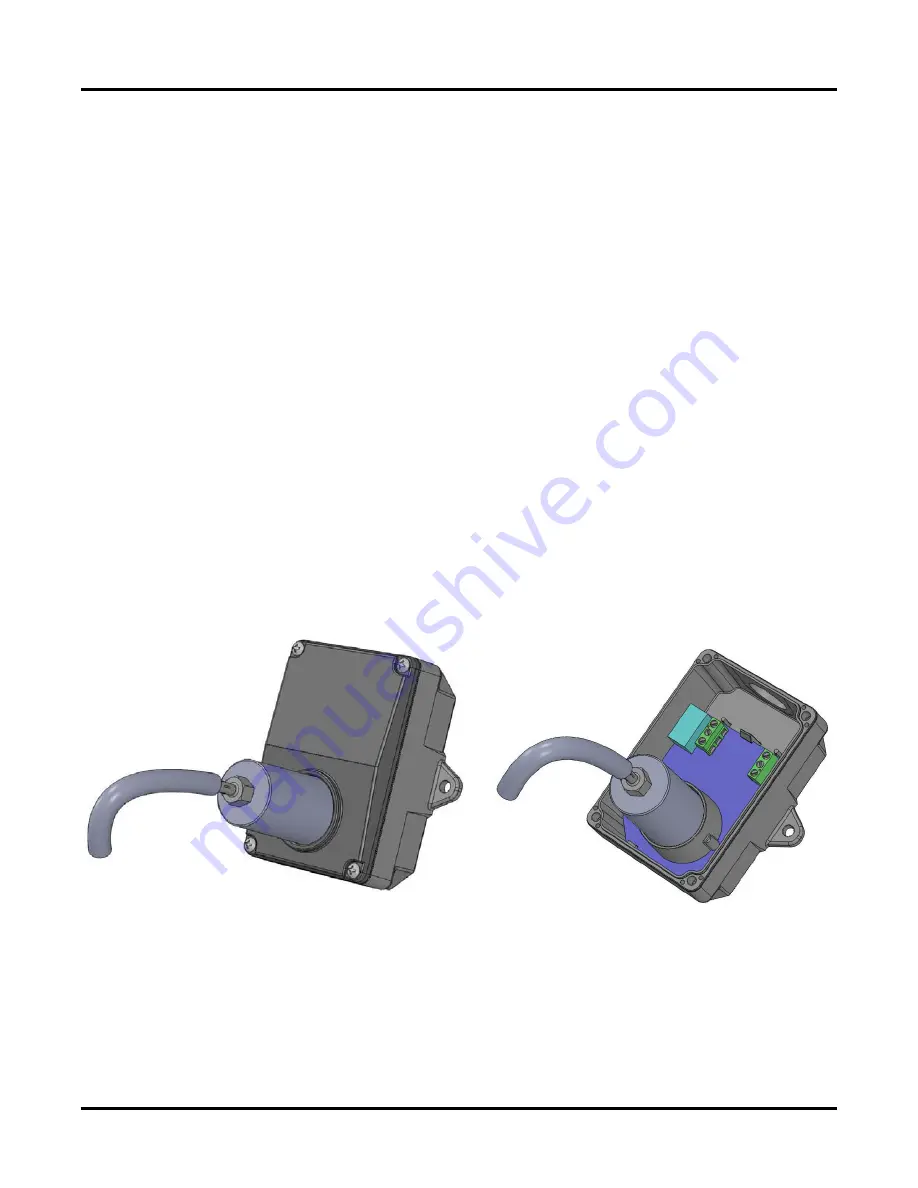
Verification can be done without removing the device cover. Simply apply Span gas using the calibration cap attached
directly to the port on the cover and monitor the output signal.
The device cover must be removed to perform an actual calibration. In this case, the gas calibration cap attaches to the sensor
fixture inside the enclosure. The sensor must be continuously powered for at least 1/2 hour prior to calibration. Calibrate the
sensor either in clean air or by applying Zero gas with a flow rate of 0.5 to 1 liters per minute. Wait 2 minutes and adjust the
ZERO pot on the sensor board until a 4 mA output is obtained.
Then attach the Span gas supply. Attach the cap to the fixture over the sensor. Slowly turn the valve knob on the regulator to
let the gas begin flowing. Calibrate the sensor either by applying Span gas with a flow rate of 0.5 to 1 liters per minute. Wait
2 minutes and adjust the Span pot on the sensor board until a 20 mA output is obtained. The Span gas need not be the full
scale concentration, but could be a fraction of this. A half scaled concentration, accordingly, should provide a 12 mA signal.
If the gas cap is too loose on the fixtures, simply place a wrap of electrical tape around the cap to tighten it up.
Verify With Cover In Place Calibrate With Cover Removed


