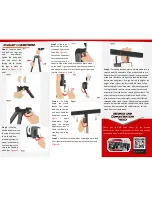
Step 3
–
Slide in the T-
Bar at the top of the
stand and tighten the
knob (See
Figure 5
).
Loosen the knob near
the crank handle and
unlock the pin on the
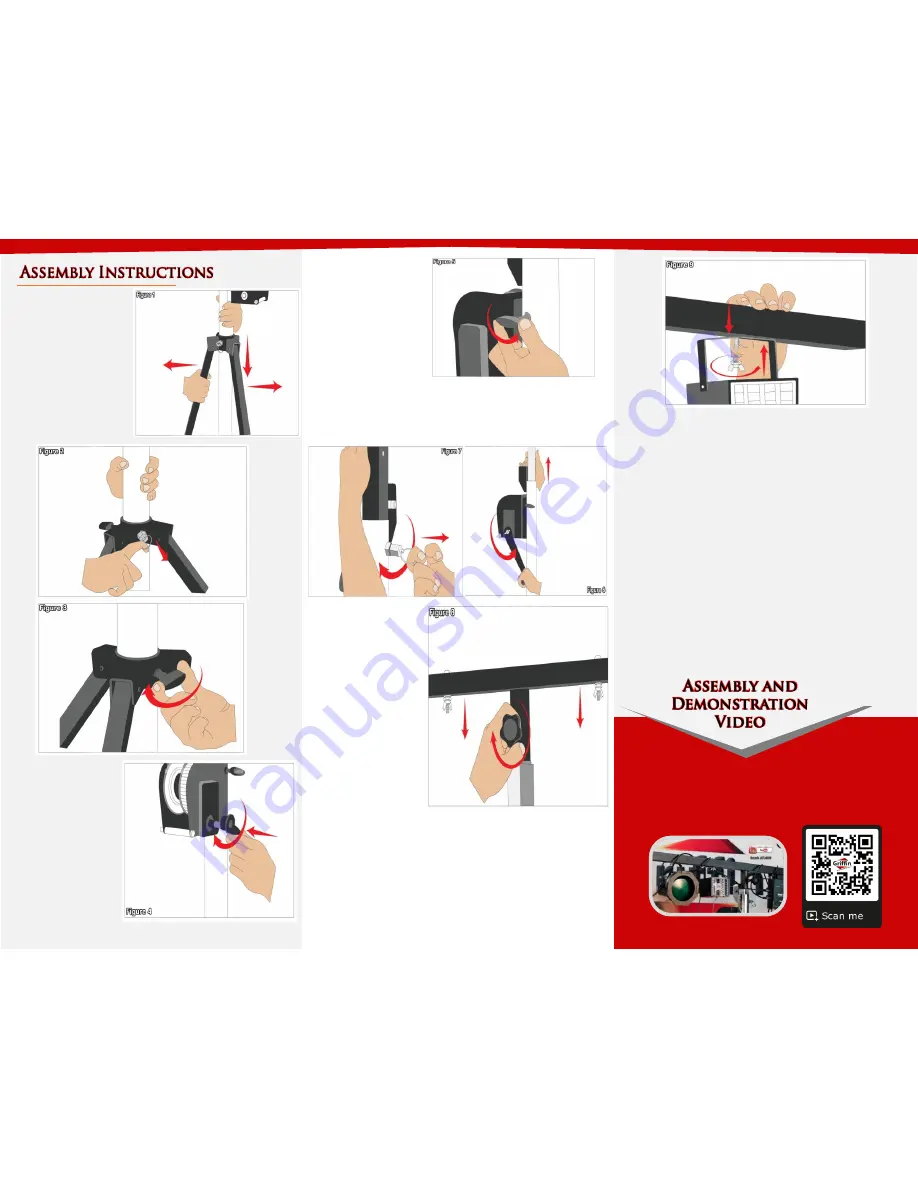
Please scan the QR Code below for the product
demonstration video. Or go to the URL shown here and find
the product video. www.Griffin-Stands.com/Videos
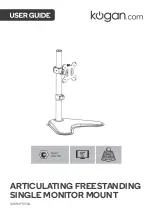
Step 2
–
Take the
handle and place it on
the side of the cranks,
there should be a
protruding screw to
screw in the handle,
use the wing nut to
secure the handle in
place (See
Figure 4
).
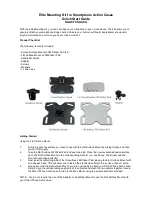
Step 1
–
Take the stand
and pull the legs out
and
downwards,
tighten the knob and
pull
and
twist
the
locking pin to secure
the legs in place as
shown in
Figure 1
,
2
and
3
.
opposite side of the knob, use the handle to crank
up the stand. Tighten the knob you loosen previously
and also twist the pin to lock the height of the stand
in place (See
Figure 6
and
7
).
Step 4
–
To bring
down
the
stand,
loosen
the
knob
and unlock the pin
and crank down the
handle as shown in
Figure
8
.
Apply
downward
force
along
the height
adjustment bar if
there is difficulty in
cranking down the
stand.
Step 5
–
Use the provided washer and wing nuts to load
your light fixtures and other equipment onto the stand
(
Figure 9
).
Step 6
–
For safety reasons, please always make sure to
test the stability and safety of the product before use.
Double check all nuts and bolts, knobs and connectors,
make sure that these are tight and securely fastened
before mounting items. As a general rule the higher the
height of the system, the less stable the stand will be
and less weight can be mounted. Additionally, spread
the legs wider for a more secure and balanced stand
especially if the stand will be carrying heavy items. The
wider the legs are the more stable the stand will be.
Also, make sure that the weight is evenly distributed
throughout the stand system. Heavier equipment loads
need to be installed near the tripod stand, while lighter
ones can be mounted on the middle truss or further
away from the tripod stand.