www.gripone.com
6.0
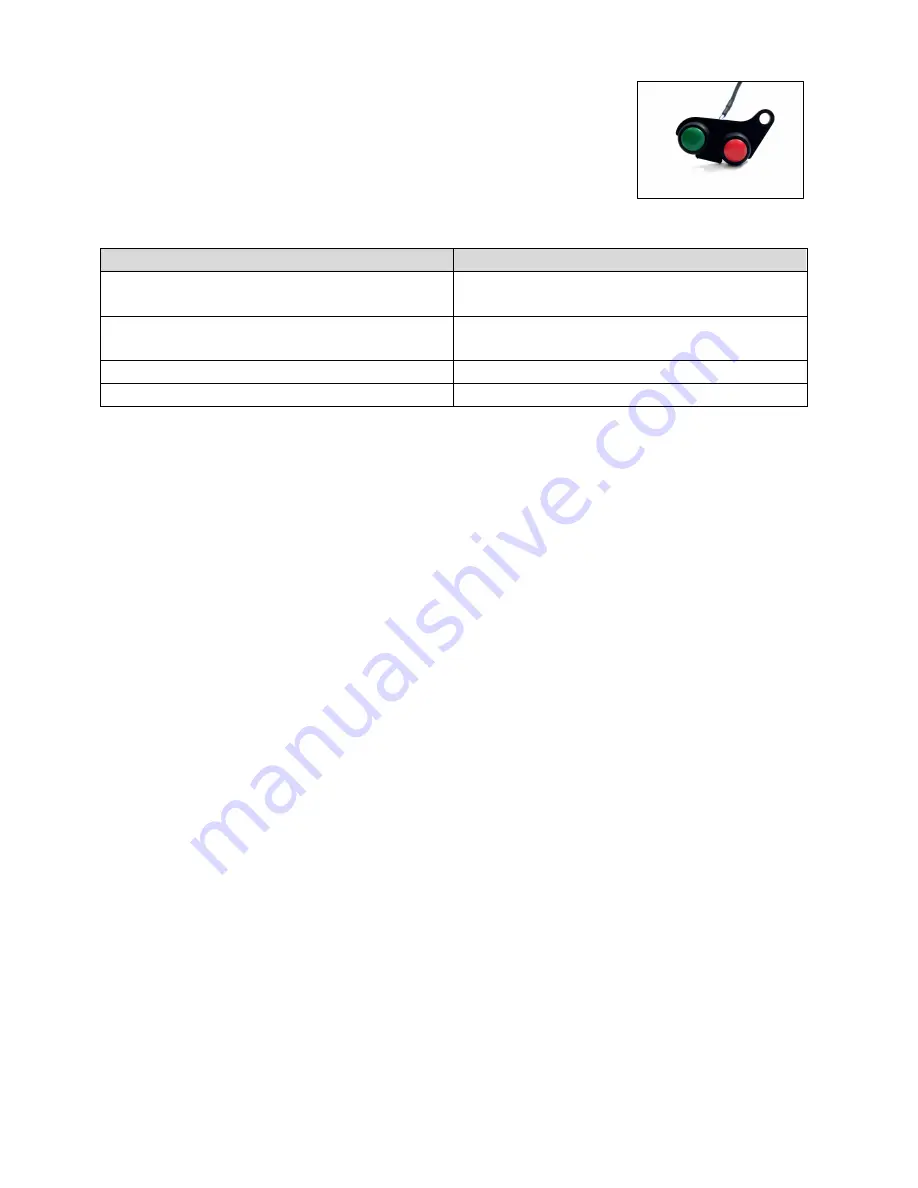
Remote b
uttons
(optional)
T
he plug&p
lay harness
does not
include
the
2
remote
buttons
.
You can add the
optional
buttons
to fix at handle bar.
By these buttons
you
can switch
ON and
OFF
all the controls of ECU
and change the map of traction control.
The
system
can change between 3 maps
of traction control
. Map 1
is the
most
sensitive
. Map 3 is the less sensitive
How it works:
Action on buttons
Description
Short press of GREEN
Change to the next MAP
(ex. change from
MAP1 to MAP2)
Short press of RED
Change to the previous MAP
(ex. change from
MAP3 to MAP2
)
Long
press of GREEN
(>3sec)
Change status ON
–
OFF
Long press of RED (>3sec)
Change status ON
–
OFF
6.0
GPS reciever module (optional)
If you
ride your bike
on
race
track, you can use GRIPONE
as laptimer
and save your lap times and intermediate
times into its memory
.
GRIPONE can record up to 200 laps. To activate this option you have to connect the GPS
reciever to the ECU by the 3.5 jack. Follow those steps:
1)
C
onnect the GPS receiver to the unit, by the 3
.5 jack
;
2)
P
lace the GPS receiver on the seat or on the triple clamp. The receiver must
be
placed where it can
see the sky without anything in the between
;
3)
The first time yo
u switch on the ECU after a lon
g period (for example the first time
in the morning)
the GPS receiver will take 1
-
2 m
inutes to get the signal. After the first time
,
the GPS will take few
seconds to get the signal
;
4)
When the
GPS
signal is available, the message “GPS READY !” will be shown on the LCD of ECU
;
5)
Go with the bike
close to the finish line;
6)
Fix the position of finish line keep pressed the MENU button for 4 seconds. The GPS position will be
saved (as soon you release the button) and the message “GPS finish line SAVED”. Every time you
will pass through this point the l
aptimer will fix the time of lap
and the 2° yellow led will switch on
;
7)
If you want to have a intermediate time, go with the bike close to the intermediate point;
8)
Fix the position of intermediate point keep pressed the OPTION button for 4 seconds. The GPS
p
osition will be saved (as soon you release the button) and the message “GPS finish line SAVED”.
Every time you will pass through this point the laptimer will fix the time of
intermediate sector and
the 1° yellow led will switch on
.
To see your lap times, your bike must be stopped. Press MENU button one time to access to the “LAP TIME
LIST” menu. Press OPTION button to scroll all the lap times. The list of lap times are shown from last lap saved
to the first lap saved.
Summary of Contents for CHRONO TC
Page 5: ...www gripone com ...
Page 9: ...www gripone com ...


