110
GB
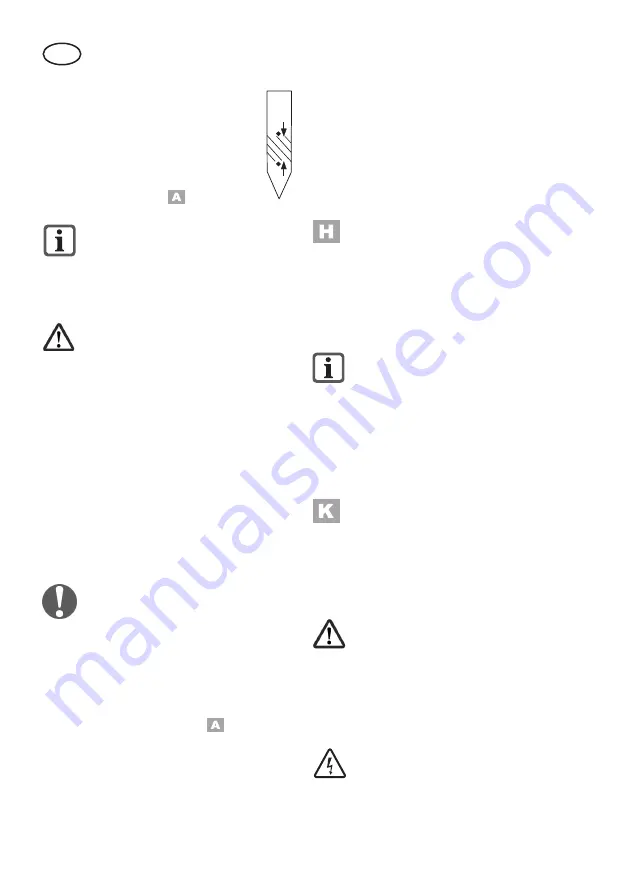
3. After pulling it out, read off the
oil level on the dipstick. The oil
level should be in the marked
area between the minimum and
maximum marks.
4. Wipe off any spilt oil and close
the oil filler cap ( 17).
Check the oil level every time be-
fore mowing and add oil when the
lower marking point is reached.
Filling with Petrol
Warning! Petrol is flammable
and hazardous to health:
- Keep petrol in containers intended for
this purpose;
- Only refuel outdoors and never with
the engine running or when the ma-
chine is hot;
- Open the filler cap carefully to allow
excess pressure to escape;
- Do not smoke whilst refuelling;
- Avoid skin contact and inhalation of
the fumes;
- Remove spilt petrol;
- Keep petrol away from sparks, open
flames and other ignition sources;
- Do not use petrol/oil mixtures;
- Use normal or super unleaded
petrol;
- Only use clean, fresh petrol;
- Do not store petrol for longer
than one month, as its quality
deteriorates
1. Unscrew the filler cap ( 9) and
pour in the petrol to the lower edge of
the filler.
Do not fill the tank entirely, to allow
the petrol room to expand.
2. Wipe away petrol residues around the
filler cap and close the filler cap.
Setting the Cutting Height
The equipment has 10 positions for set-
ting the cutting heigh (25-75 mm):
1. Pull the lever (20) outwards and
push it to the desired position .
2. Push the lever back in.
The correct cutting height is around
30 – 45 mm for an ornamental lawn and
around 40 – 65 mm for a utility lawn.
Select a greater cutting height for
the first cut of the season.
Connect the connecting cable
Before you can start the machine, you
must establish the connections between
the start button, battery and electric motor.
1. Connect the black connector of
the E-Start (39).
2. Connect the white connector of
the battery (40).
Charging the battery
Do not expose the battery to
extreme conditions such as heat
or impact. Risk of injury from
escaping electrolytic solution!
After eye/skin contact, rinse the
affected areas with water or a
neutraliser and consult a doctor.
Charge the battery in a dry room
only.
Prior to attaching the charger,
check that the battery‘s outer
Summary of Contents for BRM 46-150 BSA InStart
Page 3: ...3 32 D 29 16 16a 30 26 23 23 25 34 33 18 33 33 18 20 35 36 31 8 37 37 38 38 ...
Page 4: ...4 8 37 37 40 39 2 1 3 28 11 12 13 10 41 42 43 44 45 ...
Page 6: ...6 ...
Page 210: ...210 ...
Page 220: ......
Page 223: ...B 42179_2018 01 15_ts ...
Page 224: ......


