g0555X
(Mfg. since 1/12)
-15-
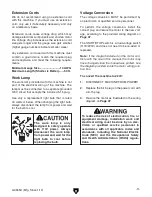
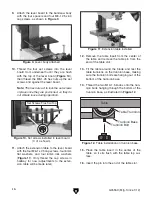
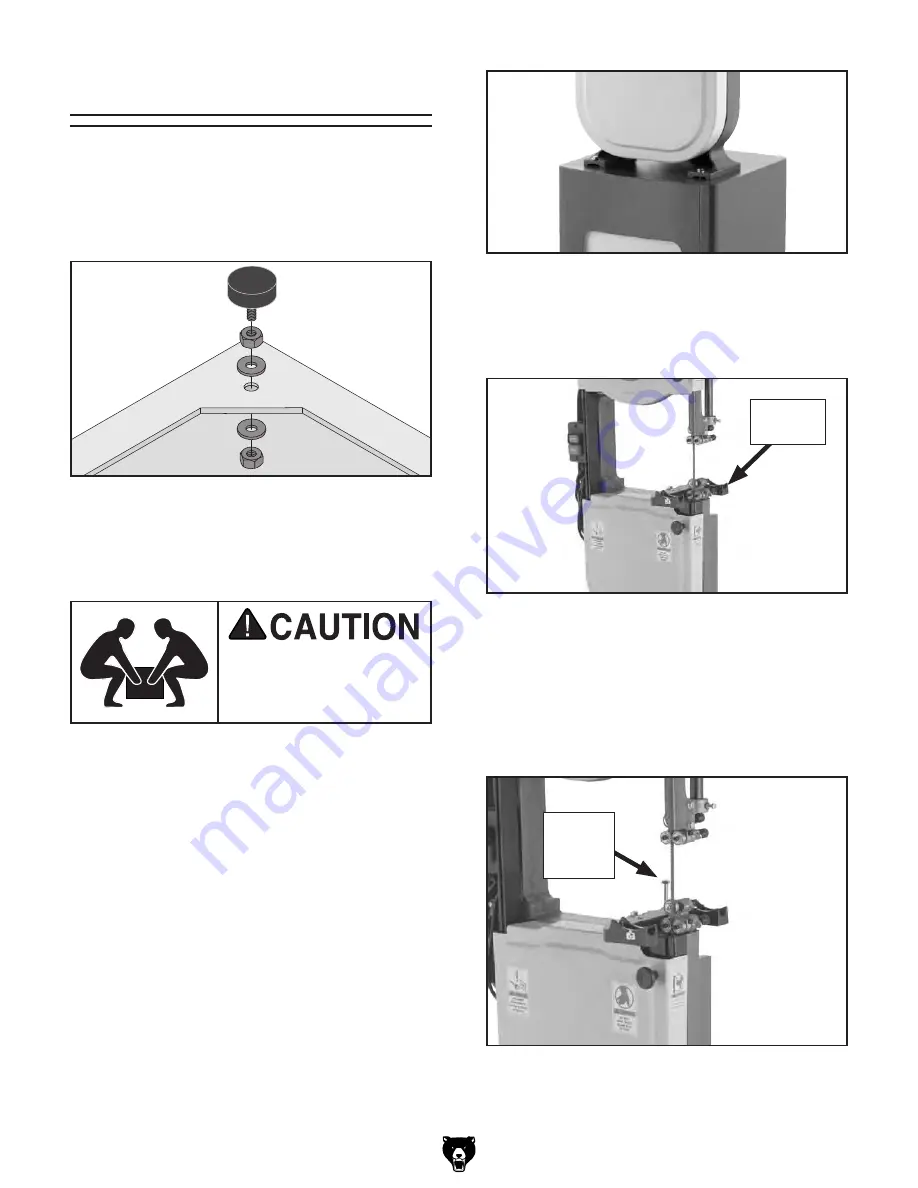
figure 6. bandsaw mounted to stand.
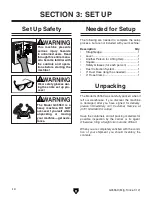
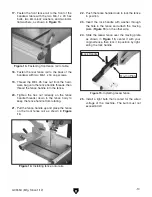
figure 7. installing trunnion base.
trunnion
base
The bandsaw is heavy
and awkward to lift. Get
assistance from another
person when lifting.
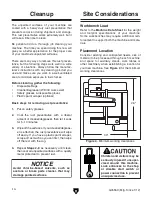
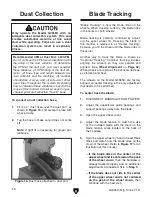
figure 8. shows positive stop bolt installed.
positive
stop
bolt
Assembly
6. Fasten the trunnion base to the bandsaw, as
shown in
figure 7, with the two M8-1.25 x 30
hex bolts and two 8mm lock washers.
7. thread an M8-1.25 hex nut halfway up the
M8-1.25 x 80 hex bolt.
8. thread the M8-1.25 x 80 hex bolt (a.k.a. posi-
tive stop bolt) into the trunnion base so it is
installed similar to
figure 8.
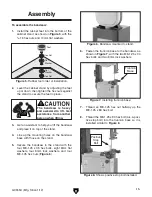
2. level the cabinet stand by adjusting the feet
up or down, then tighten the hex nuts against
the stand to secure the feet in place.
To assemble the bandsaw:
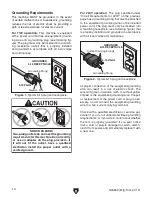
1. install the rubber feet into the bottom of the
cabinet stand, as shown in
figure 5, with the
3
⁄
8
-16 hex nuts and 10mm flat washers.
Foot
Hex Nut
Hex Nut
Flat
Washer
Flat
Washer
figure 5. rubber foot order of installation.
3. get an assistant to help you lift the bandsaw
and place it on top of the stand.
4. line up the mounting holes on the bandsaw
base with those on the stand.
5. secure the bandsaw to the stand with the
four M8-1.25 x 35 hex bolts, eight 8mm flat
washers, four 8mm lock washers, and four
M8-1.25 hex nuts (
figure 6).

