g0555X
(Mfg. since 1/12)
-41-
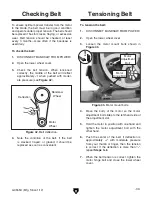
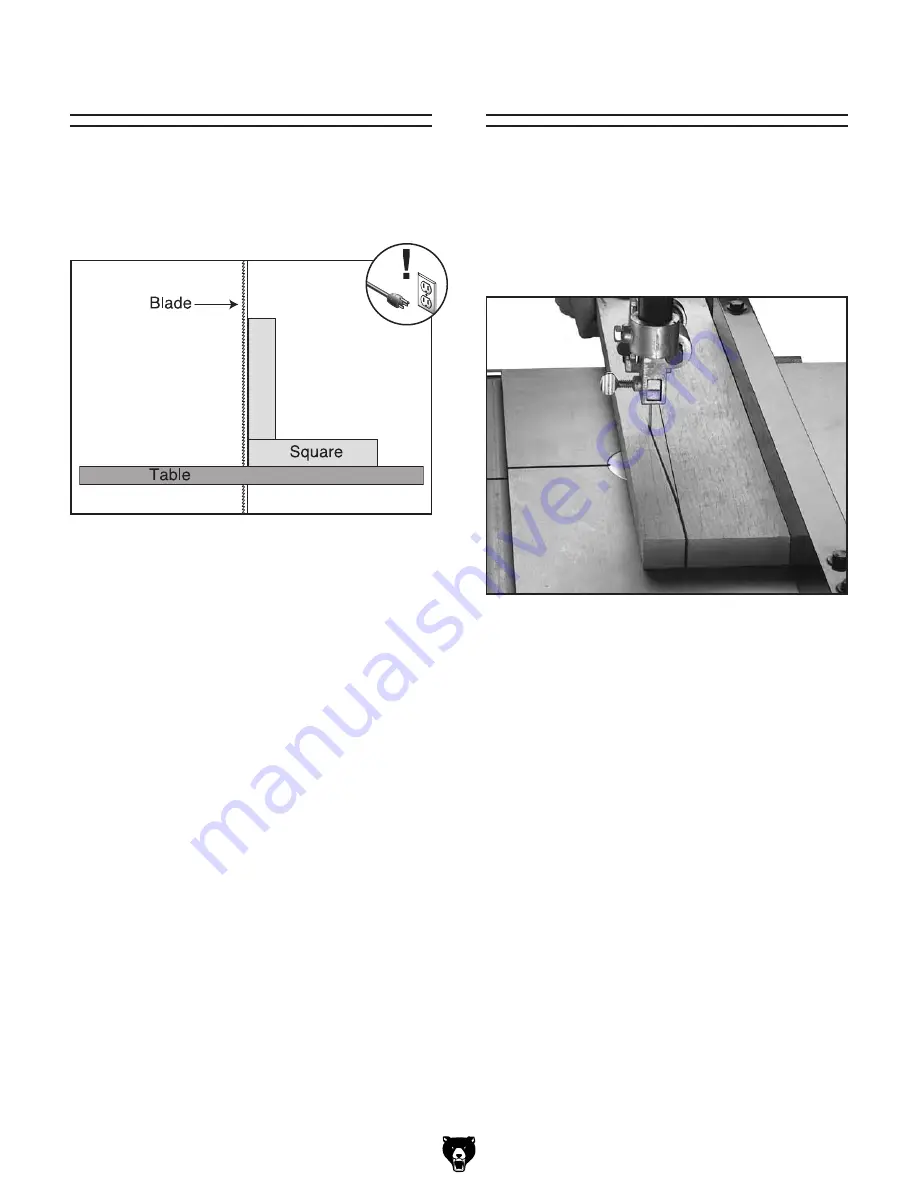
to ensure accuracy when cutting stacked
workpieces, the table should be 90˚ to the back of
the blade as shown in
figure 45. if the table is not
perpendicular to the back of the blade, the table
needs to be shimmed.
figure 45. squaring table to blade back.
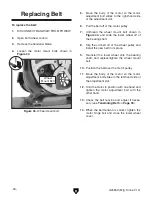
To shim the table:
1. Make sure that the blade is tracking properly
and that it is correctly tensioned.
2. disConneCt bandsaW FroM poWer!
3. loosen the trunnion bolts that secure the
trunnions to the table.
4. place shim stock between the table and the
two trunnions to shim the table in the desired
direction.
Note:
Another way to shim the table is to add
washers between the table and the trunnion.
Electrical washers are a good choice for this
procedure because they are very thin and will
allow for fine adjustment.
5. Follow the Aligning Miter Slot instructions
on
page 25
to complete this procedure.
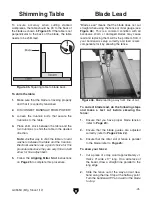
"blade lead" means that the blade does not cut
straight when using the fence or miter gauge (see
figure 46). this is a common condition with all
bandsaws. Worn or damaged blades may cause
lead and replacing them will fix the problem. still, if
your bandsaw is setup correctly and lead occurs,
compensate for it by skewing the fence.
figure 46. blade leading away from line of cut.
To correct blade lead, do the following steps
and make a test cut before skewing the
fence:
1. ensure that you have proper blade tension
(refer to
page 20).
2. ensure that the blade guides are adjusted
correctly (refer to
pages 20 & 22).
3. ensure that the miter slot or fence is parallel
to the blade (refer to
page 25).
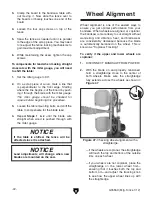
To skew your fence:
1. Cut a piece of scrap wood approximately
3
⁄
4
"
thick x 3" wide x 17" long. on a wide face of
the board, draw a straight line parallel to the
long edge.
2. slide the fence out of the way and cut free-
hand along the line. stop at the halfway point.
turn the bandsaw
OFF
and
wait for the blade
to stop.
Shimming Table
Blade Lead

