-50-
Model g0661/g0713 (Mfg. since 1/10)
5. subtract
1
⁄
8
" from the distance measured in
Step 4 and transfer this distance to the wood
piece that will be your auxiliary fence. this
mark will be the centerline for the t-slot you
need to make in the next step, which will
allow you to mount the auxiliary fence to the
main fence assembly.
6. rout a t-slot in your auxiliary fence on the
centerline you created in
Step 5.
7. place the auxiliary fence next to the open
side of the fence and mark the location of four
mounting holes on the auxiliary fence.
8. use the mounting hardware that had previ-
ously attached the fence face to attach the
auxiliary fence. the end result should be
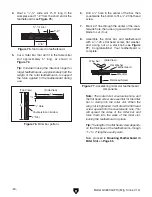
similar to
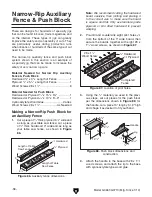
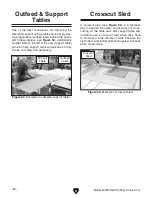
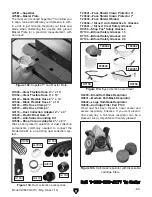
Figure 71.
Figure 71. auxiliary fence.
;ZcXZ
7dYn
6jm^a^Vgn
;ZcXZ
;ZcXZ
;VX^c\
Auxiliary Fence
the auxiliary fence is necessary if you are
resawing a workpiece that is taller than it is wide.
it should be no less than
1
⁄
2
" shorter than the
board to be resawn.
Components Needed for the Auxiliary Fence:
Wood*
3
⁄
4
" x (height) x length of Fence ............1
*
Only use furniture grade plywood, kiln dried hard-
wood, or or HDPE plastic to prevent warping.
Tools Needed for the Auxiliary Fence:
table saw ..........................................................1
jointer and planer ....................... recommended
Clamps ............................................... 2 Minimum
To build the auxiliary fence:
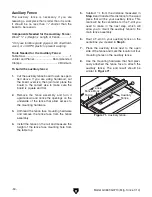
1. Cut the auxiliary fence board to size as speci-
fied above.
if you are using hardwood, cut
the board oversize, then joint and plane the
board to the correct size to make sure the
board is square and flat.
2. remove the fence assembly and turn it
upside down and notice the openings on the
underside of the fence that allow access to
the mounting hardware.
3. unthread the fence face mounting hardware
and remove the fence face from the fence
assembly.
4. install the fence on the rail and measure the
height of the fence face mounting hole from
the table top.


