Model g0661/g0713 (Mfg. since 1/10)
-69-
Setting 45° Stop Bolt
1. disConnECt saW FroM poWEr!
2. raise the blade as high as it will go, then tilt it
towards 45° until it stops and cannot be tilted
any more.
3. place a 45° square against the table and
blade so it contacts the blade evenly from
bottom to top, as shown in
Figure 111. Make
sure a blade tooth does not obstruct the
placement of the square.
Figure 111. Checking blade at 45°.
7aVYZ
)*HfjVgZ
IVWaZ
—if the blade is 45° to the table, then adjust-
ments do not need to be made.
—if the blade is not 45° to the table, you will
need to adjust the 45° stop screw. proceed
to the next step.
4. tilt the blade away from 45° by about 5°, so
there is room for the set screw to move.
5. adjust the 45° set screw according to how far
off the blade was from 45°, then recheck the
blade and repeat the adjustment as neces-
sary until the blade stops at 45°.
Miter Slot to Blade
parallelism
Figure 112. Example of adjusting blade to miter
slot.
your table saw will give the best results if the
miter slot and the rip fence are adjusted parallel to
the blade. if either of these is not exactly parallel,
your cuts and your finished work will be lower in
quality, but more importantly, the risk of kickback
will be increased. take the time to adjust your
table saw properly. a few minutes now will be time
well spent.
Tools Needed
Qty
adjustable square ............................................. 1
Marker ............................................................... 1
To adjust the blade parallel to the miter slot:
1. disConnECt saW FroM poWEr!
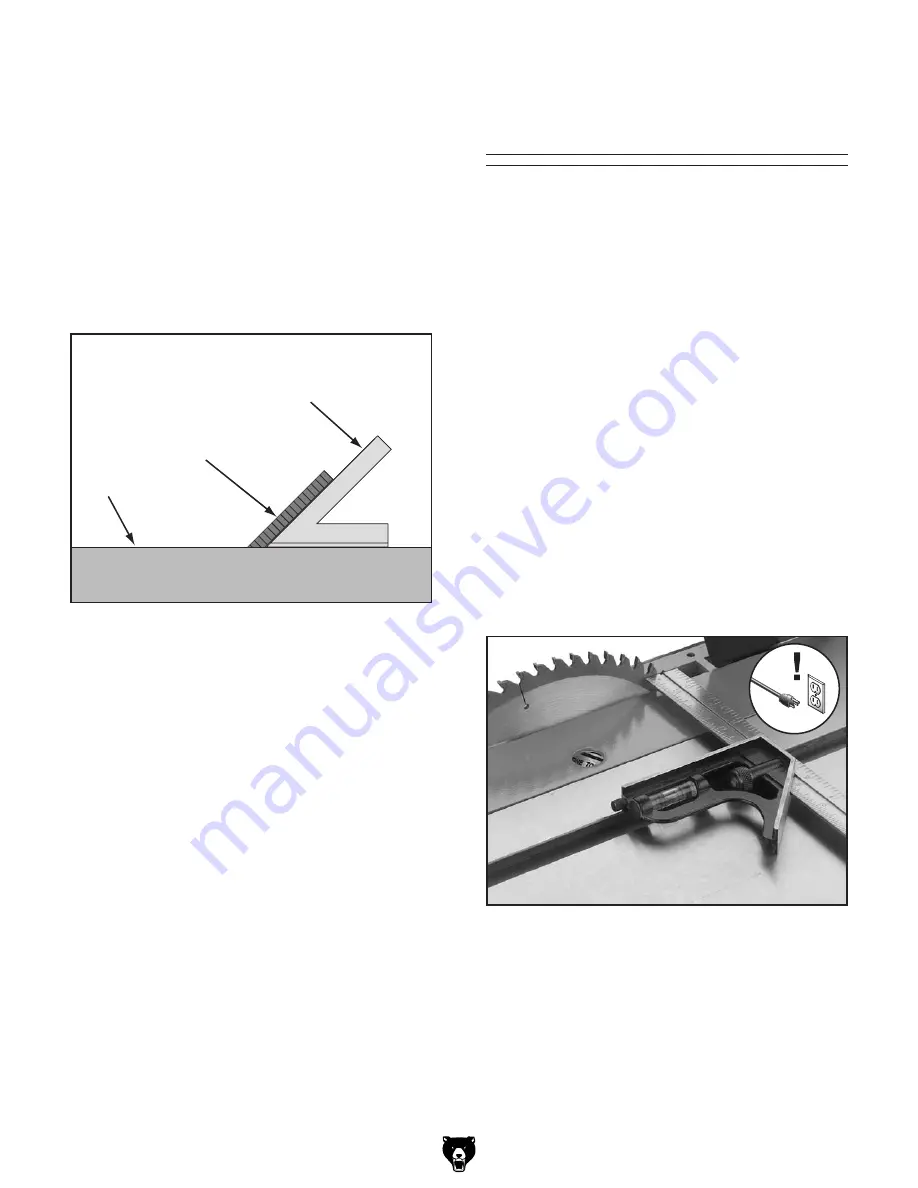
2. use an adjustable square to measure the
distance from the miter slot to a carbide tip
on the blade, as shown in
Figure 112. Make
sure that the face of the adjustable square is
even along the miter slot.


