Model G0678 (Mfd. Since 06/15)
-15-
Assembly
To assemble mill:
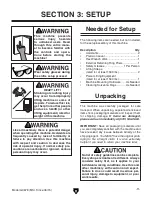
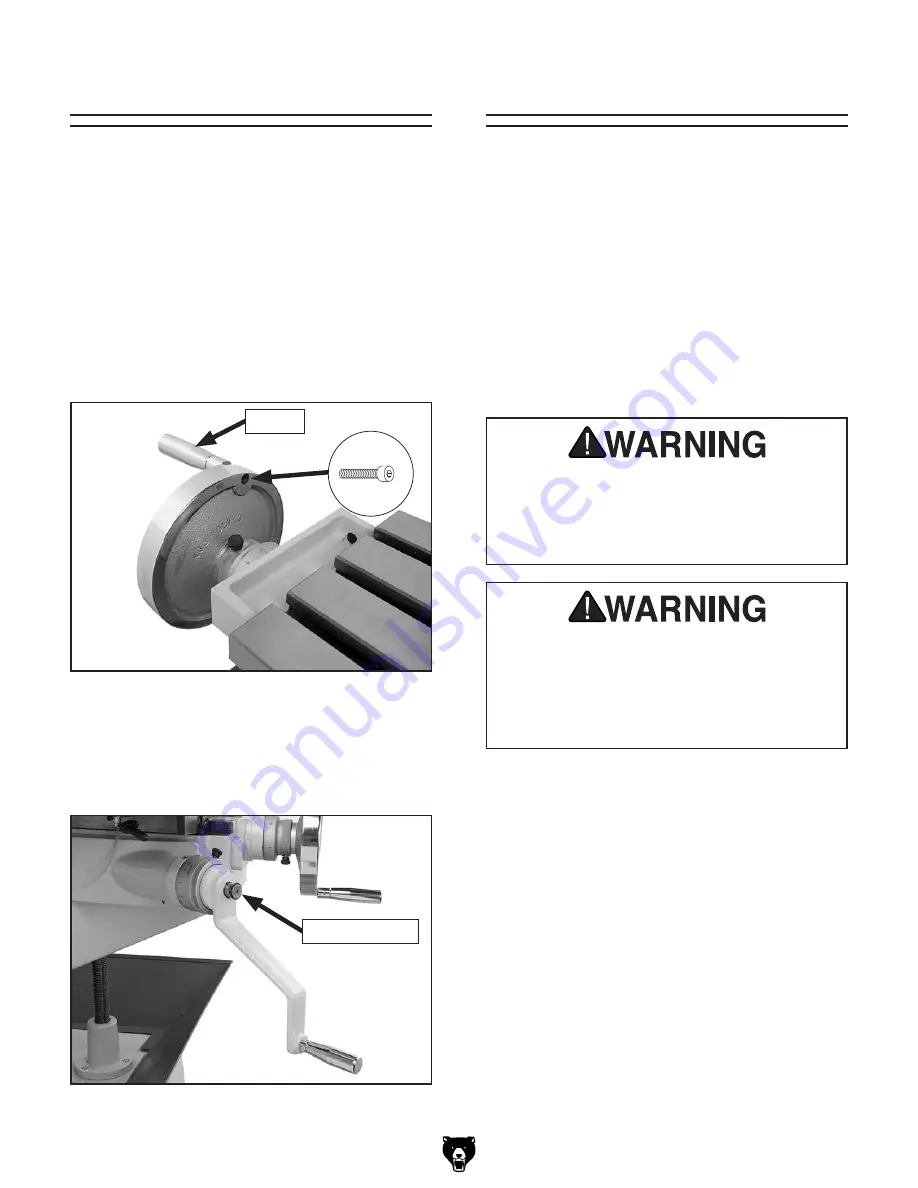
1. Secure three handles to handwheels with the
M6-1 x 25 cap screws, as shown in
Figure 8.
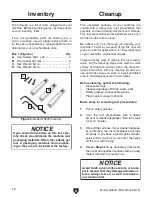
2. Use external retaining ring pliers to remove
retaining ring from end of vertical crank
screw, reverse crank handle, then re-install
retaining ring (see
Figure 9).
Test Run
Figure 8. Handle attached to handwheel.
Handle
Figure 9. Vertical crank handle properly
installed.
Retaining Ring
The machine must be fully assembled before it
can be operated. Before beginning the assembly
process, refer to
Needed for Setup and gather
all listed items. To ensure the assembly process
goes smoothly, first clean any parts that are cov-
ered or coated in heavy-duty rust preventative (if
applicable).
Once assembly is complete, test run the machine
to ensure it is properly connected to power and
safety components are functioning correctly.
If you find an unusual problem during the test run,
immediately stop the machine, disconnect it from
power, and fix the problem BEFORE operating the
machine again. The
Troubleshooting table in the
SERVICE section of this manual can help.
DO NOT start machine until all preceding
setup instructions have been performed.
Operating an improperly set up machine
may result in malfunction or unexpect-
ed results that can lead to serious injury,
death, or machine/property damage.
Serious injury or death can result from
using this machine BEFORE understanding
its controls and related safety information.
DO NOT operate, or allow others to operate,
machine until the information is understood.
The Test Run consists of verifying the following:
1) The motor powers up and runs correctly, and 2)
the E-stop button safety feature works correctly.
To test run machine:
1. Clear all setup tools away from machine.
2. Make sure machine is lubricated (refer to
Lubrication on Page 26 for detailed instruc-
tions).
3. Press Emergency Stop button in.
4. Connect machine to power by inserting power
cord plug into a matching receptacle.

