Model G0699 (Mfd. Since 5/15)
-69-
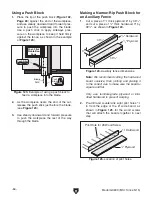
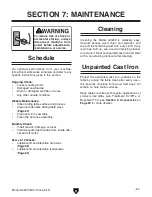
Leadscrews
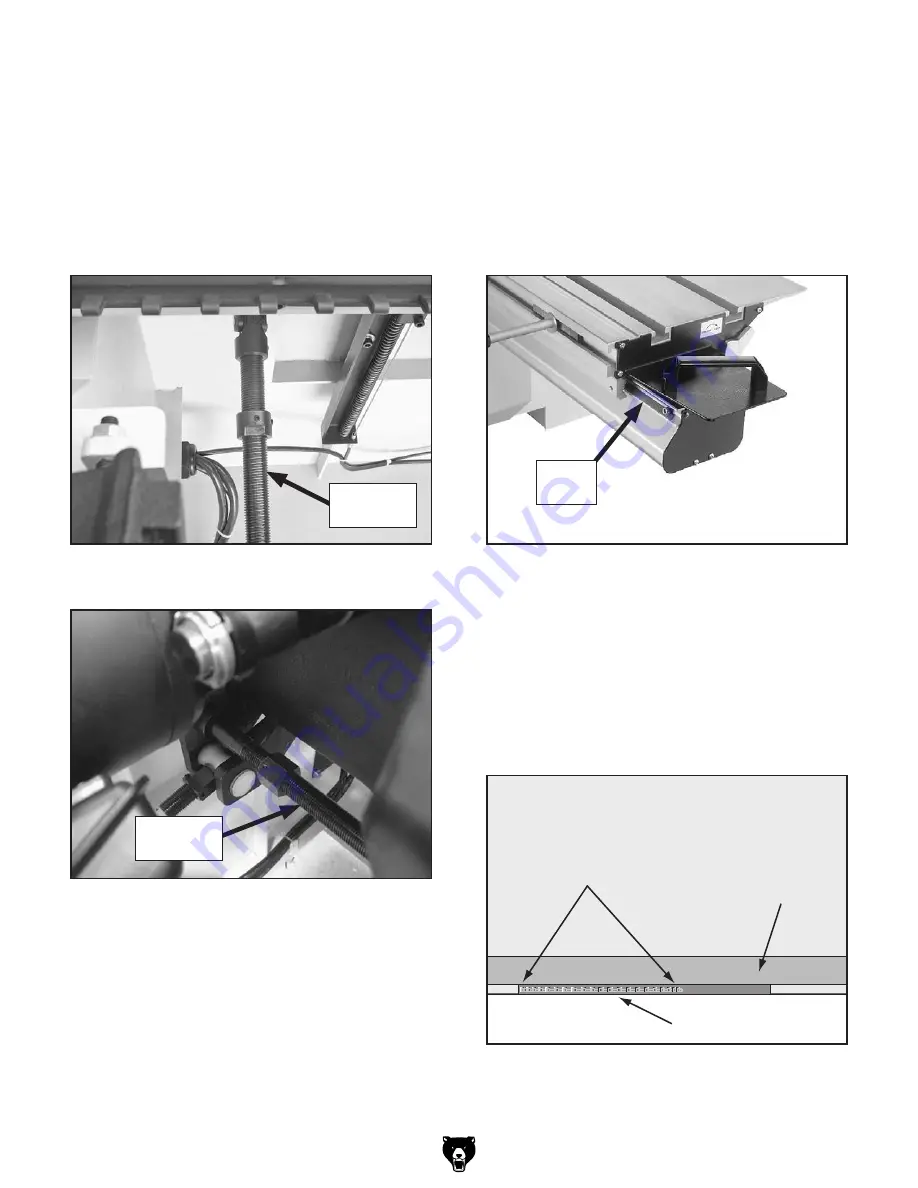
Use mineral spirits and shop rages to clean away
grime and debris from the full lengths of the tilt
and elevation leadscrews (see
Figures 134–135).
Then, apply a thin coat of light machine oil (see
Accessories on Page 59) to their full lengths with
a shop rag. Move the leadscrews through their
full range of movement several times to evenly
distribute the oil.
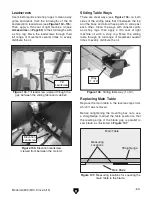
Sliding Table Ways
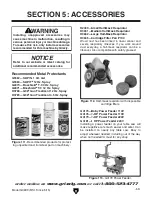
There are steel ways (see
Figure 136) on both
sides of the sliding table that fit between the top
and the base and allow these parts to slide past
each other. Clean the ways with mineral spirits
and shop rags, then apply a thin coat of light
machine oil with a shop rag. Move the sliding
table through its full range of movement several
times to evenly distribute the oil.
Replacing Main Table
Replace the main table in the reverse steps from
which it was removed.
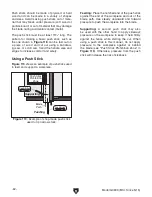
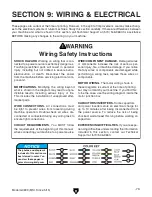
Before re-tightening the mounting hex nuts, use
a straightedge to adjust the table position so that
the leading edge of the blade gap is parallel to
saw blade, as illustrated in
Figure 137.
Straightedge
Measuring
Locations
Main Table
Main Blade
Figure 137. Measuring locations for squaring the
main table to the blade.
Figure 136. Sliding table way (1 of 2).
Way
(1 of 2)
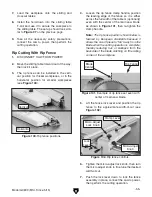
Figure 134. Tilt leadscrew (viewed through the
gap between the sliding table and cabinet).
Tilt
Leadscrew
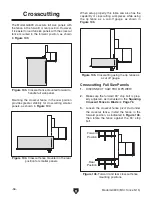
Figure 135. Elevation leadscrew
(viewed from between the motors).
Elevation
Leadscrew
Summary of Contents for G0699
Page 21: ...Model G0699 Mfd Since 5 15 19 5mm Hardware Recognition Chart...
Page 108: ......

