Model G0838 (Mfd. Since 10/17)
-31-
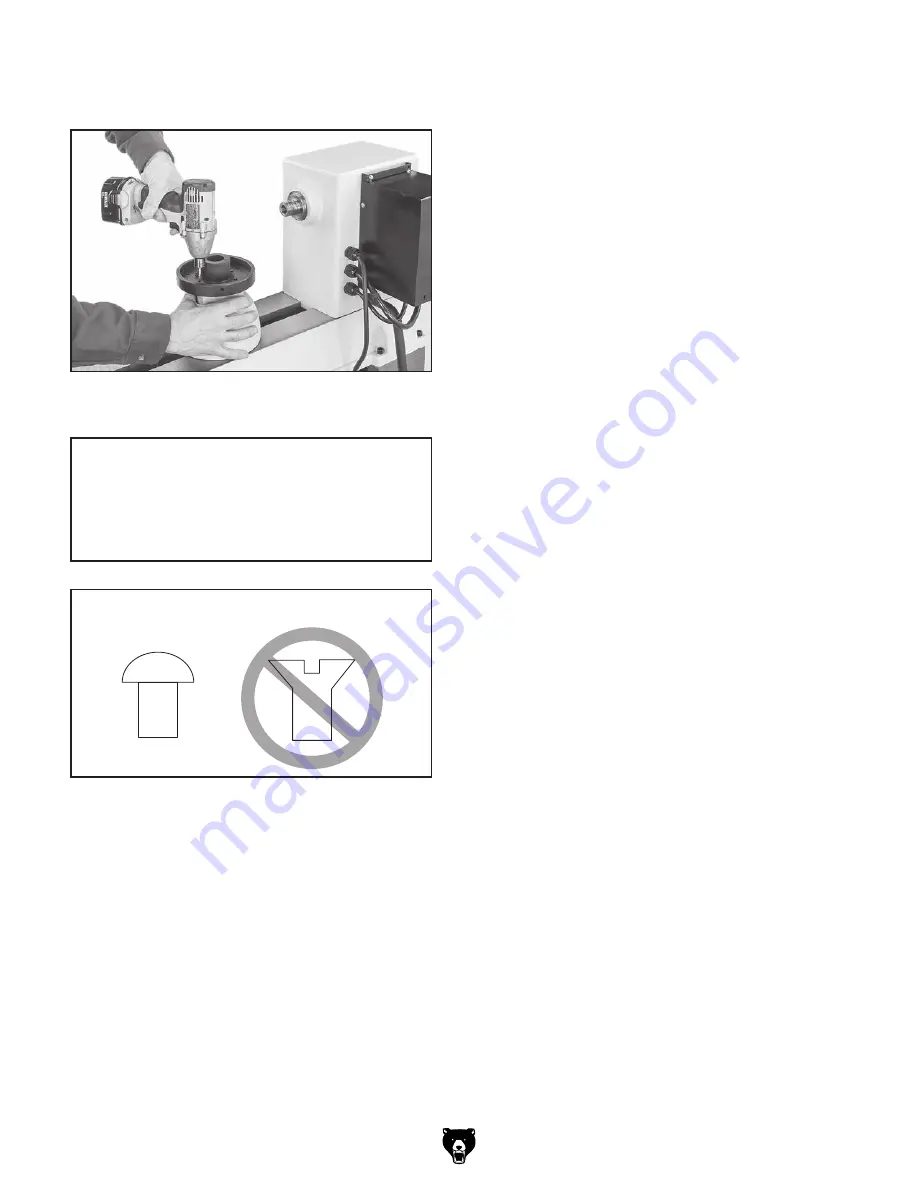
Figure 39. Typical attachment of faceplate to
workpiece.
2. Center faceplate on workpiece and attach it
(see
Figure 39) with wood screws.
NOTICE
Only use screws with non-tapered heads
(see Figure 40) to attach faceplate to the
workpiece. Screws with tapered heads can
split faceplate or snap off during operation.
Correct
Incorrect
Figure 40. Correct and incorrect screw types.
3. Thread and secure faceplate onto headstock
spindle (refer to
Installing Faceplate on
Page 25).
— If wood screws cannot be placed in
workpiece, faceplate can be mounted to
a backing block attached to workpiece
(see
Mounting Workpiece on Backing
Block).
To mount workpiece on backing block:
1. Make backing block from a suitable size
piece of scrap wood.
Note:
Faces of backing block must be flat and
parallel with each other, or uneven surfaces
will cause workpiece to spin eccentrically,
causing unnecessary vibration and runout. It
is best to mount backing block to faceplate
and turn other surface flat prior to mounting.
2. Locate and mark center of workpiece and
backing block.
3. Drill a
1
⁄
4
" hole through center of backing block.
4. Look through hole in backing block to line
up center with workpiece, and then glue and
clamp backing block to workpiece.
Note: Allow glue to cure according to manu-
facturer's instructions.
5. Follow Steps 1–3 under Mounting
Workpiece on Faceplate (see Page 30) to
attach backing block to faceplate.
Mounting Workpiece on Backing
Block
Items Needed
Qty
Piece of Scrap Wood......................................... 1
Precision Ruler .................................................. 1
Drill Bit
1
⁄
4
" .......................................................... 1
Glue ................................................... As Needed
Clamp ................................................................ 1
Summary of Contents for G0838
Page 52: ......


