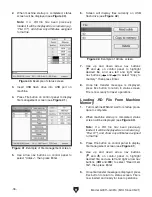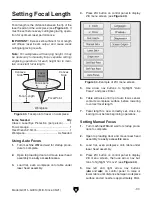
Once assembly is complete, test run the machine
to ensure it is properly connected to power and
safety components are functioning correctly.
If you find an unusual problem during the test run,
immediately stop the machine, disconnect it from
power, and fix the problem BEFORE operating the
machine again. The
Troubleshooting table in the
SERVICE section of this manual can help.
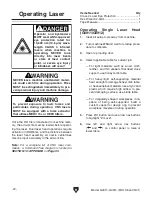
DO NOT start machine until all preceding
setup instructions have been performed.
Operating an improperly set up machine
may result in malfunction or unexpect-
ed results that can lead to serious injury,
death, or machine/property damage.
Serious injury or death can result from
using this machine BEFORE understanding
its controls and related safety information.
DO NOT operate, or allow others to operate,
machine until the information is understood.
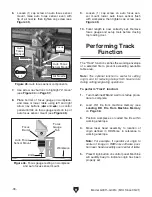
Figure 24. Resetting Emergency Stop button.
Emergency Stop Button
TWIST
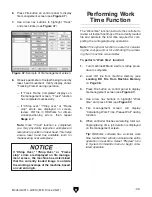
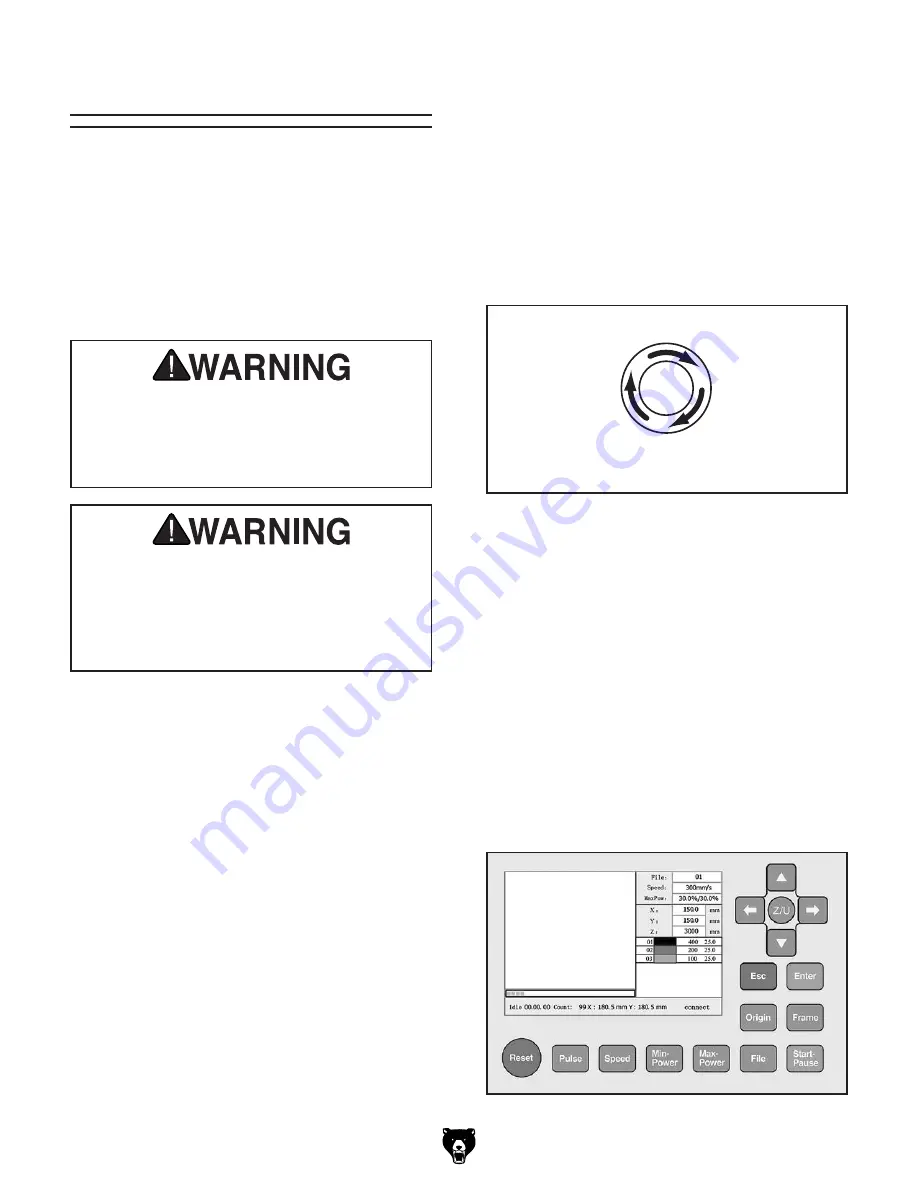
Figure 25. Screen display during start-up.
Model G0911–G0914 (Mfd. Since 05/21)
-27-
Test Run
The Test Run consists of verifying the following:
1) Auxiliary systems power up and run properly, 2)
stepper motors run correctly and machine proper-
ly homes, 3) proximity and limit switches function
correctly, 4) top loading door interlock switches
operate properly, and 5) Emergency Stop button
functions correctly.
Items Needed
Qty
Additional Person ............................................... 1
Class 4 Laser Eye Protection
(for each person) ................................................ 1
Scrap Iron or Steel ............................. As Needed
Scrap Wood ........................................ As Needed
To test run machine:
1. Clear all setup tools away from machine.
2. Press Emergency Stop button in.
3. Connect machine, high voltage power supply
(HVPS), and auxiliary systems power cords
by inserting power cord female end into
matching receptacle on rear of machine.
4. Connect machine, high voltage power supply,
and auxiliary systems to power by inserting
power cord plugs into matching receptacles.
5. Twist Emergency Stop button clockwise until
it springs out (see
Figure 24).
6. Turn all auxiliary power connection ON/OFF
switches
ON. Verify all auxiliary systems
power
ON and operate correctly.
7. Turn ON/OFF switch and HVPS ON/OFF
switch on front of machine
ON.
8. Verify machine starts up and runs smoothly
without any unusual problems or noises.
— Screen display will show system status
information (see
Figure 25), and after one
audible beep, laser head assembly will
home to upper right corner of table before
moving to origin (or position of last cut).
Summary of Contents for G0911
Page 100: ......

