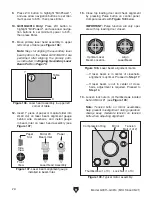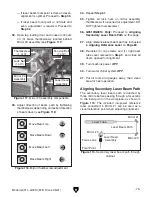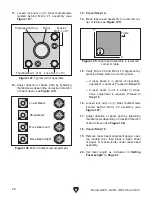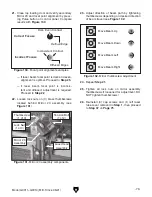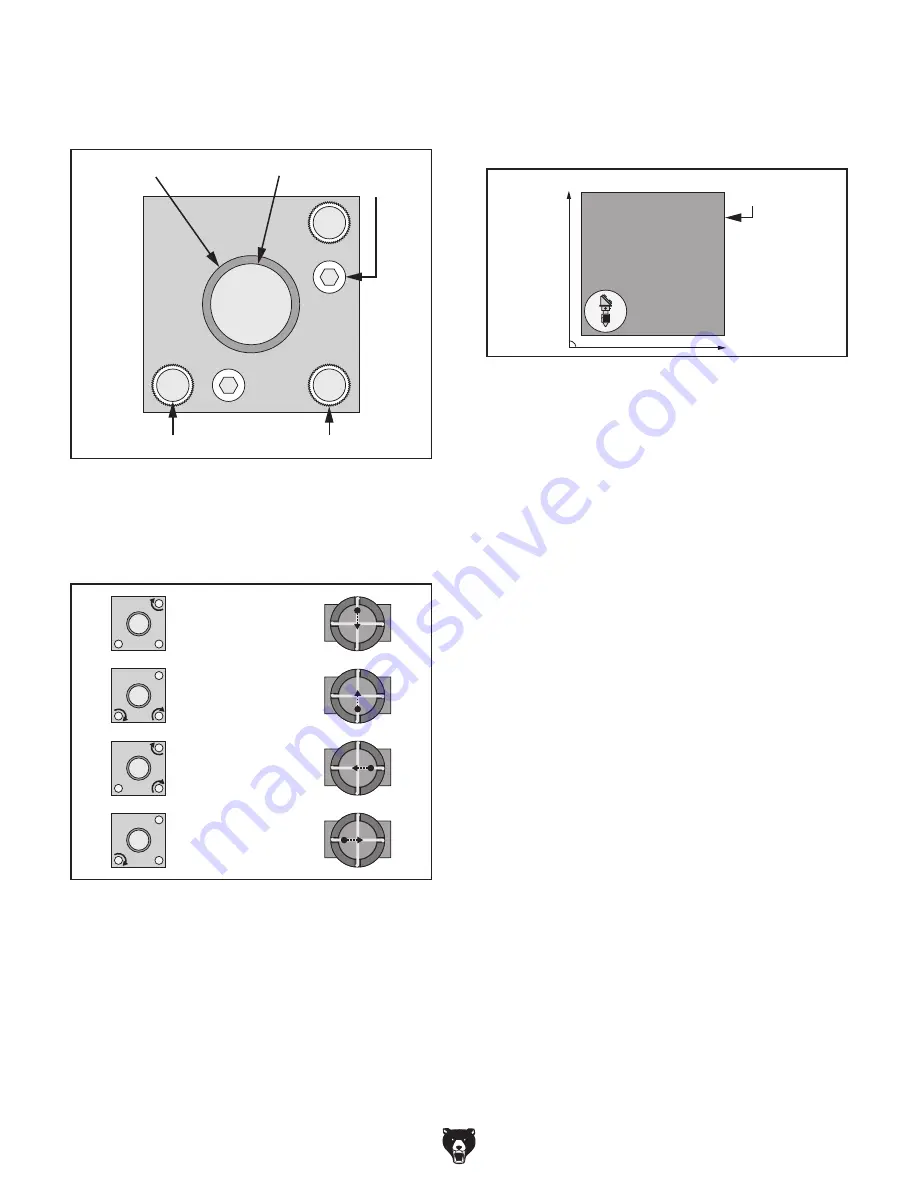
Lower Beam
Raise Beam
Move Beam Left
Move Beam Right
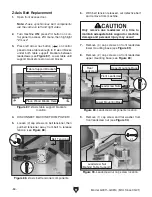
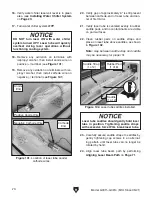
Figure 128. Mirror thumbscrew adjustment.
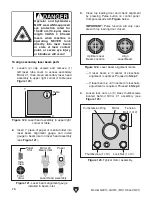
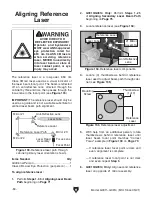
Mirror
Tension
Bolt (1 of 2)
Compression Ring
Thumbscrew (1 of 3)
Lock Nut (1 of 3)
Figure 127. Typical mirror assembly.
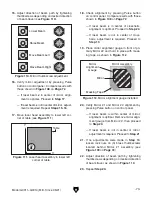
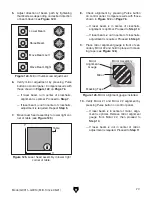
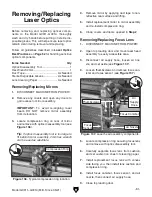
X
Y
Table
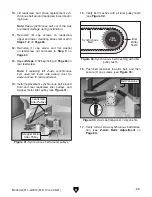
Figure 129. Laser head assembly in lower left
corner of table.
-78-
Model G0911–G0914 (Mfd. Since 05/21)
15.
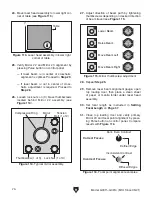
Verify Mirror #2 and Mirror #3 alignment by
pressing Pulse button on control panel.
— If laser beam is in center of crosshairs,
alignment is optimal. Proceed to
Step 19.
— If laser beam is not in center of cross-
hairs, adjustment is required. Proceed to
Step 16.
16. Loosen lock nuts on (3) brass thumbscrews
located behind Mirror #2 assembly (see
Figure 127).
17. Adjust direction of beam path by tightening
thumbscrews depending on desired direction
of beam travel (see
Figure 128).
18. Repeat Step 15.
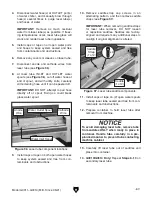
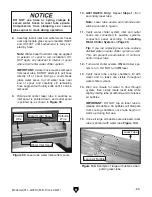
19. Remove laser beam alignment gauge, open
top loading door, then place a clean sheet
of paper or manila folder under laser head
assembly.
20. Set focal length as instructed in Setting
Focal Length on Page 37.
12. Adjust direction of beam path by tightening
thumbscrews depending on desired direction
of beam travel (see
Figure 128).
13.
Repeat
Step 10.
14. Move laser head assembly to lower left cor-
ner of table (see
Figure 129).
11. Loosen lock nuts on (3) brass thumbscrews
located behind Mirror #1 assembly (see
Figure 127).
Summary of Contents for G0911
Page 100: ......

