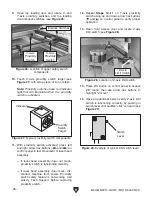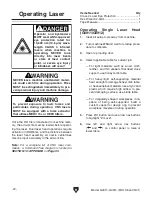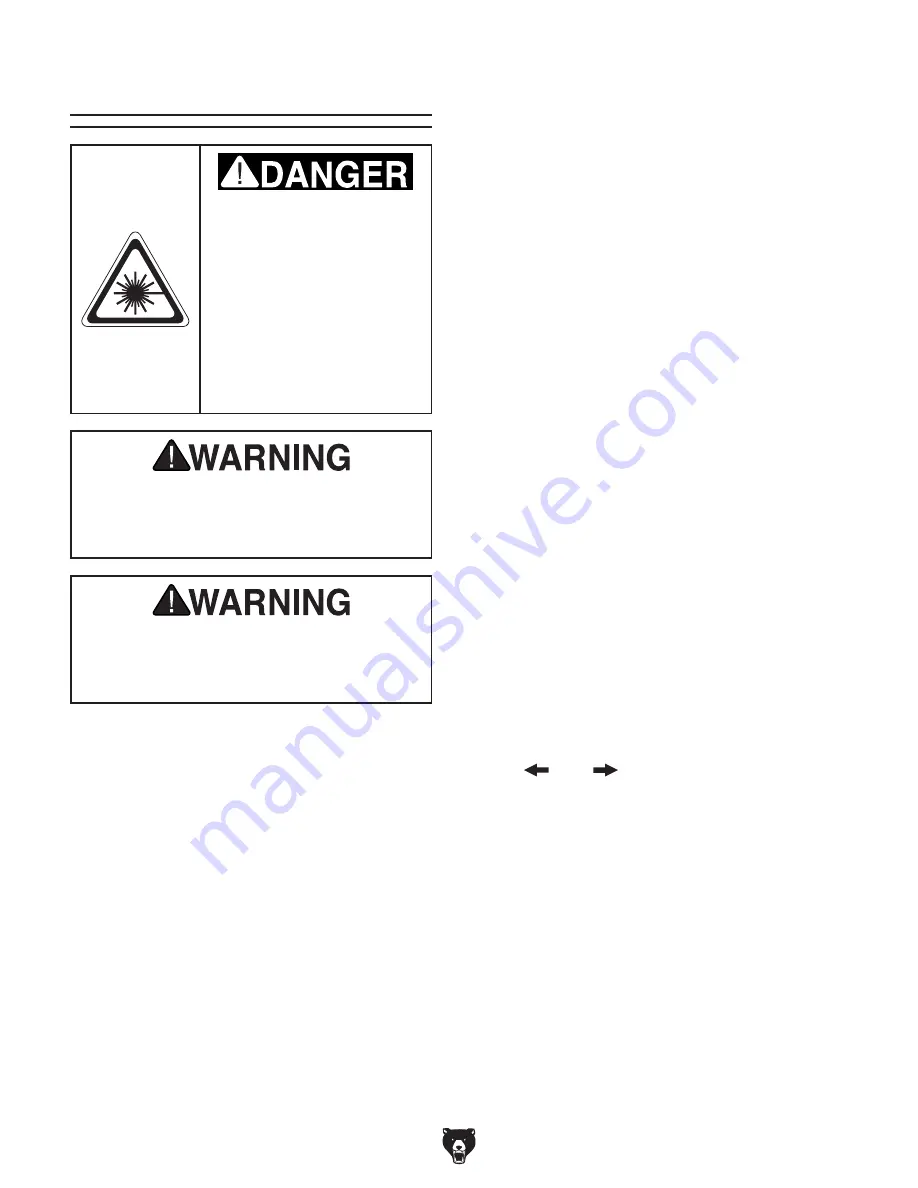
NEVER leave machine unattended; materi-
als could catch fire during operation. Fires
MUST be extinguished immediately to pre-
vent personal injury and machine damage.
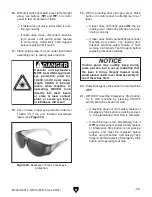
To prevent exposure to toxic fumes and
particulates during operation, CNC lasers
MUST be equipped with a fume extractor
that utilizes MERV 15+ or HEPA filters.
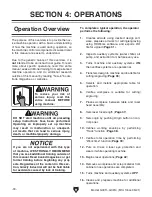
Operator and bystanders
MUST wear ANSI-approved
eye protection rated for
10,600 nm (10.6 µm) wave-
length CLASS 4 infrared
lasers when machine is
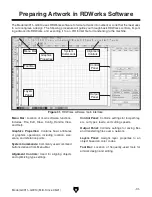
operating. NEVER look
directly into laser beam
or stare at laser contact
point, or severe eye injury
or blindness will occur!
-42-
Model G0911–G0914 (Mfd. Since 05/21)
Once the .RD file is transferred to machine mem-
ory, the artwork file must be loaded before operat-
ing the laser. Dual laser head operations require
activation in RDWorks, and the distance between
the laser head assembly air nozzle centerlines
must be input accurately in the artwork file.
Note: For a complete list of CNC laser com-
mands, a Command Tree diagram is located in
SECTION 10: APPENDIX on Page 95.
Operating Laser
Items Needed
Qty
Class 4 Laser Eye Protection ............................. 1
Hex Wrench 2.5mm ............................................ 1
Tape Measure ..................................................... 1
Operating Single Laser Head
(G0911/G0912)
1. Clear all setup tools away from machine.
2. Turn machine ON and wait for startup proce-
dure to complete.
3. Open top loading door.
4. Select applicable table for current job:
— For light materials such as wood, cloth,
leather, and thin veneers that need close
support, use honeycomb table.
— For heavy/rigid self-supporting material
hard enough to damage honeycomb table,
or heat-sensitive materials like acrylic and
plastic which require high airflow to pre-
vent damaging surface, use blade table.
— For irregularly-shaped workpieces inca-
pable of being self-supported, build a
custom support or design a jig to prevent
workpiece movement during operation.
5. Press Z/U button and use arrow nav buttons
to highlight "Z move".
6.
Use left and right arrow nav buttons
(
and
) on control panel to raise or
lower table.
Summary of Contents for G0911
Page 100: ......

