Model G0949G (Mfd. Since 01/22)
-77-
To confirm bearings are correctly preloaded:
1. Re-attach all removed lathe components and
prepare lathe for operation.
2. Install chuck and tighten jaws.
3. Set spindle speed to its highest setting.
4. Connect lathe to power and turn lathe spindle
ON.
5. Let lathe run for 20 minutes, periodically
shutting it down a few times and checking
temperature.
IMPORTANT: Stop running lathe if the tem-
perature gets too hot. If you can not comfort-
ably touch spindle nose immediately discon-
nect machine from power.
6. Turn spindle OFF, disconnect lathe from
power, and check temperature of spindle.
— If spindle nose is slightly warm to the
touch, you have correct bearing preload.
— If spindle nose is hotter than you can com-
fortably keep your hand on, preload is too
tight and you must repeat bearing preload
adjustment procedure. When repeating
the procedure, rotate the inner spanner
nut a little less during
Step 12 in the pre-
ceding instructions.
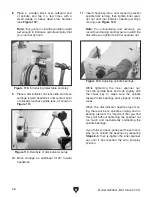
12. Tighten inner spanner nut an additional
1
⁄
16
"
along its circumference. See
Figure 121 for
an example of this measurement.
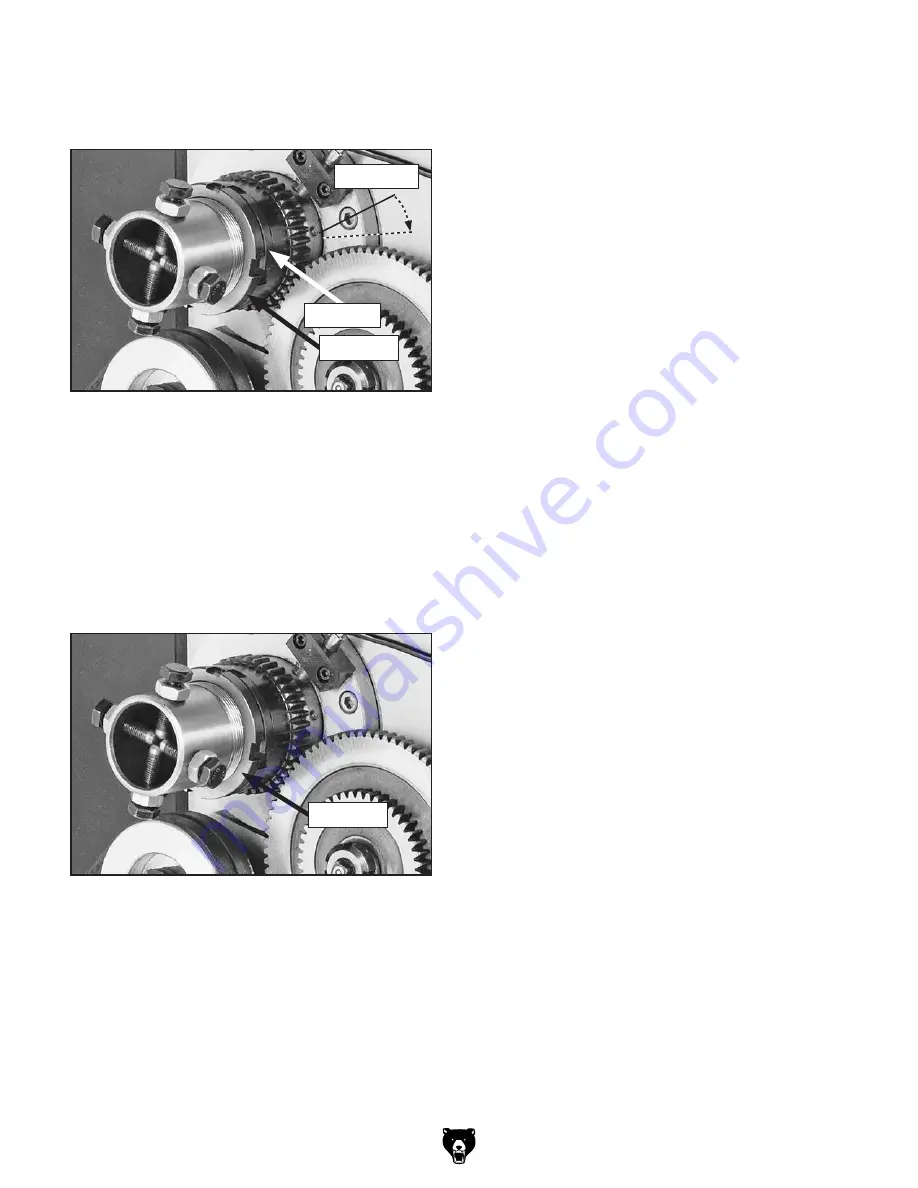
13. Without allowing inner spanner nut to tighten
any further, install and tighten outer spanner
nut against inner nut (see
Figure 122).
IMPORTANT: DO NOT overtighten outer
spanner nut because additional preload can
force bearings even tighter against races in
the headstock and cause headstock to com-
press, crack, or cause bearing failure.
Figure 122. Outer spanner nut re-installed.
14. Re-install end gear cover.
Outer Nut
Figure 121. Final spanner nut rotation.
1
⁄
16
" Travel
Inner Nut
Outer Nut
Summary of Contents for G0949G
Page 108: ......


