background image

H6141 Air Palm Nailer

-9

-

Replacing Pistons/O-

Rings

If you use your nailer day in and day out, 
replacement pistons are cheap insurance 
against wasted down time and lost profits, 
in  the  event  that  a  piston  or  piston  shaft 
becomes worn out. 

6.

  Push the ram pin towards the inside of 

the  nailer.  This  will  push  the  cylinder 
free of the housing.

7.

  Remove  the  piston  from  the  cylinder 

by pulling it free by the ram pin.

8.

  Place a new O-ring on the new piston 

and apply a thin film of the nailer lubri-
cating oil on the O-ring.

9.

  Insert  the  new  piston  in  the  cylinder. 

The  new  piston  should  easily  slide 
into  the  cylinder. 

DO  NOT  force  the 

piston into the cylinder!

 If the piston 

is  not  easily  inserted,  double-check 
the  alignment  of  the  piston  inside  the 
cylinder.

10.

  After  the  piston  is  inserted  correctly, 

place the cylinder back in the housing. 
If  seated  correctly,  the  cylinder  will 
snap into place.

11.

  Push  the  cylinder  collar  down  into 

the  housing  as  far  as  it  will  go.  The 
horizontal  air  slots  on  the  side  of  the 
cylinder should be visible.

12

.  Replace  the  rear  cap  assembly  and 

tighten the four cap screws.

13. 

Replace the flat washer, compression 
spring,  depth  guide  and  nose  piece 
and tighten using a 19mm wrench.

14. 

For  more  assistance,  or  to  install  a 
complete O-ring set, refer to the appro-
priate breakdown diagram in the back 
of  this  manual  for  component  loca-
tions.

To replace a piston:

1. 

DISCONNECT  NAILER  FROM  THE 
AIR SUPPLY!

2.

  Unscrew the nose piece with a 19mm 

wrench.

3.

  Remove the nose piece, depth guide,  

compression spring and flat washer.

4.

  Remove  the  four  cap  screws  and 

washers on the back of the nailer.

5.

  Remove the cap.

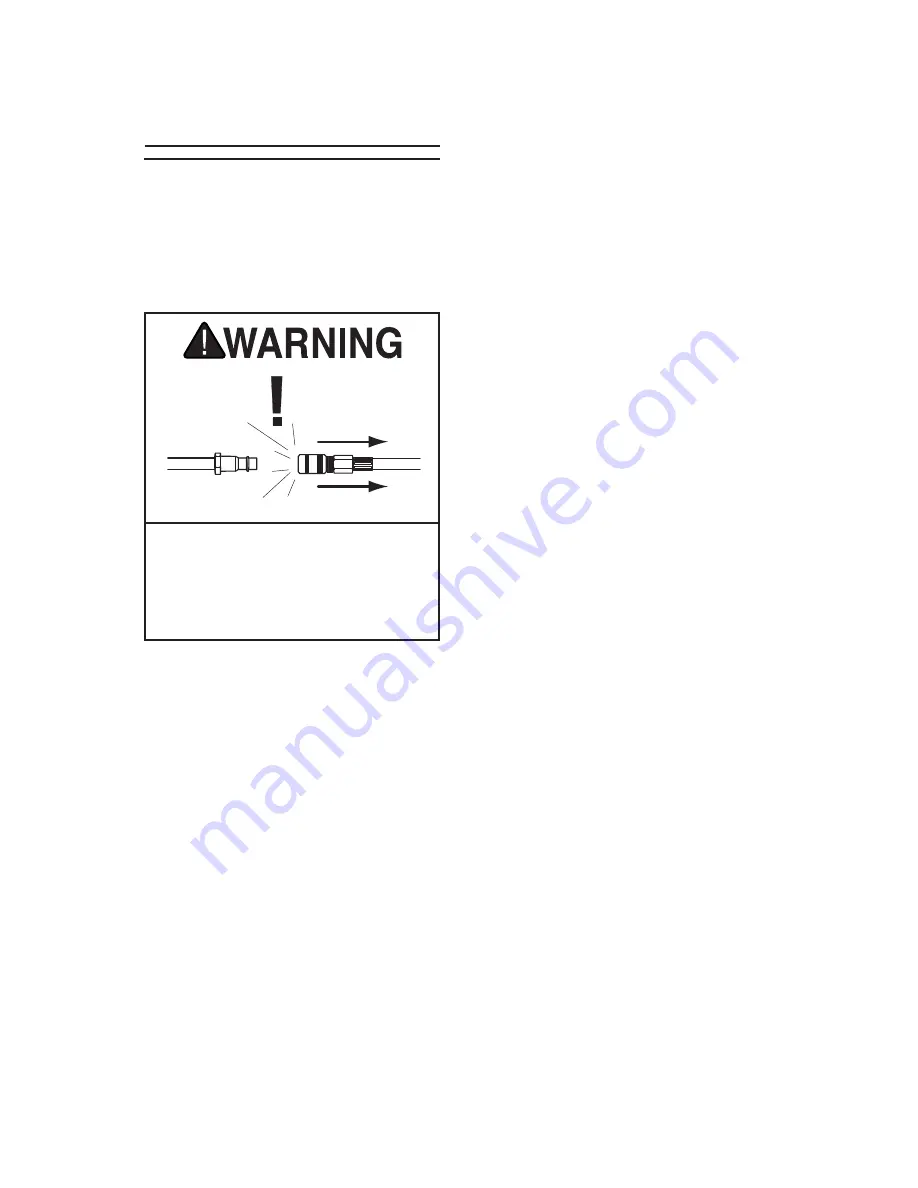
Always  disconnect  air  from  nailer 
whenever  servicing!  During  mainte-
nance, a nailer connected to air may 
fire  accidentally,  causing  serious 
personal injury!

Summary of Contents for H6141

Page 1: ...INDUSTRIAL INC REVISED DECEMBER 2007 TS WARNING NO PORTION OF THIS MANUAL MAY BE REPRODUCED IN ANY SHAPE OR FORM WITHOUT THE WRITTEN APPROVAL OF GRIZZLY INDUSTRIAL INC JK7796 PRINTED IN CHINA MODEL H6...

Page 2: ...ch it was not designed For Your Own Safety Read Instruction Manual Before Operating This Equipment The purpose of safety symbols is to attract your attention to possible hazard ous conditions This man...

Page 3: ...tools lubricated and clean for best and safest performance Follow instructions for lubricating and changing accessories 15 DISCONNECT TOOLS before ser vicing changing accessories or moving to another...

Page 4: ...Make sure your air hose is designed for the tool in use is in good condition and is long enough to reach your work without stretching However an overly long air hose in the work area may be a tripping...

Page 5: ...izzly family of fine pneu matic tools When used according to the guidelines set forth in this manual you can expect years of trouble free enjoy able operation and proof of Grizzly s com mitment to cus...

Page 6: ...546 9663 for advice Save the containers and all packing mate rials for possible inspection by the car rier or its agent Otherwise filing a freight claim can be difficult When you are completely satisf...

Page 7: ...pressure to your tool and save you the inconvenience of having to manually lubricate your tool every time you use it Quick Connector Quick Coupler Air Hose Quick Coupler Quick Connector Lubricator Fi...

Page 8: ...il puncturing the surface of the workpiece as shown in Figure 3 4 Place the tip of the palm nailer over the end of the nail When the ram pin touches the nail head it will automati cally begin to hamme...

Page 9: ...rrectly place the cylinder back in the housing If seated correctly the cylinder will snap into place 11 Push the cylinder collar down into the housing as far as it will go The horizontal air slots on...

Page 10: ...use or after 2 hours of continuous use Wipe off any excess oil near the nailer exhaust to avoid dust build up When the oil that was included with the nailer has been completely used replace with Grizz...

Page 11: ...AL 54MM 16 PH6141016 AXLE SLEEVE 8MM 5 PH6141005 GASKET 17 PH6141017 HOUSING 6 PH6141006 O RING 53 5 X 2 6 18 PH6141018 AIR INLET PLUG 1 4 NPT 7 PH6141007 CYLINDER COLLAR 19 PH6141019 FLAT WASHER 9 X...

Page 12: ...ad while discharging 1 Air leaks 2 Dirt in cylinder 3 Inadequate air flow to tool 4 Worn O ring on piston or lack of lubrication 5 Gasket leaking 1 Tighten screws and fittings 2 Clean cylinder and hou...

Page 13: ......

Page 14: ...es to persons or property or for incidental contingent special or consequential damages arising from the use of our products To take advantage of this warranty contact us by mail or phone and give us...

Page 15: ...__2 8 Years ____8 20 Years ____20 Years 6 How many of your machines or tools are Grizzly ____0 2 ____3 5 ____6 9 ____10 7 Do you think your machine represents a good value ____Yes ____No 8 Would you r...

Page 16: ...P O BOX 2069 BELLINGHAM WA 98227 2069 TAPE ALONG EDGES PLEASE DO NOT STAPLE Name________________________________ Street________________________________ City______________State______Zip_______ Send a...

Reviews: