background image

Model H8234  28° Framing Nailer

-12

-

replacing pistons/o-

rings

Under  heavy  use,  a  piston,  piston  shaft, 
or  O-ring  may  wear  out.  Replacement 
is  quick  and  easy.  Contact  Grizzly 
Customer  Service  at  (800)  523-4777  to 
obtain  the  Piston  Repair  Kit  (Part  Number 
PH8234092),  or  the  complete  O-Ring 
Repair Kit (Part Number PH8234093).

6.  Watch the discharge area and push the 

top  of  the  piston  with  your  finger.  You 
will see the piston shaft slide down the 
discharge area. 

7.  Taking care not to scratch or dent the 

nailer  parts,  use  a  wooden  dowel  or 
similarly shaped tool to push the piston 
shaft  back  inside  the  nailer  until  you 
can  grip  the  piston  head  and  remove 
it from the cylinder. Clean and inspect 
the parts for cracks, wear, or burrs.

8.  Place a new O-ring on the new piston 

and apply a thin film of the nailer lubri-
cating oil on the O-ring.

9.  Insert  the  new  piston  in  the  cylinder. 

Make sure that the grooves on the pis-
ton shaft line up with those on the guide 
at the bottom of the cylinder.  The new 
piston  should  easily  slide  into  the  cyl-
inder. 

do  not  force  the  piston  into 

the cylinder! If the piston is not easily 
inserted, double-check the alignment of 
the piston shaft with the grooves on the 
guide.

10.  After  the  piston  is  inserted  correctly, 

close  the  magazine.  Replace  the  rear 
cap  assembly  and  tighten  the  4  cap 
screws.


note: 

For more assistance, or to install 

a  complete  O-ring  set,  refer  to  the 
appropriate  breakdown  diagram  in  the 
back  of  this  manual  for  component 
locations.

to replace a piston:

1.  DISCONNeCT  NAILeR  FROM  THe 

AIR SUPPLY!

2.  Remove  all  nails  from  the  magazine 

cartridge, and clean the exterior of the 
nailer. 

3.  Remove  the  four  cap  screws  on  the 

back  of  the  nailer,  near  the  exhaust 
port.

4.  Remove the cap.

5.  The  top  of  the  piston  should  now  be 

visible  inside  the  cylinder,  which  is 
housed in the head of the nailer.

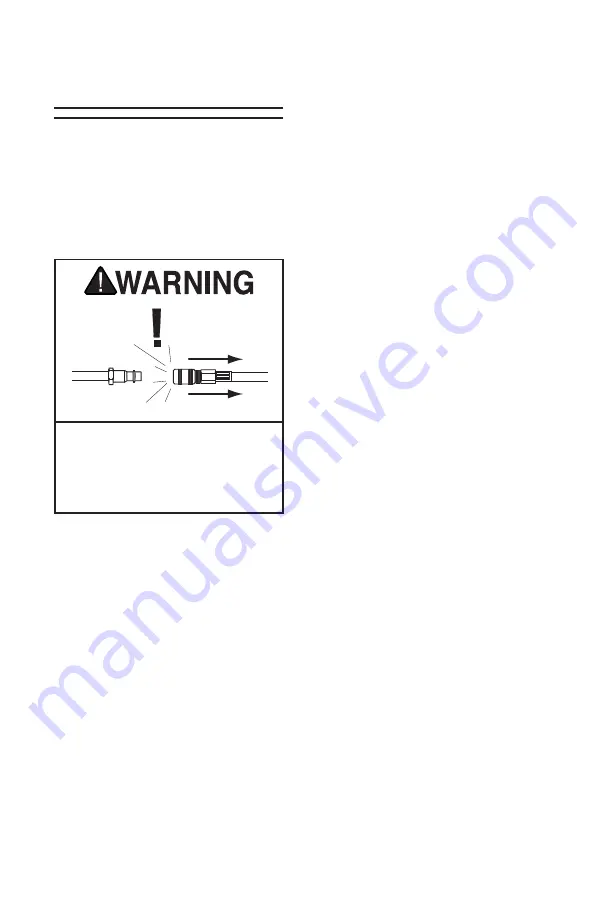
always  disconnect  air  from  nailer 
whenever  servicing!  during  mainte-
nance, a nailer connected to air may 
fire accidentally, causing serious per-
sonal injury!

Summary of Contents for H8234

Page 1: ...INDUSTRIAL INC Warning No portion of this manual may be reproduced in any shape or form without the written approval of Grizzly Industrial inc TS9831 printed in CHINA REVISED JULY 2008 TR MODEL H8234...

Page 2: ...ERSONAL PROTECTIVE EQUIPMENT 4HE MANUFACTURER WILL NOT BE HELD LIABLE FOR INJURY OR PROPERTY DAMAGE FROM NEGLIGENCE IMPROPER TRAINING MACHINE MODIFICATIONS OR MISUSE 3OME DUST CREATED BY POWER SANDING...

Page 3: ...job for which it was not designed 9 DO NOT USE UNDER THE INFLUENCE OF DRUGS OR ALCOHOL For Your Own Safety Read Instruction Manual Before Operating This Equipment The purpose of safety symbols is to...

Page 4: ...es 16 REDUCE THE RISK OF UNINTENTIONAL FIRING Do not carry tool with hand on trigger and always disconnect from air when not in use 17 DISCONNECT TOOLS before ser vicing changing accessories or moving...

Page 5: ...ATIONS DO NOT modify this tool or bypass the safety nose mechanism 5 check valve Do not use a check valve or any other fitting that allows air to remain in the tool 6 HOSE USAGE Make sure your air hos...

Page 6: ...ersonal injury Nailer accidents routinely happen while moving the gun to another location such as up ladders to another room or even another job site Always disconnect the gun immediately after use an...

Page 7: ...y Model H8234 28 Framing Nailer This model is part of a growing Grizzly family of fine pneumatic tools When used according to the guidelines set forth in this manual you can expect years of trouble fr...

Page 8: ...entory A B C D E Your new nailer was carefully packaged for safe shipping If you discover any damage after you have signed for delivery immedi ately call Customer Service at 570 546 9663 for advice Sa...

Page 9: ...you to adjust and maintain constant air pressure to your tool and save you the inconvenience of having to manually lubricate your tool every time you use it Quick Connector Quick Coupler Air Hose Quic...

Page 10: ...scrap piece of wood that is clean and free of any knots nails or other foreign objects If the nailer does not fire then the safety nose mechanism is working correctly If the nailer does fire when you...

Page 11: ...t operate the nailer Before you operate your nailer place five to six drops of the included oil into the quick connect fitting where the nailer con nects to the air supply To operate your nailer 1 Con...

Page 12: ...g the surface of the workpiece as shown in Figure 5 Besides damaging your workpiece deflection can cause injury if your free hand is securing the workpiece in the location that the nail deflects Figur...

Page 13: ...cate the opening in the underside of the nailer safety nose see Figure 7 Clearing Jammed Nails 5 Dislodge the jammed nail with a tool that will fit in the slot on the underside of the nose 6 Throw the...

Page 14: ...grooves on the pis ton shaft line up with those on the guide at the bottom of the cylinder The new piston should easily slide into the cyl inder DO NOT force the piston into the cylinder If the piston...

Page 15: ...er Lube Regulator 3 8 NPT H3259 Filter Lube Regulator 1 2 NPT These units are indispensable for prolong ing the lifespan of your air tools Filter keeps water rust out Lubricator features adjustable au...

Page 16: ...before every use or after 2 hours of continuous use Wipe off any excess oil near the nailer exhaust to avoid dust build up When the oil that was included with the nailer has been completely used repla...

Page 17: ...Model H8234 28 Framing Nailer 15 H8234 Parts BREAKDOWN...

Page 18: ...MPER 73 PSB93M CAP SCREW M3 5 X 14 24 PH8234024 GASKET 74 PN07M HEX NUT M3 5 25 PH8234025 NAILER BODY 75 PH8234075 PIN B4 X 30 26 PH8234026 SPACER 76 PH8234076 TORSION SPRING 27 PH8234027 PISTON VALVE...

Page 19: ...amage 5 Check fitting hose com pressor air pressure 6 Replace piston O ring Lubricate 7 Replace trigger valve O rings 8 Replace bumper 9 Replace cap seal Tool runs slowly or has a loss of power 1 Unde...

Page 20: ...ies to persons or property or for incidental contingent special or consequential damages arising from the use of our products To take advantage of this warranty contact us by mail or phone and give us...

Reviews: