-12-
Model t10458 (Mfg. Since 10/11)
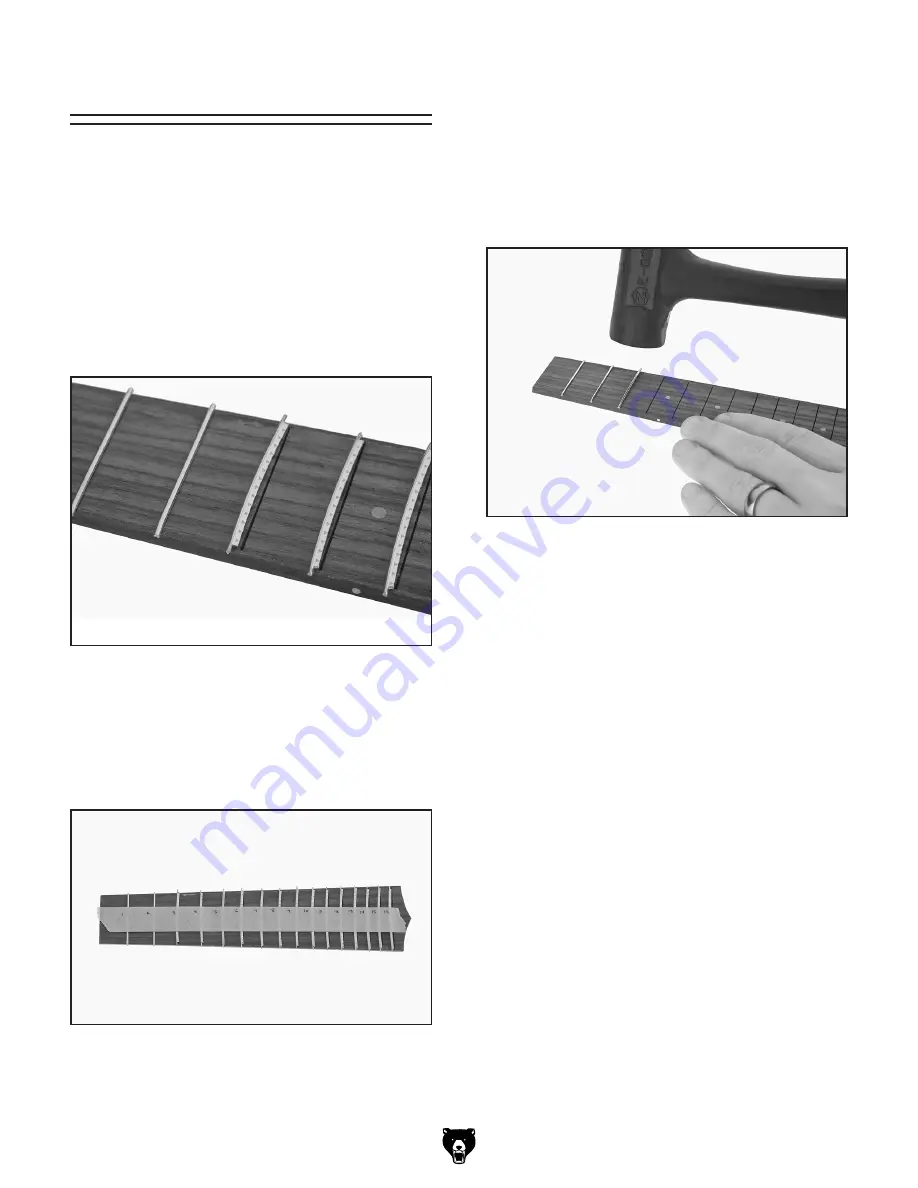
installing frets
figure 23. installing the frets.
4. use a non-marring mallet and lightly tap each
fret into the fingerboard slot until the underside
of the fret body comes in contact with the
fingerboard, as shown in
figure 23.
note: Excessive force can cause the frets to
bend. Tap them in gradually across the length
of each fret.
5. use a pair of fret cutters or nippers to cut any
excess fret lengths flush with the edge of the
fingerboard.
6. File the cut ends of the frets smooth with a
fine-tooth metal file.
7. use 600 grit sandpaper on a sanding block to
finish the ends of the frets. Be careful not to
scratch the fingerboard.
the fingerboard comes with precut fret slots. the
frets have also been measured and roughly cut to
fit their corresponding slots. installing the frets
requires matching the frets to the appropriate slot,
installing them on the fingerboard, and removing
the excess fret material.
3. peel off the tape with the frets attached and
set it aside. this will help you keep the frets
organized until you are ready to install them.
2. While the frets are laid out on the fingerboard,
lay a piece of masking tape down the length
of the board and number the frets, as shown
in
figure 22.
figure 22. Frets laid out and numbered on the
fingerboard.
to attach the frets to the fingerboard:
1. Match the frets to the corresponding fret slot
on the fingerboard, as shown in
figure 21.
figure 21. Matching the frets to their respective
slots on the fingerboard.


