Model T1239 (Mfd. Since 09/17)
-13
-
SECTION 5: MAINTENANCE
!
Always DISCONNECT POWER
before servicing, adjusting, or doing
maintenance to reduce the risk of
accidental injury or electrocution.
Replacing Round
Hook & Loop Pad
Over time the hook & loop pad connected
to the sanding head will become worn.
This is evident when new sandpaper discs
no longer adhere to the pad properly, or for
normal durations of standard use.
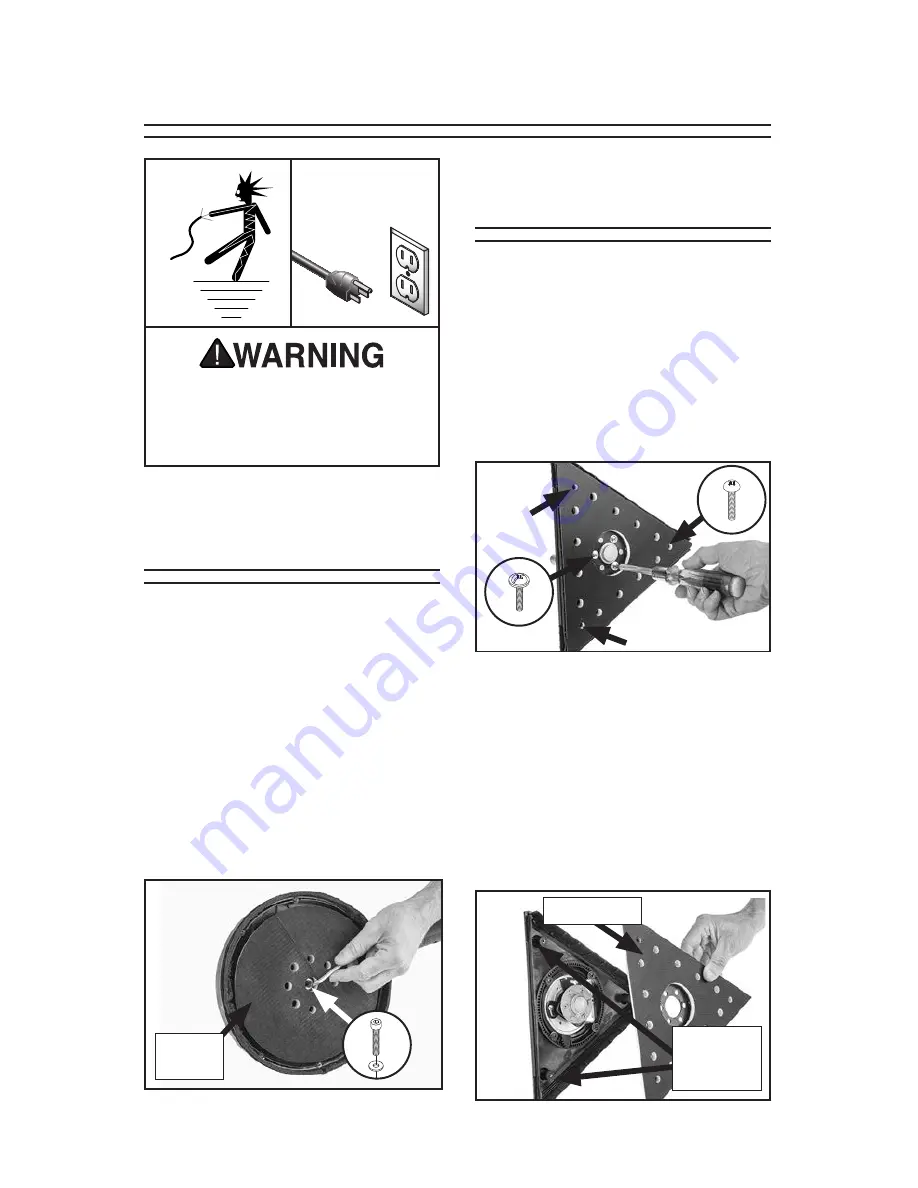
To replace the round hook & loop pad,
remove the M6-1 x 14 cap screw and 6mm
flat washer securing pad to sanding head
(see
Figure 16). Replace sanding pad.
Note: Hold the sanding pad firmly while
removing cap screw to keep pad from
spinning.
Figure 16. Removing worn sanding pad.
Sanding
Pad
Replacing Triangular
Hook & Loop Pad
If new sandpaper discs no longer adhere
to the pad properly, the hook & loop sand-
ing pad may need to be replaced.
To replace triangular sanding pad:
1.
Remove (3) M4-.7 x 8 Phillips head
screws and (3) M4-.7 x 8 flange
screws (see
Figure 17) from sanding
pad.
Figure 17. Removing sanding pad.
x 3
2.
Remove sanding pad and replace
with new pad (see
Figure 18).
Note: Sanding pad connects to sand-
ing head with (3) rubber vibration-
dampening connectors. Connectors
may be suctioned to backside of
sanding pad, requiring a bit of force
to separate.
Figure 18. Replacing sanding pad.
Rubber
Connectors
(2 of 3)
Sanding Pad
x 3
Summary of Contents for T1239
Page 20: ......


