


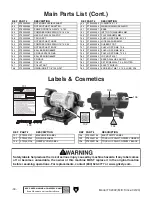

-28-
Model T32002 (Mfd. Since 02/20)
SECTION 6: MAINTENANCE
For optimum performance from this machine, this
maintenance schedule must be strictly followed.
Ongoing
To minimize your risk of injury and maintain proper
machine operation, shut down the machine imme-
diately if you ever observe any of the items below,
and fix the problem before continuing operations:
•
Loose mounting bolts.
•
Cracked or loose grinding wheel.
•
Damaged buffing wheel.
•
Worn or damaged wires.
•
Any other unsafe condition.
Schedule
To reduce risk of shock or
accidental startup, always
disconnect machine from
power before adjustments,
maintenance, or service.
The bearings on the T32002 are permanently
sealed and require no lubrication.
Lubrication
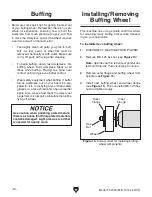
Cleaning the Model T32002 is relatively easy.
Vacuum excess debris, and wipe off the remain-
ing dust with a dry cloth.
Cleaning &
Protecting
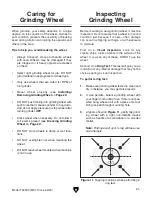
The grinding wheel should be inspected before
every use. Use the ring test method noted in
Inspecting Grinding Wheel on Page 21 to verify
the structural integrity. Take care in storing grind-
ing wheels to keep them free from potential dam-
age by being dropped or having other items drop
on them.
Replace the wheel when the tool rest has no more
adjustment and the gap has exceeded the safe
limit.
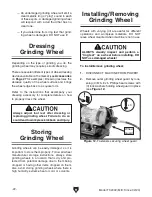
Grinding Wheels
Depending on the type of grinding you do, the
grinding wheel may require periodic dressing.
Several different kinds of wheel dressing devices
are available. Dressing restores the abrasive
quality of the wheel surface and squares up the
wheel edge.
Refer to the instructions that accompany your
dressing accessory for complete details on how
to properly dress a wheel.
See available wheel and diamond dressers on
Page 27.
Wheel Dressing
Summary of Contents for T32002
Page 36: ......


