-34-
Model T32339 (Mfd. Since 03/21)
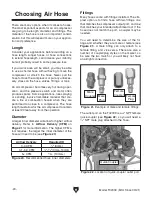
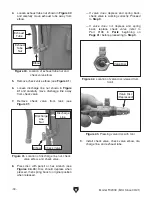
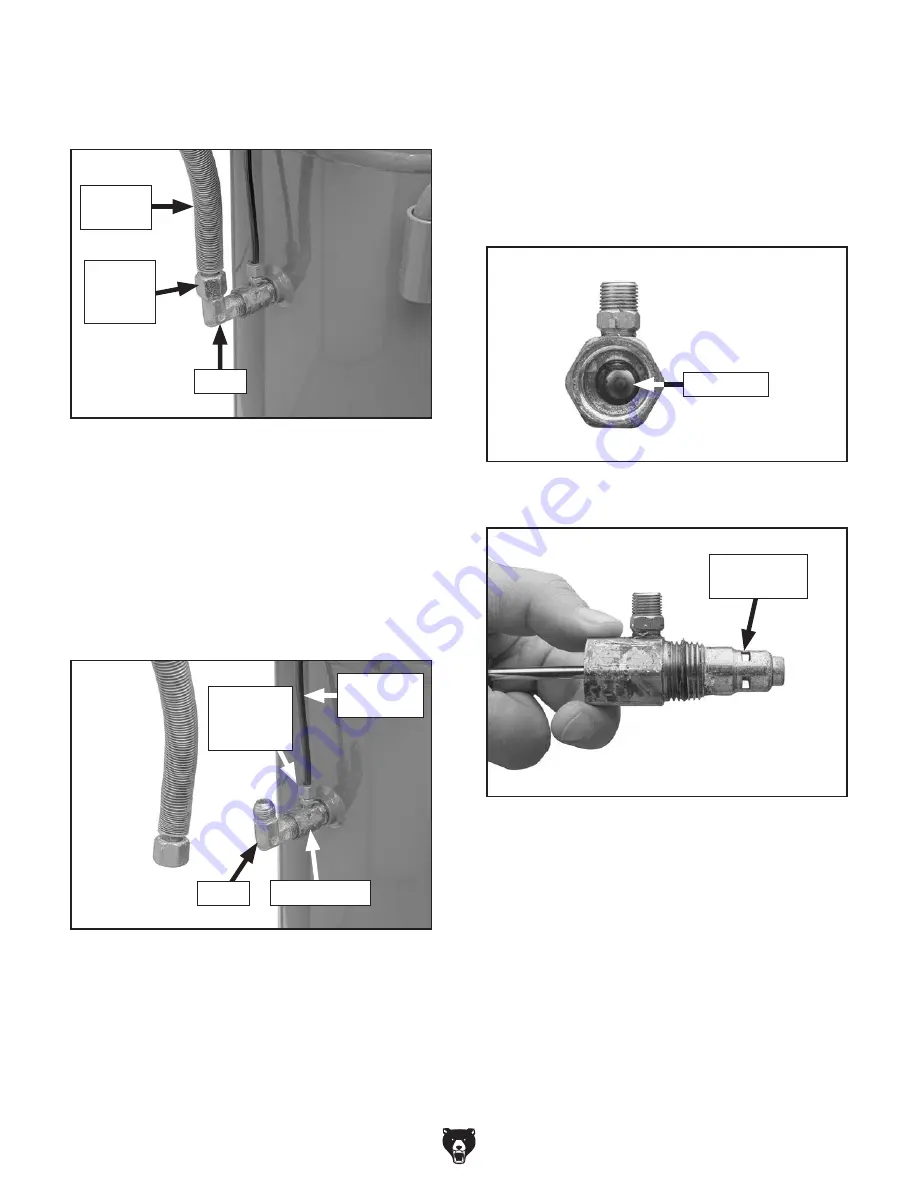
4. Loosen exhaust tube nut shown in Figure 40
and carefully move exhaust tube away from
elbow.
Figure 40. Location of exhaust tube nut and
check valve elbow.
Elbow
Exhaust
Tube
Exhaust
Tube
Nut
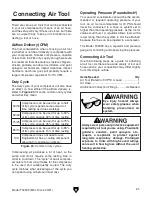
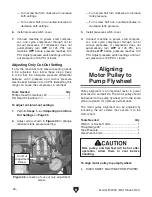
5. Remove check valve elbow (see Figure 41).
6. Loosen discharge line nut shown in Figure
41 and carefully move discharge line away
from check valve.
7. Remove check valve from tank (see
Figure 41).
Figure 41. Location of discharge line nut, check
valve elbow, and check valve.
— If valve does depress and spring back,
check valve is working correctly. Proceed
to
Step 9.
— If valve does not depress and spring
back, replace check valve (refer to
Part #108 in
Parts beginning on
Page 41) before proceeding to Step 9.
9. Install check valve, check valve elbow, dis-
charge line, and exhaust tube.
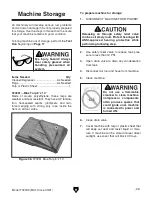
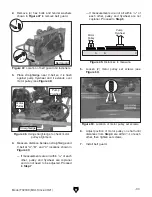
Figure 43. Pressing valve disc with tool.
Valve Disc
(Depressed)
Elbow
Discharge
Line
Check Valve
Discharge
Line
Nut
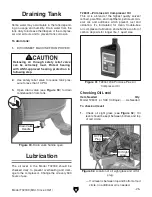
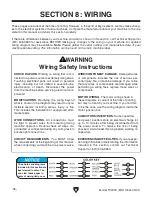
Figure 42. Location of valve disc (viewed from
front).
Valve Disc
8. Press disc with pencil or hex wrench (see
Figures 42
–43). Disc should depress when
pressed, then spring back to original position
when released.
Summary of Contents for T32339
Page 48: ......

