Model T32339 (Mfd. Since 03/21)
-33-
Symptom
Possible Cause
Possible Solution
Delivered air
is dirty or has
excessive
moisture.
1. Tank needs to be drained.
2. Delivery pipes are dirty (if used).
1. Open drain valve to drain condensation, then close.
2. Remove delivery pipes, clean out and replace.
Compressor
knocking.
1. Air filter(s) dirty/clogged.
2. Crankcase oil is low.
3. Piston assembly loose.
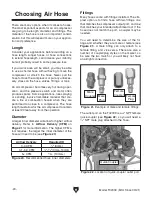
1. Replace air filter(s) (
Page 26).
2. Add crankcase oil (
Page 25).
3. Inspect and repair piston and connecting rod.
Excessive
noise while
running.
1. Crankcase oil is not correct type.
1. Drain and replace with correct oil (
Page 25).
Oil leaks onto
compressor or
floor.
1. Oil spilled when filling.
2. Air filter(s) dirty/clogged.
3. Too much oil in crankcase.
4. Crankcase oil is not correct type.
5. Oil fill plug/gasket is worn or damaged.
6. Pump gasket(s) worn or damaged.
7. Cylinder head cap screws loose.
8. Valve, plate, or ring is loose/damaged.
9. Damaged crankcase seal.
10. Damaged crankshaft.
1. Wipe unit clean with non-flammable cleanser.
2. Replace air filter(s) (
Page 26).
3. Drain oil to proper level (
Page 25).
4. Drain and replace with correct oil (
Page 25).
5. Replace gasket or fill plug.
6. Replace gasket(s).
7. Install cap screws with thread sealing tape.
8. Tighten or replace valve/plate/ring.
9. Replace crankcase or seal.
10. Repair/replace crankshaft.
Operation (Cont.)
Inspecting
Check Valve
The check valve allows the compressed air to
enter the tank and prevents it from flowing back
toward the pump. If the valve disc in the check
valve fails to work correctly, and the valve can
leak or prevent the compressor from pressurizing.
Items Needed
Qty
Open-End Wrenches 14, 19, 23, 24mm ......1 Ea.
Pencil or Hex Wrench (6mm or Less) ............... 1
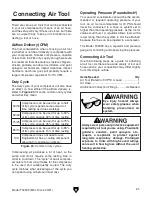
Eye injury hazard! Always
wear safety glasses when
handling pressurized air
system.
To inspect check valve:
1. DISCONNECT MACHINE FROM POWER!
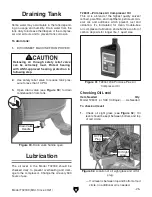
Releasing air through safety relief valve
can be extremely loud. Protect hearing with
ANSI-approved hearing protection while
performing following step.
2. Use safety relief valve to reduce tank pres-
sure to less than 10 PSI.
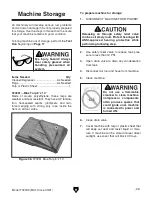
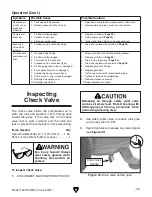
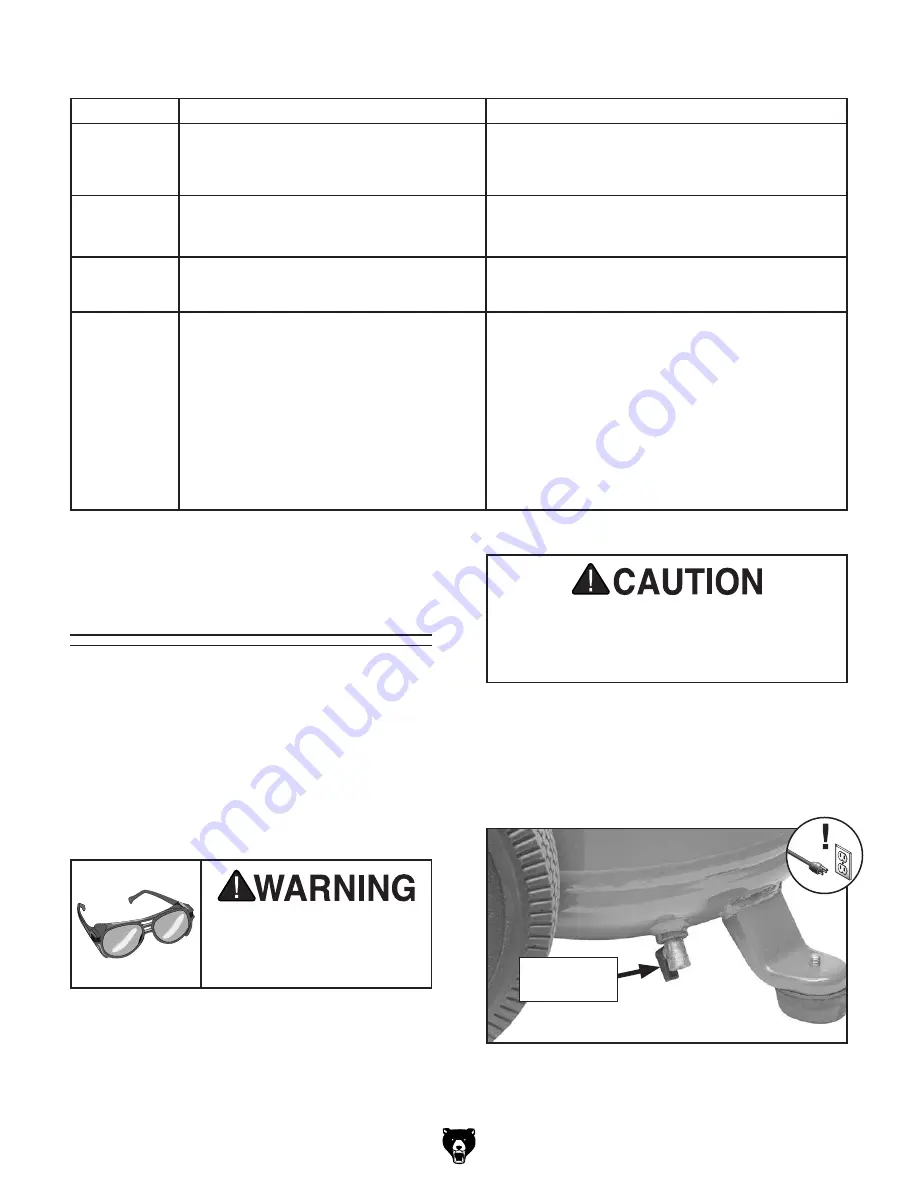
3. Open drain valve to release any remaining air
(see
Figure 39).
Figure 39. Drain valve handle open.
Drain Valve
Handle
Summary of Contents for T32339
Page 48: ......


