background image

10 

OM-SSB-G

10

NOTE: If a large amount of shrimp is cooked in the 
SmartSteam100, foaming will occur because the 
steam lid actually gets so hot that the shrimp will
cook on its surface and the shrimp proteins in the
dripping will foam on the surface of the steam lid.
* To avoid this, use a catch pan to catch shrimp
drippings and proteins to prevent foaming when
cooking a large amount of shrimp.

B. Operating Procedure

1. The unit will be ready in about 20 minutes.

2. Load food into pans in uniform layers. Pans

should be filled to about the same levels,

and should not be mounded.

3. Open the door and slide the pans onto the

supports. If you will only be steaming one

pan, put it in the middle position. Some

foods will cause foam. When cooking foods

that foam, such as shrimp, put an empty

solid 2 ½ “ deep pan in the bottom slot of the

pan racks.

4. Clo

take one of the following steps:

se the door. When the READY indicator is lit,

!

If you want to steam the food for a

certain length of time, push the TIMED button

and set the desired time with the TIMER knob.

The timer will automatically run the steamer

for the set time and then go into STOP. A beeper

will sound. Push CANCEL to stop beeping.

!

If you want to steam continuously, push

MAN

U

AL button. The unit will continue

steaming until stopped.

!

Push STOP to stop producing steam.

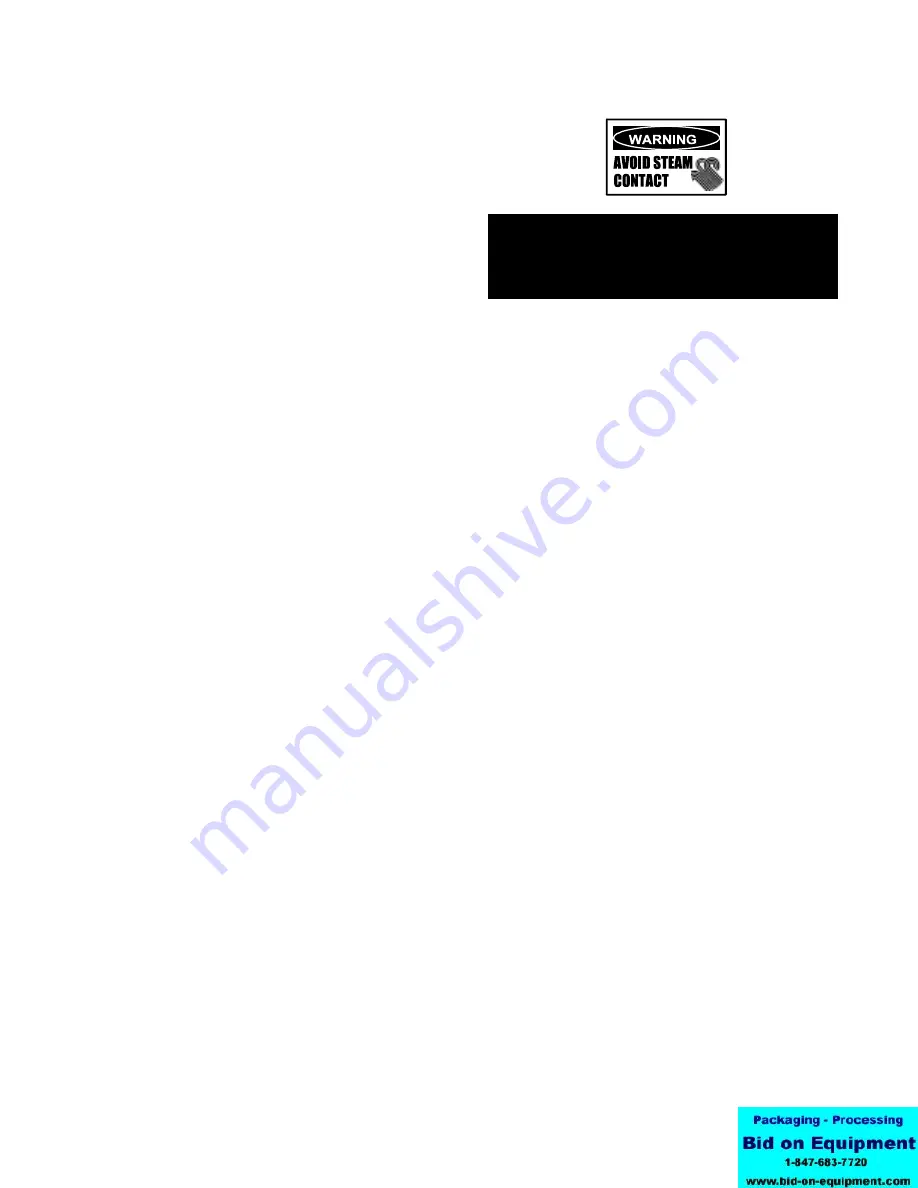
WARNING

WHEN YOU OPEN THE DOOR, STAY AWAY
FROM THE STEAM COMING OUT OF THE UNIT.
THE STEAM CAN CAUSE BURNS.

5. To remove pans from cavity, open the door.

Remove the pans from the steamer, using

hot pads or oven mitts to protect your hands

from the hot pans.

6. To shut off the unit, press the ON/OFF

rocker switch to OFF.  The steam generating
reservoir will then fill with cold water and drain.

Summary of Contents for SSB-3G

Page 1: ... operatingandmaintenanceinstructions thoroughly before installing or servicing this equipment NOTIFY CARRIER OF DAMAGE AT ONCE It is the responsibility of the consignee to inspect the container upon receipt of same and to determine the possibility of any damage including concealed dam age Unified Brands suggests that if you are suspicious of damage to make a notation on the delivery receipt It wil...

Page 2: ...CLEANING THE OUTSIDE OF THE STEAMER DISCONNECT THE ELECTRIC POWER SUPPLY KEEP WATER AND CLEANING SOLUTIONS OUT OF CONTROLS AND ELECTRICAL COMPONENTS NEVER HOSE OR STEAM CLEAN ANY PART OF THE UNIT WARNING ALLOW COOKING CHAMBER TO COOL COMPLETELY BEFORE CLEANING WARNING USE MILD CLEANING AGENTS ONLY CAREFULLY READ THE WARNINGS AND FOLLOW THE DIRECTIONS ON THE LABEL OF EACH CLEANING AGENT USE SAFETY ...

Page 3: ...INTENANCE 13 TROUBLESHOOTING 13 SERVICE LOG 15 WARRANTY PROTECTION 16 References UNDERWRITERS LABORATORIES INC NATIONAL FIRE PROTECTION ASSOCIATION 333 Pfingsten Road 60 Batterymarch Park Northbrook Illinois 60062 Quincy Massachusetts 02269 NFPA 70 The National Electrical Code NFPA 54 The National Fuel Gas Code NATIONAL SANITATION FOUNDATION 3475 Plymouth Road Ann Arbor Michigan 48106 ...

Page 4: ...e skid Pull the carton up off the unit Be careful to avoid personal injury or equipment damage from staples which might be left in the carton walls The SSB 3G 5G 10G steamers are equipped with electronic controls These units are readily identified by their unique control panels Steamer function is controlled by touch pad controls and a rotary timer dial The drain system on all models includes a spr...

Page 5: ...which has test pressures in excess of 1 2 PSI 3 45 kPa 2 Electrical Supply Connection Provide 115 VAC 60 HZ 1 PH 15 AMP service Bring wire in through hole in the lower left back panel Each cavity requires a separate cord for connections Local codes and or the National Electrical Code should be observed in accordance with ANSI NFPA 70 AN ELECTRICAL GROUND IS REQUIRED The wiring diagram is located i...

Page 6: ...h the basic plumbing code of the Building Officials and Code Administrators International Inc BOCA and the Food Service Sanitation Manual of the Food and Drug Administration FDA NOTE Local code may also require check valves in the water supply line 5 Drain Connection Level the steamer front to back and pitch it slightly to the rear maximum 1 4 inch by adjusting the optional legs or the bullet feet ...

Page 7: ...redforeachsteamertobestacked Each steamer unit must have it s own branch circuit protection C Gas Connection A single gas connection is required for both steamers Gas supply must be adequate under all conditions as listed on page 6 D Drain Connection Steamers must be leveled front to back and pitched to the front maximum 1 4 inch by adjusting the bullet feet on the cabinet or stand base For all fa...

Page 8: ...ss the ON switch on the control panel 6 When the steam generating reservoir has filled with water the main burners will ignite automatically Within 20 minutes or less the READY light will come on indicating that the water has reached its standby temperature When the READY light is displayed you may take any one of the following steps a Push TIMED and set the timer knob to the desired steaming time ...

Page 9: ...P mode the steam generator stays at a low boil or ready temperature 2 When the TIMED button is pushed the TIMED light will illuminate and time can be set by turning the TIMER knob cook time can be increased or decreased at any time by turning the timer knob The unit steams until the timer counts down to zero and the temperature drops to ready At that time the STOP light illuminates and a beeper so...

Page 10: ... foam such as shrimp put an empty solid 2 deep pan in the bottom slot of the pan racks 4 Clo take one of the following steps se the door When the READY indicator is lit If you want to steam the food for a certain length of time push the TIMED button and set the desired time with the TIMER knob The timer will automatically run the steamer for the set time and then go into STOP A beeper will sound P...

Page 11: ...eaning must be done in order to enhance the performance and prolong the life of your SmartSteam Boilerless Steamer IMPORTANT DO NOT USE ANY METAL MATERIAL SUCH AS METAL SPONGES OR METAL IMPLEMENTS SUCH AS A SPOON SCRAPER OR WIRE BRUSH THAT MIGHT SCRATCH ANY STAINLESS STEEL SURFACE SCRATCHES MAKE THE SURFACE HARD TO CLEAN AND PROVIDE PLACES FOR BACTERIA TO GROW DO NOT USE STEEL WOOL WHICH MAY LEAVE...

Page 12: ...ve then refer to deliming instructions below S STEP 8 Remove drain strainer and clean thoroughly to remove any build up of debris TEP 9 Replace pan racks and steam lid Steamer is now cleaned and ready to use DELIMING INSTRUCTIONS When using Groen Boilerless Water Filtration System use vinegar as a deliming agent Groen approved delimer may be used to remove excessive scale build up STEP 1 After fol...

Page 13: ...Is the steamer door securely closed 6 No steam User a Is the ON switch depressed b Is the water supply connected c Is the water turned on d Is steamer door completely closed 7 Fault Display 7 User a The component cooling fan may not be operating The display may come on for several minutes during normal operation If it stays on for more than 30 minutes call service technician Unit may be used for c...

Page 14: ...hen on or unplug from power Turn unit back on 9 Door pops open User a Ensure drain and vent are not plugged No more than two units should be attached to a single drain line b Check door pin adjustment per above c Call service technician 10 Fault Display 6 User a Wait 30 minutes for unit to cool down b Call service technician ...

Reviews: